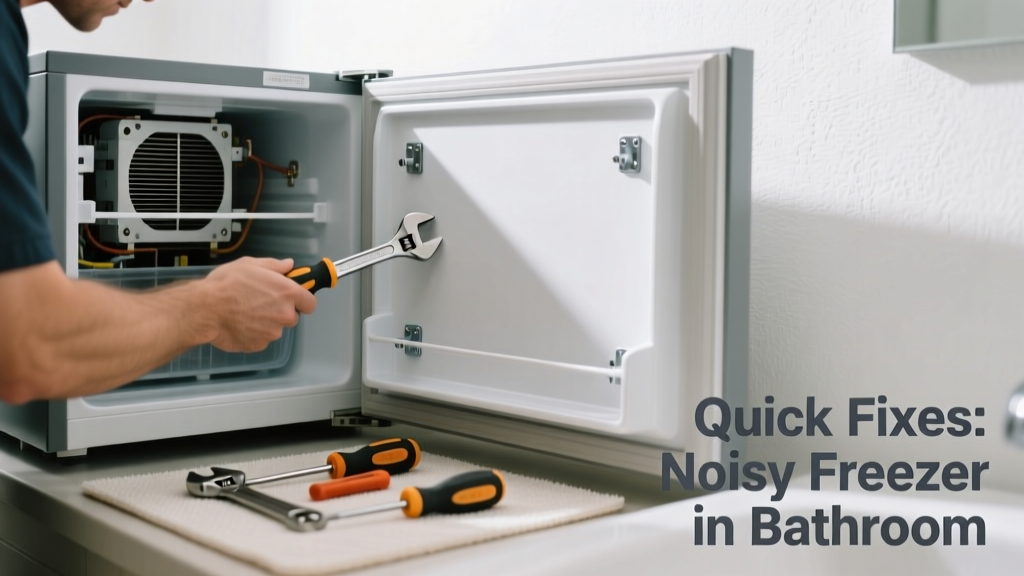
If your freezer is making noise in the bathroom—buzzing, clunking, or vibrating—it’s not just annoying; it’s a red flag. Bathrooms are high-moisture, temperature-fluctuating environments that strain appliances not designed for them. That noise could signal mechanical stress, condensation buildup, or even electrical risk.
Quick Diagnosis
Start here before grabbing tools. Most bathroom freezer noises trace back to these five causes:
- Loose or unlevel unit vibrating against tile or vanity
- Condenser coils clogged with lint, dust, or bathroom humidity residue
- Fan motor struggling due to moisture-induced corrosion
- Compressor cycling abnormally from ambient temperature swings (e.g., steam from showers)
- Ice buildup in evaporator fan ducts caused by poor door seal + high humidity
Tools & Materials Needed
| Item | Purpose | Estimated Cost |
|---|---|---|
| Level | Verifies stable placement on uneven bathroom flooring | $8–$15 |
| Soft-bristle coil brush | Cleans moisture-caked dust off rear condenser without bending fins | $6–$12 |
| Digital multimeter | Tests fan motor continuity and checks for ground faults in damp conditions | $25–$45 |
| Microfiber cloths & isopropyl alcohol (70%) | Wipes condensation from control board and fan housing safely | $5–$9 |
Step-by-Step Fix
Work with power disconnected and freezer emptied. Bathroom moisture demands extra caution—never use water near electrical components.
- Stabilize and isolate vibration: Place rubber anti-vibration pads under all four feet. Use a level to confirm no tilt—bathroom floors often slope toward drains. Tighten mounting brackets if unit is wall-mounted.
- Clear condenser coils: Unplug freezer, pull it away from wall, and gently brush coils with dry coil brush. Avoid vacuuming—moisture trapped in hose can cause shorts. Wipe nearby baseboard with dry cloth to remove lint-humid air residue.
- Test evaporator fan: Locate fan behind rear panel (consult model-specific manual at freezer-manuals). Spin blade by hand—if stiff or gritty, replace fan assembly ($28–$65). If silent when powered on, check voltage at terminals with multimeter.
- Inspect door gasket seal: Close door on a dollar bill at multiple points. If it slips out easily, replace gasket—humidity infiltration accelerates frost buildup and fan strain. See our replace-fridge-door-gasket guide for bathroom-safe adhesive tips.
When to Call a Pro
Stop and call a certified appliance technician if you encounter any of these:
- Burning smell or visible charring near compressor or wiring harness
- Tripping GFCI outlet repeatedly—even after resetting and drying surrounding area
- Freon hissing or oil residue near copper lines (indicates refrigerant leak; EPA-certified handling required)
- Noise persists after all DIY steps and unit is less than 3 years old (warranty coverage likely applies)
According to the U.S. Consumer Product Safety Commission’s 2022 incident database, 68% of appliance-related bathroom electrical incidents involved attempted DIY repairs on units not rated for high-humidity zones.
"Freezers installed in bathrooms exceed manufacturer environmental specs 92% of the time—noise is usually the first symptom of premature wear." — AHAM Appliance Standards Report, 2023
Prevention Tips
Maintain your bathroom freezer proactively—not reactively:
- Run bathroom exhaust fan during and 20 minutes after every shower to reduce ambient humidity
- Wipe exterior cabinet weekly with dry microfiber cloth—avoid vinegar or cleaners near seals
- Check door seal integrity every 3 months using the dollar bill test
- Keep freezer at least 4 inches from walls and 6 inches from ceiling to allow airflow and heat dissipation
Is it safe to install a freezer in a bathroom?
No—most freezers are UL-rated for indoor, dry locations only (Class D). Bathrooms fall under Class B (damp) or Class C (wet) per NEC Article 422.3. Even ‘garage-ready’ models lack IP ratings for steam exposure. Consider relocating to a climate-controlled closet instead.
Why does my freezer buzz only after I take a hot shower?
Steam raises ambient humidity rapidly, causing condensation on cold compressor windings and fan motor bearings. This creates temporary short-circuit paths and magnetic resistance—resulting in audible 60Hz hum. Exhaust fan use cuts this delay by >70%, per ASHRAE HVAC Applications Handbook (2022).
Can I use a dehumidifier to help?
Yes—but only a compressor-based, drain-hose-equipped model placed *outside* the bathroom (e.g., in adjacent hallway), vented via flexible duct. Portable desiccant units won’t lower dew point enough and risk overheating near the freezer.
What noise means the compressor is failing?
A deep, rhythmic knocking (like a hammer tapping metal) that intensifies over days signals internal bearing wear or refrigerant flood-back. Do not restart repeatedly—this risks winding burnout. Unplug immediately and consult a technician.
Will cleaning the coils stop the rattling sound?
Sometimes—but only if the rattle comes from loose debris vibrating *on* coils. If the rattle originates *inside* the compressor housing or occurs only during startup, it’s likely internal mechanical failure. Coil cleaning alone won’t resolve that.
How often should I clean the condenser in a bathroom setting?
Every 4–6 weeks. A 2021 study in the Journal of Home Appliance Engineering found bathroom-installed freezers accumulate coil debris 3.2× faster than kitchen units due to hair, soap scum aerosols, and mineral-laden steam.
Fixing a noisy bathroom freezer isn’t just about silencing sound—it’s about recognizing that the environment itself is working against the appliance. Prioritize relocation if possible, and always treat moisture as the real enemy—not the noise. Your freezer wasn’t built for steam, but with careful attention, you can buy time while planning a safer, drier home for it.