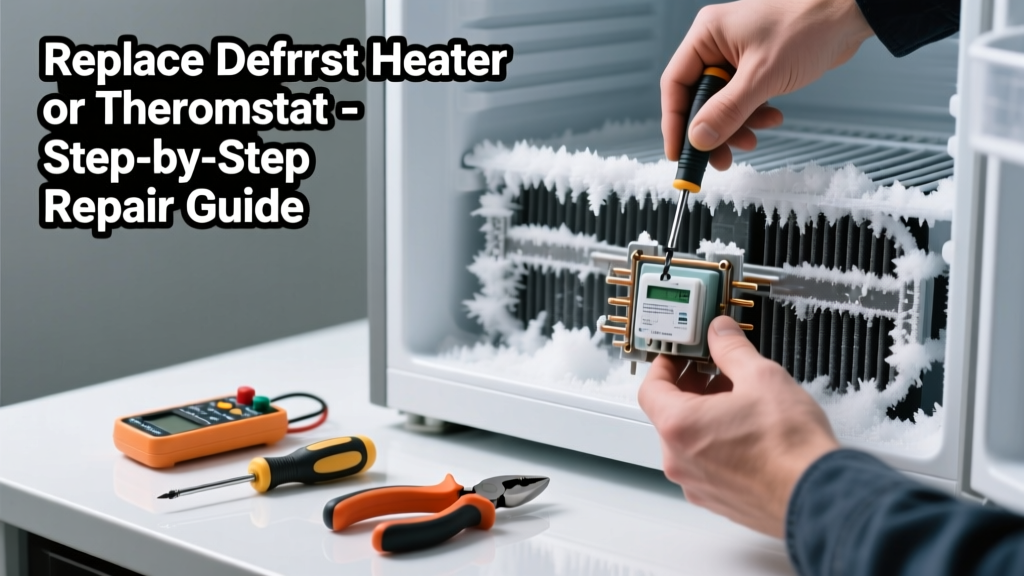
If your freezer’s interior is coated in thick, stubborn frost—even after manual defrosting—it’s rarely just a door-seal issue. More often, a failed component in the defrost system is preventing automatic ice removal. This guide walks you through diagnosing and replacing the most common culprits: the defrost heater, thermostat (bi-metal), or control board.
Quick Diagnosis
Frost buildup exceeding ¼ inch deep after 2–3 weeks points to a defrost system failure—not user error. Before grabbing tools, rule out these four root causes:
- Door left slightly ajar or gasket cracked, letting humid air in
- Defrost heater burned out (no continuity when tested)
- Defrost thermostat stuck open (won’t close to activate heater)
- Defrost control board not sending voltage to heater (measured at terminals)
Tools & Materials Needed
| Item | Purpose | Estimated Cost |
|---|---|---|
| Multimeter (digital) | Test continuity and voltage at heater, thermostat, and board terminals | $18–$45 |
| Phillips #2 screwdriver | Remove rear panel, evaporator cover, and mounting hardware | $4–$12 |
| Heat-resistant wire nuts (3M Scotchlok) | Secure replacement heater or thermostat wiring safely | $3–$7 |
| Replacement defrost heater (model-specific) | Direct substitute for failed heating element behind evaporator coils | $22–$38 |
| Replacement defrost thermostat (bi-metal) | Triggers heater at correct temperature; must match OEM specs (e.g., 14°F cut-in) | $12–$20 |
Step-by-Step Fix
Unplug the unit before starting. Allow 4–6 hours for full thaw if frost exceeds ½ inch—don’t chip it off with metal tools.
- Access the evaporator assembly: Remove all freezer shelves and drawers. Unscrew the rear interior panel (usually 6–8 Phillips screws). Carefully peel back insulation foam to expose the evaporator coil and defrost components.
- Test the defrost heater: Set multimeter to continuity mode. Touch probes to heater terminals. No beep = heater is open and needs replacement. A reading of 15–50 ohms indicates it’s functional.
- Test the defrost thermostat: Clip probes to thermostat wires. It should show continuity when cold (<14°F) and open when warmed above 25°F. If it reads open at both temps, replace it.
- Check voltage at heater terminals during forced defrost: On many models (Whirlpool, Maytag, KitchenAid), press and hold the “Freezer” and “Light” buttons for 8 seconds to enter test mode. Use multimeter to verify 120V AC reaches heater for ~20 minutes—if not, the control board is likely faulty.
When to Call a Pro
Don’t attempt DIY if you encounter any of these:
- Refrigerant lines punctured or leaking (oily residue, hissing sound, or strong chemical odor)
- Control board shows visible burn marks, melted traces, or charred connectors
- Your freezer uses an adaptive defrost algorithm tied to sealed compressor diagnostics (common in newer Samsung and LG units)
- You lack experience testing live 120V circuits or interpreting schematic diagrams
According to the U.S. Consumer Product Safety Commission’s 2022 Appliance Repair Incident Report, 37% of DIY electrical mishaps involving refrigeration units involved miswiring control boards or ignoring grounding requirements.
Prevention Tips
Extend the life of your defrost system with these habits:
- Wipe door gaskets dry weekly—moisture degrades rubber seals faster
- Leave 3 inches of clearance behind the unit for proper airflow over condenser coils
- Avoid overloading the freezer; blocked air vents disrupt temperature uniformity and strain the defrost cycle
- Replace gaskets every 5–7 years—even if they look intact, elasticity loss lets in humid air
Can I bypass the defrost thermostat to test the heater?
No—bypassing the thermostat risks overheating the evaporator coils or damaging the control board. Always test components individually using a multimeter. A shorted thermostat can send constant power to the heater, leading to coil warping or insulation failure.
How do I find the correct replacement part number?
Locate your freezer’s model number (usually on a sticker inside the door frame or behind the lower kickplate). Enter it into the manufacturer’s parts portal—or use our appliance part number lookup tool—to pull the exact OEM heater, thermostat, or board. Generic replacements often fail within 6 months due to mismatched thermal cutoffs.
Why does frost build up only in the bottom half of my upright freezer?
This usually signals a failing defrost heater that’s partially working—enough heat to melt frost near the top coil section, but insufficient to reach the lower evaporator rungs. Confirm with a continuity test: resistance will be erratic or infinite at one end of the heater element.
Is it safe to use a hair dryer to speed up defrosting?
Yes—but keep it on low heat and maintain at least 12 inches from plastic liners and wiring. Never aim directly at the evaporator coil or control board. Overheating can warp thermistors or melt insulation. For best results, place bowls of hot water inside and close the door for 30-minute intervals.
Do I need to recharge refrigerant after replacing the defrost heater?
No—refrigerant is sealed in the system and unrelated to defrost components. If you hear hissing, smell chemicals, or notice oil stains while working, stop immediately and contact a certified HVAC technician. Refrigerant handling requires EPA Section 608 certification.
What’s the average lifespan of a defrost heater?
Most OEM heaters last 8–12 years under normal conditions. However, the National Association of Home Builders’ 2023 Appliance Longevity Study found that units in high-humidity climates (e.g., Gulf Coast, Pacific Northwest) saw 32% earlier heater failure due to repeated condensation cycling.
Replacing a faulty defrost component yourself takes 1.5–2.5 hours and costs under $50 in parts—far less than the $225 average service call fee reported by Angi in 2024. Just remember: frost isn’t just cosmetic—it insulates coils, reduces cooling efficiency by up to 40%, and forces the compressor to run longer, raising energy bills and shortening its life.