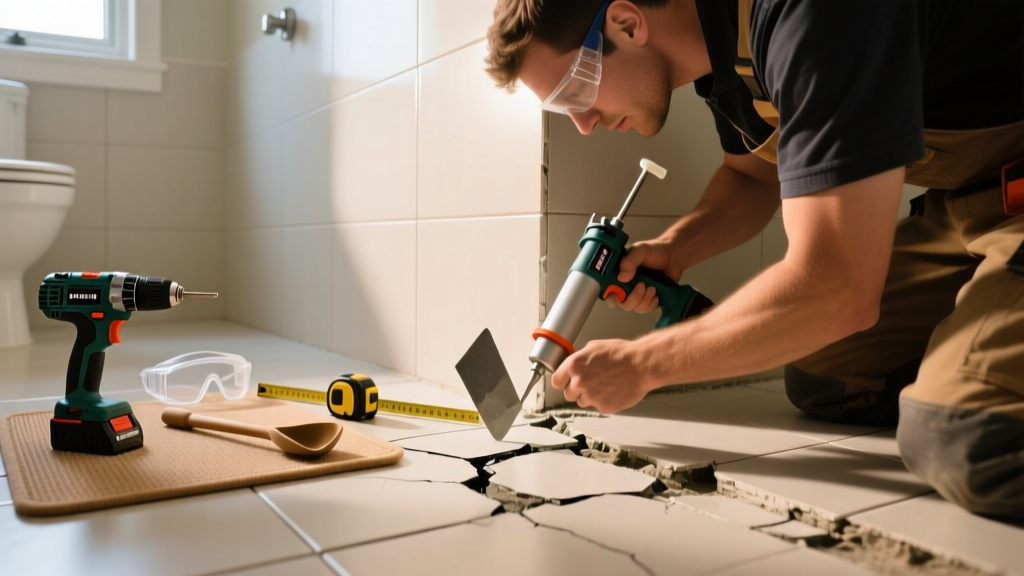
That hairline crack snaking up your bathroom wall near the tub? Or the subtle gap where the floor meets the baseboard that wasn’t there last month? Interior foundation cracks in bathrooms aren’t just cosmetic — they’re early warnings of moisture intrusion, settling, or structural stress amplified by high humidity and frequent water exposure.
Quick Diagnosis
Not all cracks mean disaster — but in a bathroom, context matters. Here’s what’s most likely causing it:
- Hydrostatic pressure pushing against the foundation from poor exterior drainage or saturated soil
- Seasonal soil shrink-swell (especially in clay-rich areas like Texas or Illinois)
- Improper backfill compaction during original construction
- Undersized or corroded footings beneath load-bearing walls adjacent to the bathroom
- Excessive vibration from nearby heavy traffic or laundry equipment on shared slabs
Tools & Materials Needed
| Item | Purpose | Estimated Cost |
|---|---|---|
| Epoxy injection kit (low-viscosity, ASTM D3963-compliant) | Fills deep, active cracks in concrete foundations; bonds structurally under pressure | $120–$180 |
| Moisture meter (pin-type, 0–100% RH range) | Confirms if crack is wet behind drywall — critical before sealing | $45–$85 |
| Angle grinder with diamond blade | Cuts clean V-groove along crack for proper sealant adhesion | $65–$110 (rental: $25/day) |
| Hydraulic cement (e.g., Quickrete Waterplug) | Emergency patch for actively leaking cracks during wet conditions | $12–$18 per 2-lb bag |
| Vapor barrier primer (e.g., Drylok Extreme) | Seals porous masonry and blocks moisture migration post-repair | $32–$44 per gallon |
Step-by-Step Fix
Choose the method based on crack width, moisture presence, and movement history:
- For hairline cracks (<0.02" wide) with no moisture behind drywall: Clean with wire brush and isopropyl alcohol, then inject low-viscosity epoxy using a dual-cartridge gun. Allow 72 hours cure before painting.
- For active leaks (damp or weeping): First apply hydraulic cement as a temporary dam, then drill injection ports every 6", and fill with urethane foam (not epoxy) — it expands to seal water paths. Let cure 48 hours.
- For cracks wider than 1/8" with visible movement: Cut a 1"-deep V-groove, prime with bonding agent, then trowel in polymer-modified mortar. Tape and feather edges before priming with vapor barrier paint.
- For recurring cracks at drywall-to-floor junctions: Remove baseboard, inspect subfloor for deflection, shim joists if sagging >1/4" over 10', then reattach with construction adhesive and finish nails spaced 6" apart.
When to Call a Pro
DIY stops where safety and structural integrity begin. Call a licensed foundation contractor immediately if you observe any of these:
- Crack widens more than 1/16" over 30 days (track with masking tape markers)
- Adjacent tiles are lifting, grout is crumbling, or door frames are binding
- Crack runs diagonally across a corner AND extends into ceiling drywall
- You hear popping or grinding sounds when running water or flushing toilet
- Moisture meter readings exceed 22% MC in concrete slab (per ASTM F2659-22)
"Over 68% of foundation-related insurance claims involving interior bathroom cracks stem from untreated exterior drainage issues — not faulty concrete." — Insurance Institute for Business & Home Safety, Residential Foundation Repair Guidelines, 2023
Prevention Tips
Stop recurrence before it starts — especially in high-moisture zones:
- Install a French drain or extend downspouts at least 5 feet from the foundation (per ICC-ES AC358)
- Keep bathroom humidity below 60% RH year-round using an exhaust fan rated for ≥50 CFM and tied to a humidistat
- Re-grade soil around the home so it slopes away from the foundation at 6 inches over 10 feet
- Inspect and replace cracked caulk at tub/shower bases every 18 months to prevent water infiltration behind walls
- Avoid placing heavy freestanding tubs directly on slab without isolation pads — they concentrate load and accelerate micro-fractures
Can I use regular caulk instead of epoxy?
No. Standard acrylic or silicone caulk lacks tensile strength and will pull away from moving cracks within weeks. It also traps moisture behind the surface, accelerating rust on rebar and spalling. Use only ASTM C881-compliant epoxy or polyurethane injection systems for structural repairs.
Will painting over the crack hide the problem?
Painting may temporarily mask it — but moisture will blister the coating, and movement will reopen the line. In bathrooms, trapped vapor can promote mold growth inside walls. Always address the cause and substrate first. For minor cosmetic touch-ups, use mold-resistant primer like Zinsser Perma-White.
How long does epoxy take to fully cure in a humid bathroom?
Low-viscosity epoxies require 72 hours at 70°F and ≤50% RH for full compressive strength. In typical bathroom conditions (65–80% RH), extend cure time to 96 hours — and run the exhaust fan continuously during that period. Do not shower or run hot water in the space until cured.
Is this covered by homeowners insurance?
Rarely. Most policies exclude gradual foundation movement or maintenance-related cracks. Sudden collapse due to covered peril (e.g., burst pipe erosion) may qualify — but only if documented *before* repair begins. File a claim only after getting a written assessment from a structural engineer. Learn more in our guide on foundation coverage limits.
Can I patch this over tile?
Only if the tile itself is intact and well-bonded. If grout is loose or tiles are hollow-sounding, remove them first — cracking often originates from slab movement beneath. Patching over compromised tile invites delamination. Replace damaged tile after foundation repair, using flexible thinset (ANSI A118.15) and uncoupling membrane like Schluter-DITRA.
What’s the difference between a settlement crack and a structural one?
Settlement cracks are usually vertical, narrow (<1/8"), and stop at floor level. Structural cracks tend to be stair-stepped in brick, diagonal across corners, wider at one end, or accompanied by uneven floors (>1/4" dip over 10'). When in doubt, measure crack width at top/middle/bottom — a consistent taper suggests settlement; widening toward the top signals structural stress.
Fixing a foundation crack inside your bathroom isn’t about covering it up — it’s about understanding what the crack is telling you. Whether it’s a sign of seasonal soil shift or a red flag for deeper instability, acting early with the right materials and methods protects both your safety and your home’s value. And remember: if moisture is present, always assume the problem extends beyond what you see on the surface — check the crawl space or basement for matching cracks, efflorescence, or damp insulation before sealing anything permanently.