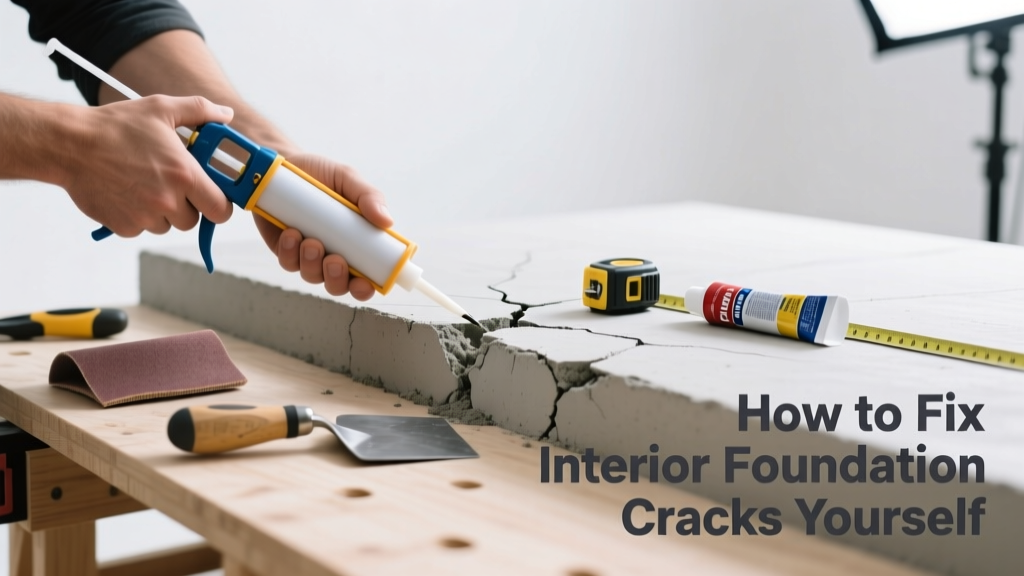
That hairline crack snaking up your basement wall isn’t just ugly—it’s a signal. Most interior foundation cracks start small but can widen due to moisture, soil movement, or settling, especially in homes built on clay soils or with poor drainage. Catching them early lets you seal them properly before water intrusion or structural issues take hold.
Quick Diagnosis
Before grabbing tools, identify the likely cause. Not all cracks mean disaster—but knowing the source guides your fix:
- Vertical cracks under windows or doors: Often from normal settling (common in first 5 years)
- Horizontal cracks: Usually indicate lateral pressure—soil pushing against the wall—requiring immediate attention
- Stair-step cracks in block walls: Suggest differential settlement or frost heave
- Cracks widening more than 1/8 inch per year: Signal active movement—not just cosmetic
- Cracks accompanied by dampness, efflorescence, or musty odors: Point to hydrostatic pressure or poor exterior drainage
Tools & Materials Needed
| Item | Purpose | Estimated Cost |
|---|---|---|
| Epoxy injection kit (low-viscosity) | Penetrates deep into concrete pores for structural bonding | $45–$75 |
| Wire brush & stiff nylon brush | Cleans dust and loose debris from crack surfaces | $8–$12 |
| Angle grinder with diamond cup wheel | Creates clean V-groove for better sealant adhesion | $60–$120 (rental: $25/day) |
| Hydraulic cement (e.g., Quickrete Waterplug) | Stops active leaks during wet conditions | $12–$18 per 5-lb bag |
| Backer rod (closed-cell foam) | Fills deep cracks before sealing; prevents sealant sagging | $5–$9 per 25-ft roll |
Step-by-Step Fix
Choose your method based on crack width, activity, and moisture presence:
- Clean & Prep: Use wire brush and vacuum to remove dust. For active leaks, apply hydraulic cement first and let cure 24 hours.
- V-Groove the Crack: With an angle grinder, cut a 1/4"–3/8" wide, V-shaped channel along the full length—deeper than surface depth.
- Inject Epoxy (for non-leaking, stable cracks ≤1/4"): Seal edges with epoxy paste, install injection ports every 6–8", then inject low-viscosity epoxy under pressure until it bleeds out adjacent ports.
- Seal with Polyurethane Foam (for active leaks or wider cracks): Insert backer rod, then apply flexible polyurethane caulk like SikaFlex-1a over top—compresses with movement.
- Finish & Monitor: Sand cured epoxy flush. Mark crack ends with permanent marker and measure monthly for 3 months to track movement.
When to Call a Pro
DIY works only when cracks are narrow, vertical, dry, and static. Stop and consult a licensed structural engineer if you see any of these:
- Crack is horizontal, diagonal, or wider than 1/4 inch
- Wall is bowing inward more than 1 inch at any point
- Doors/windows stick or no longer latch properly
- Crack reappears within 60 days after repair
- You observe floor slab lifting or stair-step cracking in adjacent walls
According to the American Society of Civil Engineers’ Guidelines for Residential Foundation Evaluation (2022), “cracks exceeding 3/8-inch width or showing >1/16-inch annual displacement require professional load-path analysis.”
Prevention Tips
Fixing the crack is only half the job—stopping recurrence means managing water and soil:
- Install or clean gutters and extend downspouts at least 5 feet from the foundation
- Grade soil away from the house at 1 inch per foot for first 6 feet
- Maintain sump pump operation—test monthly and replace battery backup every 3 years
- Inspect interior humidity levels: Keep basement below 60% RH using a dehumidifier to reduce concrete stress cycles
Can I use regular caulk instead of epoxy?
No. Standard acrylic or silicone caulk lacks tensile strength and won’t bond to damp, dusty concrete. It shrinks, pulls away, and fails within months—especially where minor movement occurs. Epoxy or polyurethane sealants are engineered for structural adhesion and flexibility.
Do I need to remove paint or plaster before repairing?
Yes—if the crack runs through painted drywall or plaster, cut back at least 2 inches on each side to expose bare concrete or block. Painted surfaces prevent proper sealant adhesion and trap moisture behind the finish.
Will sealing the interior crack stop water from coming in?
Only temporarily—if water pressure is high. Interior sealing redirects water but doesn’t relieve hydrostatic pressure. For persistent leaks, pair interior repairs with exterior waterproofing or drain tile installation—see our basement waterproofing guide.
How long does epoxy take to fully cure?
Most low-viscosity epoxies reach handling strength in 6–8 hours at 70°F, but full chemical cure takes 72 hours. Avoid washing or painting over the area until then. Cold temperatures (<55°F) double cure time—plan accordingly.
Is this covered by homeowners insurance?
Rarely. Standard policies exclude foundation repairs caused by gradual settling, earth movement, or wear-and-tear. Some insurers offer optional foundation endorsements—but only if damage results from a sudden, covered peril like a burst water main. Read how to document claims properly.
Can I paint over the repaired crack?
Yes—but only after full cure and only with masonry-specific paint or elastomeric coating. Avoid standard latex; it bridges poorly and may telegraph the repair line. Always prime with a concrete bonding primer first.
A well-executed interior crack repair buys time and peace of mind—but it’s not a substitute for understanding what’s happening underground. If you’ve sealed three cracks in one wall over two years, don’t wait for the fourth. That’s when soil testing, drainage correction, or pier installation becomes the smarter investment. Your foundation holds everything up—treat early signs with respect, not just a tube of caulk.