If your floor slopes noticeably—especially near interior walls, doorways, or over crawlspaces—you’re likely dealing with a failed support element, not just worn flooring. A dip of more than 1/2 inch over 6 feet often signals a compromised joist, rotten sill plate, or settled support post. Ignoring it risks further damage to subfloor, drywall cracks, and even plumbing misalignment.
Quick Diagnosis
Before grabbing tools, confirm what’s actually failing. Slope isn’t always about the floor itself—it’s usually a symptom below:
- Rotted or insect-damaged floor joists (especially where they meet the sill plate or girder)
- Crushed, cracked, or improperly sized support posts in crawlspaces or basements
- Settled or cracked concrete piers under bearing walls
- Missing or undersized blocking between joists allowing lateral movement
- Sill plate decay where the house frame meets the foundation
Tools & Materials Needed
| Item | Purpose | Estimated Cost |
|---|---|---|
| 4-ton hydraulic bottle jack with saddle | Lifts floor safely and incrementally without shock loading | $85–$130 |
| Pressure-treated 4×4 or 6×6 post (8–10 ft) | Replaces rotted or inadequate support post | $22–$48 |
| Galvanized steel L-brackets (10-gauge, 6" arms) | Secures new post to beam and floor framing | $12–$20 per pair |
| 16d galvanized sinker nails or 3" structural screws | Fastens blocking and brackets without splitting wood | $8–$15 |
| Moisture meter (0–100% scale) | Confirms wood moisture content >20% = active rot | $45–$95 |
Step-by-Step Fix
These steps assume a single failing support post under a main-floor joist system—not full structural collapse. Always work from the crawlspace or basement, never from above.
- Locate and inspect the failing member: Use a flashlight and mirror to trace the slope upward. Tap joists with a hammer; hollow or soft spots indicate rot. Check post base for powdering, termite tubes, or gaps between post and pier.
- Install temporary shoring: Place two 4×4 cribbing stacks (stacked horizontally, staggered like bricks) on solid soil or concrete piers, directly under the sagging joist. Then position the bottle jack atop one stack, centered under the joist.
- Lift gradually: Raise the jack no more than 1/8" every 24 hours. Over-lifting causes drywall cracks, pipe stress, or floor squeaks. Monitor nearby doors and windows for binding.
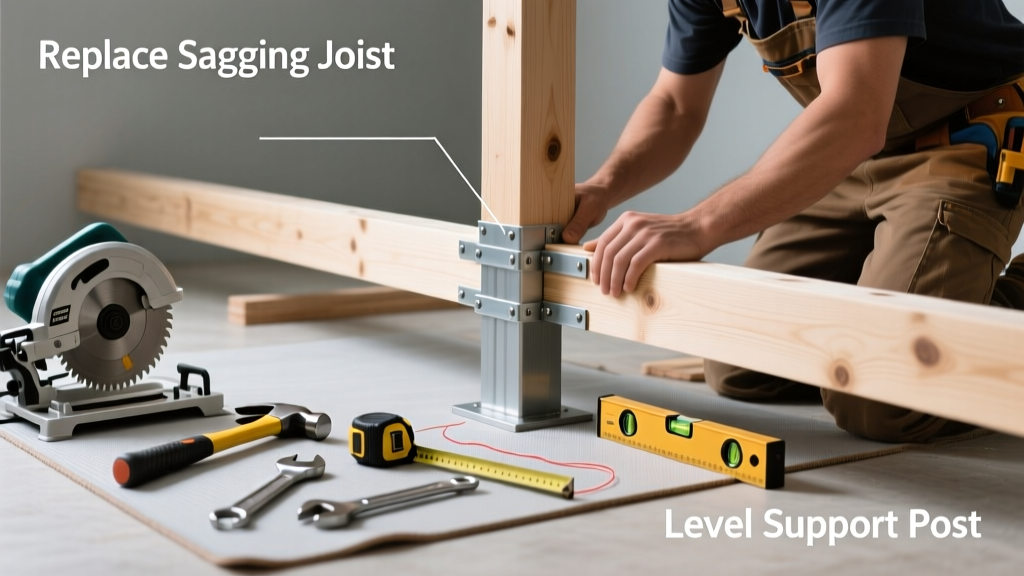
- Install permanent replacement: Cut new pressure-treated post to fit snugly between beam and pier. Shim any gap at top or bottom with galvanized steel shims (not wood). Secure with two L-brackets—one at top (beam), one at bottom (post-to-pier anchor).
- Add redundancy: Install diagonal bracing (2×4s) between adjacent posts and secure with hurricane ties. Add solid blocking between joists every 4 feet across the repaired span.
When to Call a Pro
DIY is unsafe or ineffective when:
- The sloping affects more than one room or spans an entire floor section (likely indicates foundation settlement)
- You find >12 inches of continuous rot in a primary girder or rim joist
- The affected area supports a load-bearing wall with masonry above (fireplace, chimney, brick veneer)
- Your home was built before 1950 and uses balloon framing with no accessible crawl space
- Local building codes require engineered drawings for structural modifications (common in CA, TX, FL)
"Over 68% of floor-slope complaints in homes older than 30 years stem from unrepaired post deterioration—not foundation issues," states the National Association of Home Builders’ Residential Structural Repair Handbook (2022).
Prevention Tips
Stop recurrence before it starts:
- Inspect crawlspaces twice yearly—especially after heavy rains—for standing water, mold, or musty odors
- Maintain relative humidity below 60% using a dehumidifier or ventilation fans
- Keep soil graded away from foundation walls and ensure downspouts extend 5+ feet from the house
- Apply borate-based wood preservative to exposed joists and sills every 5 years
- Install vapor barrier (6-mil poly) over dirt crawlspaces to reduce moisture migration
Can I reuse the old support post if it’s only slightly warped?
No. Warping indicates long-term compression failure or moisture exposure. Even slight bowing compromises load capacity. The International Residential Code (IRC R502.3.1) requires replacement of any post showing >1/4" deviation over its length.
Do I need a permit to replace a floor support post?
Yes, in most jurisdictions. Structural repairs affecting load paths almost always require a building permit and inspection. Contact your local code office before lifting—even temporary jacking may trigger review. Permits typically cost $125–$320 and take 3–7 business days to approve.
How long does the repair take from start to finish?
Allow 3–5 days for a single-post replacement: Day 1 (inspection + prep), Days 2–4 (gradual lifting + installation), Day 5 (final inspection + blocking). Rushing the lift phase is the #1 cause of secondary damage, per the crawlspace moisture control guidelines from the U.S. Department of Energy.
What’s the difference between a ‘sag’ and ‘settlement’?
A sag is localized—caused by one failing member—and correctable with targeted reinforcement. Settlement is whole-structure movement, often visible as diagonal cracks in exterior brick or stair-step mortar joints. Settlement requires geotechnical evaluation and possibly underpinning—foundation crack repair expertise.
Can I sister a joist instead of replacing the post?
Sistering helps with minor joist flex but won’t fix downward movement caused by a collapsed post. You’re reinforcing the symptom, not the cause. The post must be replaced first—then add sistered joists only if the original shows checking or small surface rot.
Is it safe to lift more than 1/8 inch per day?
No. According to the American Wood Council’s Design Guide for Residential Wood Buildings (2021), incremental lifting beyond 1/8" daily risks cracking plaster, separating HVAC duct seams, and stressing cast-iron drain lines. Patience here prevents $2,000+ in follow-up repairs.
A properly repaired support post should hold the floor level for 15–25 years—if moisture is controlled and inspections continue. If you notice new creaks, door sticking, or fresh drywall cracks within 6 months, recheck the post base and pier integrity. For ongoing peace of mind, consider installing a simple laser level reference line on your basement wall to track subtle movement year over year—how to level a floor starts with knowing where it’s drifting.