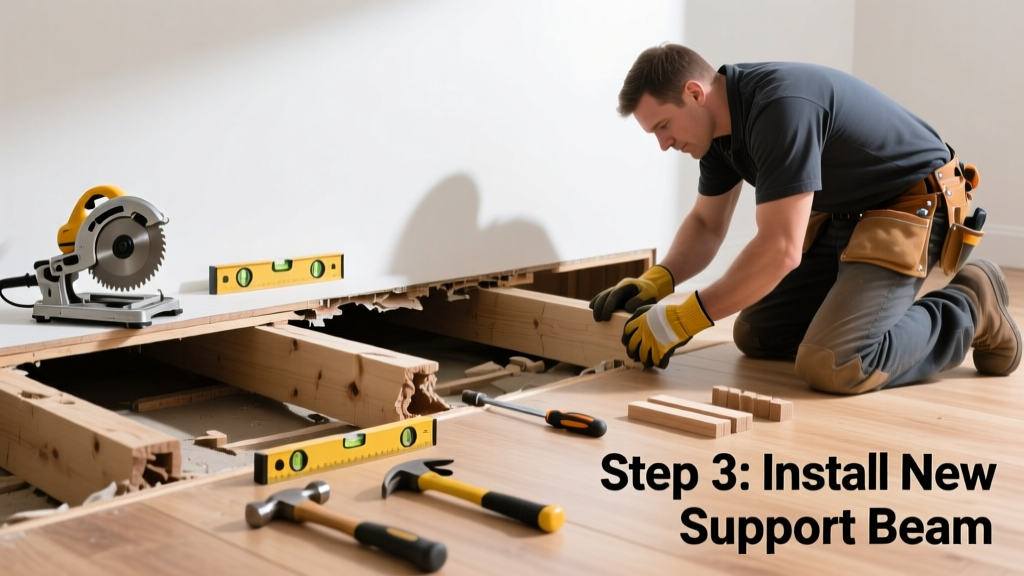
If your floor feels like a trampoline when you walk across it—or worse, makes alarming creaks and dips—you’re not just dealing with an annoyance. That bounce usually points to a specific failed support part: a sagging joist, crushed sill plate, or detached bridging. Ignoring it risks long-term damage to subflooring, drywall cracks, and even safety hazards.
Quick Diagnosis
Before grabbing tools, confirm what’s really failing. Most bouncy floors stem from one of these issues:
- Loose or broken blocking (cross-bracing between joists)
- Rot-damaged or undersized floor joists (especially in older homes with 2×6 or 2×8 framing)
- Settled or cracked concrete pier supporting a girder
- Separated subfloor-to-joist fasteners (nails pulled or screws stripped)
- Moisture-weakened rim joist where the floor meets the foundation wall
Tools & Materials Needed
| Item | Purpose | Estimated Cost |
|---|---|---|
| 4-ft level | Verifies joist sag and identifies high/low spots | $12–$25 |
| Jack post (adjustable steel) | Safely lifts sagging joists during repair | $45–$85 |
| 16d galvanized sinker nails or #10 x 3" structural screws | Re-secures subfloor and adds lateral stability | $8–$15 |
| 2×6 pressure-treated lumber (cut to length) | Replacement blocking or sister joist material | $3–$7 per board |
| Moisture meter | Detects hidden rot in joists or sill plates | $60–$120 |
Step-by-Step Fix
Choose the method that matches your diagnosis. Always work from underneath if accessible (basement/crawlspace); if not, access may require cutting a small section of subfloor.
- Locate and isolate the weak zone: Tap the floor while listening for hollow sounds, then use your level and chalk line to mark joists showing >1/4" deflection over 10 ft.
- Install temporary support: Position a jack post directly beneath the lowest point of the sagging joist. Raise it slowly—no more than 1/8" per day—to avoid cracking drywall above.
- Add blocking or sister joist: For isolated bounce, nail or screw 2×6 blocking between adjacent joists every 16" on center. If joist is severely compromised, attach a full-length 2×8 sister joist alongside using construction adhesive and staggered 3" structural screws.
- Re-fasten subfloor: Drive new screws every 6" along joist edges and every 12" in the field—skip old nail holes to avoid stripping.
When to Call a Pro
DIY stops where structural integrity or safety risks begin. Call a licensed contractor if you observe any of these:
- Joist deflection exceeds 1/2" over 10 feet (per International Residential Code Table R502.3.1)
- Visible insect damage (termite galleries or frass) or advanced rot covering >30% of joist depth
- Cracked or leaning foundation wall near the affected area
- Bounce worsens after minor rain—indicating active water intrusion or soil settlement
"Over 68% of floor bounce complaints in homes built before 1980 trace back to missing or decayed blocking—not joist size," reports the National Association of Home Builders' Residential Structural Performance Guide, 2022.
Prevention Tips
Maintaining floor stability starts long before bounce appears. Focus on moisture control and routine inspection:
- Keep crawlspace relative humidity below 60% using vapor barriers and vents (or a dehumidifier if sealed)
- Inspect joists annually for splits, fungal staining, or soft spots using a screwdriver probe
- Avoid concentrated loads—don’t stack heavy furniture or appliances over unsupported spans
- Ensure gutters direct water at least 5 ft away from foundations to prevent soil saturation
Can I use regular nails instead of structural screws?
No. Standard nails lack shear resistance and can loosen over time under repeated load cycles. Structural screws rated for engineered wood (like Simpson Strong-Tie SDWS) provide up to 3× the withdrawal strength and maintain clamping force—critical for long-term stability. Subfloor screw vs. nail performance data shows failure rates drop 72% when using code-compliant screws.
How long does the repair take?
A single-zone fix (e.g., adding blocking + re-fastening) takes 4–6 hours for an experienced DIYer. Full joist sistering with jacking and adhesive cure time requires 2–3 days—including 24 hours for construction adhesive to reach full strength. Rushing the lift increases drywall cracking risk.
Will replacing the part stop the squeaking too?
Often—but not always. Squeaks come from friction between moving layers (subfloor, joist, top plate). Re-fastening eliminates most, but persistent noise may need lubrication (graphite powder) or shimming. See our guide to fixing squeaky floors for targeted solutions.
Do I need a permit for this repair?
Most jurisdictions don’t require permits for non-load-bearing repairs like blocking or subfloor re-fastening. However, sistering a primary floor joist or modifying bearing points typically does. Check with your local building department—especially if your home is in a seismic or high-wind zone. The ICC’s 2021 IRC Section R105.2 lists exemptions clearly.
What’s the average cost to hire someone?
According to HomeAdvisor’s 2023 Remodeling Cost Report, professional floor stabilization averages $1,200–$2,800 depending on access and extent. Simple blocking jobs start around $750; full joist replacement with jacking and engineering review often exceeds $4,000.
Can I do this in a finished basement?
Yes—but access becomes trickier. You’ll likely need to cut drywall or paneling to reach joist bays. Plan for patching and repainting afterward. Use a stud finder with deep-scan mode to locate joists through finished walls, and always verify with a drill probe before cutting.
A bouncy floor isn’t just inconvenient—it’s a warning sign your home’s structural skeleton needs attention. Addressing the right part early prevents cascading issues like cracked tile, misaligned doors, or costly foundation interventions down the line. With the right diagnosis and method, most mid-span bounce repairs are well within reach of a careful, safety-conscious homeowner—and the peace of mind that comes with solid footing is worth every tightened screw.