If your bathroom floor feels like a trampoline every time you step near the toilet or shower, it’s not just annoying—it’s a warning sign. That bounce often points to structural weakness, water-damaged subfloor, or undersized joists, and ignoring it can lead to cracked tiles, leaking drains, or worse. Don’t wait for a squeak to become a sag.
Quick Diagnosis
Start by ruling out simple causes before tearing anything up. Walk slowly across the floor while listening and feeling for patterns:
- Localized bounce near the toilet? Likely loose flange or rotted subfloor under the fixture.
- Bounce across the whole floor? Could indicate undersized or spaced-too-far joists (e.g., 24" on center instead of 16" for bathroom loads).
- Spongy feel with musty odor or discoloration? Water intrusion from a leaky shower pan or supply line has likely compromised OSB or plywood subfloor.
- Visible gaps between baseboard and floor? Subfloor may have pulled away from joists due to shrinkage or fastener failure.
Tools & Materials Needed
| Item | Purpose | Estimated Cost |
|---|---|---|
| Stud finder with deep-scan mode | Locates joist centers through tile or vinyl without guesswork | $35–$65 |
| 1/2" plywood or AdvanTech subfloor panels | Reinforces or replaces water-damaged sections; AdvanTech resists swelling | $28–$42 per 4'×8' sheet |
| Construction adhesive (polyurethane-based) | Bonds new subfloor to joists and old subfloor—critical for eliminating flex | $12–$18 per tube |
| 3" exterior-grade screws (coated or stainless) | Secures subfloor without splitting; avoids rust stains on grout lines | $8–$15 per 100 |
| Jack post and adjustable steel column | Temporarily lifts sagging joists during repair (rental available) | $25 rental/day or $140 to buy |
Step-by-Step Fix
Choose the method that matches your diagnosis. Most bathroom bounces respond to one of these three approaches:
- Subfloor Reinforcement: If joists are sound but the subfloor is thin (½") or delaminating, sister ¾" plywood over the existing layer using construction adhesive and screws every 6" along joists. Cut access through the ceiling below if tile prevents removal.
- Joist Sistering: For undersized or bowed joists, fasten a new 2×8 or 2×10 alongside the existing joist using 3" screws every 8" and construction adhesive. Clamp tightly before securing.
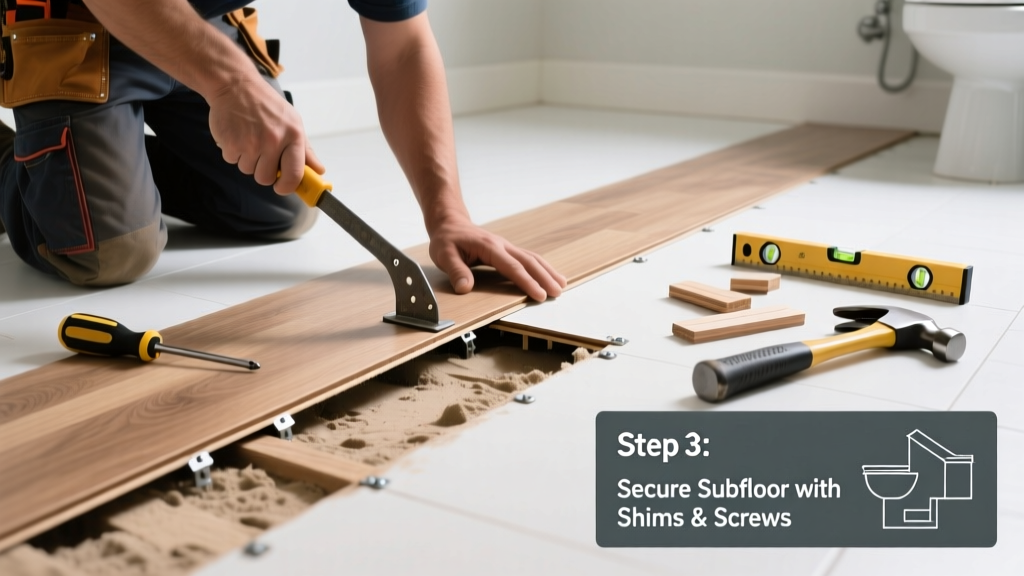
- Subfloor Replacement: Cut out damaged sections (use a rotary tool with carbide bit for tile), remove wet OSB, let cavity dry 48+ hours with a dehumidifier, then install pressure-treated or AdvanTech replacement. Seal seams with elastomeric caulk before reinstalling finish flooring.
When to Call a Pro
DIY stops where safety and code compliance begin. Call a licensed structural contractor or residential engineer if:
- The bounce worsens over days or you hear cracking sounds when walking.
- You find more than 12 square inches of soft, dark, crumbly subfloor—especially near load-bearing walls.
- Your home was built before 1980 and joists are 2×6 or smaller spaced at 24" on center (common in older bathrooms).
- The bathroom sits over a garage or crawl space with visible joist sag > ½" (per the International Residential Code, joist deflection shouldn’t exceed L/360).
"Over 62% of bathroom floor failures we inspect stem from chronic moisture exposure—not poor initial framing," says structural engineer Lena Cho in the American Society of Home Inspectors Journal, 2022.
Prevention Tips
Long-term stability starts with moisture control and smart upgrades:
- Install a drip pan under the water heater if it’s in or adjacent to the bathroom.
- Use a timer or humidity-sensing exhaust fan that runs 20 minutes after shower use—learn proper fan sizing here.
- Check shower pan slope annually with a marble test: place a marble near the drain—it should roll smoothly within 2 seconds.
- Replace rubber supply lines every 5 years; braided stainless lasts longer and rarely bursts.
Can I screw down the existing tile to stop the bounce?
No—drilling into ceramic or porcelain tile risks cracking and offers zero structural benefit. The problem is underneath. Screws into tile won’t engage joists and may compromise waterproofing membranes. Remove tile first or reinforce from below.
Will adding more screws to the subfloor fix it?
Sometimes—but only if the issue is loose fasteners and the subfloor/joists are intact and dry. Random screwing without locating joists often misses the mark. Use a stud finder, and pair screws with construction adhesive to prevent future movement.
How long does a proper subfloor repair take?
Allow 2–3 days minimum: 1 day to demo and dry, 1 day to cut/fit/adhere new material, and 1 day for adhesive cure before tiling. Rushing leads to re-bounce or adhesive failure—see our subfloor prep checklist.
Is a bouncy floor covered by homeowners insurance?
Rarely. Sudden water damage (e.g., burst pipe) may be covered, but gradual deterioration from leaks or poor ventilation usually isn’t. Document moisture readings and repair dates—some insurers require proof of maintenance to consider claims.
Can I use regular plywood instead of AdvanTech?
You can—but don’t. Standard CDX swells and delaminates fast in high-humidity bathrooms. AdvanTech absorbs 90% less moisture than CDX (Huber Engineered Woods, 2021), making it the only subfloor material recommended by the Tile Council of North America for wet areas.
Do I need a permit for subfloor repair?
Usually not for like-for-like replacement. But if you’re sistering joists, altering framing, or replacing >25% of the subfloor in a load-bearing area, check with your local building department—many municipalities require permits and inspections for structural modifications.
A bouncy bathroom floor isn’t just a nuisance—it’s your home’s way of asking for attention before something gives. Address it early with the right tools and technique, and you’ll add years to your flooring, avoid costly water damage, and restore quiet confidence with every step. And if the bounce came with a drip, a stain, or a sinking feeling—you already know what to do next.