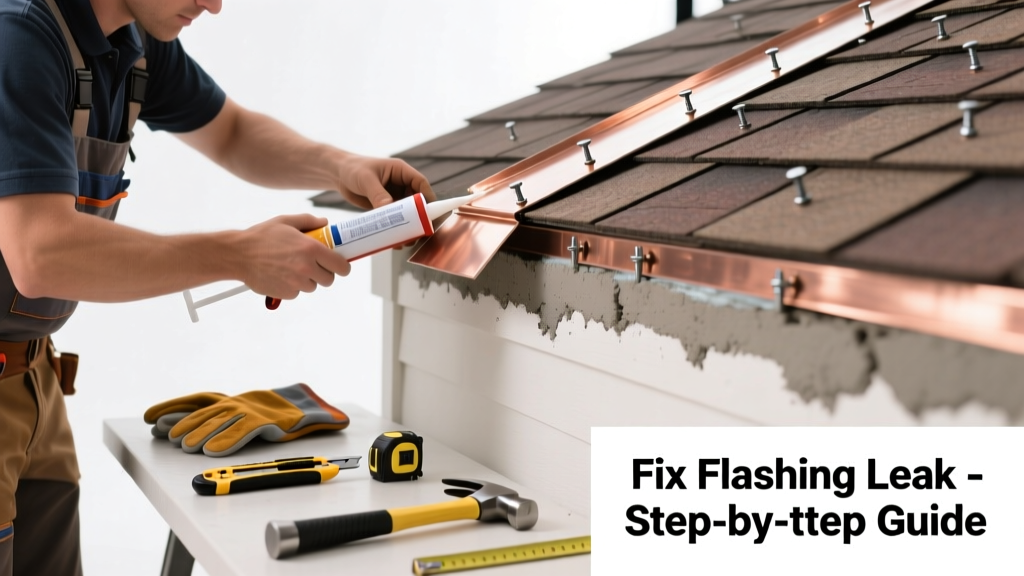
Flashing leaks are sneaky — they rarely drip right where the problem is, often showing up as stains on ceilings or mold behind baseboards weeks after rain. By the time you spot the symptom, moisture may have already warped sheathing or rotted framing. Catching and fixing flashing early saves hundreds in drywall, insulation, and structural repairs.
Quick Diagnosis
Most flashing leaks stem from one or more of these five issues:
- Corrosion or rust holes in metal flashing (especially galvanized steel older than 15 years)
- Gaps between flashing and roof deck or wall cladding due to shrinkage or poor installation
- Failed sealant at termination points (e.g., chimney base, vent pipe collar)
- Missing or dislodged step flashing under siding or shingles
- Improperly lapped counter-flashing on brick or stucco walls
Tools & Materials Needed
| Item | Purpose | Estimated Cost |
|---|---|---|
| Roofing cement (plastic roofing cement, not asphalt-based) | Seals small gaps and re-adheres loose flashing edges without cracking in cold temps | $8–$12 |
| 3M 4000 UV Sealant or OSI Quad Max | Flexible, paintable, long-lasting sealant for metal-to-masonry joints | $10–$15 |
| Stainless steel roofing nails (1¼") | Re-secures loose flashing without rusting; avoids galvanic corrosion with aluminum or copper | $4–$7 per box |
| Wire brush + mineral spirits | Cleans rust, old sealant, and debris so new adhesive bonds properly | $6–$9 |
| Roofing tin snips or aviation snips | Cuts replacement flashing sections to fit tight spaces like valleys or dormers | $12–$20 |
Step-by-Step Fix
Choose the method that matches your leak’s cause and location:
- Reseal minor gaps: Clean the joint with wire brush and mineral spirits. Apply 3M 4000 UV Sealant in a continuous ¼" bead over the seam, pressing firmly into crevices. Smooth with a damp finger or plastic spoon.
- Re-nail loose step flashing: Lift shingle tabs carefully with a flat bar. Drive stainless steel nails through flashing flange only — never into shingles. Cover nail heads with roofing cement.
- Replace corroded valley flashing: Remove damaged section by cutting along seams with tin snips. Cut new 26-gauge galvanized or copper flashing 2" wider than valley. Slide under existing shingles, lap 6" over old flashing, and seal edges with roofing cement.
- Fix chimney counter-flashing: Remove mortar around top of chase. Insert new L-shaped counter-flashing (3" vertical leg, 4" horizontal). Tuck horizontal leg under roof shingles, seal vertical leg to masonry with Quad Max, then repoint mortar over top edge.
When to Call a Pro
Don’t risk injury or further damage if you encounter any of these:
- Flashing attached to a roof slope steeper than 6:12 — fall risk increases significantly without proper fall protection
- Leak originates at a roof-to-wall intersection on a multi-story home — scaffolding or lift rental adds complexity and cost
- Signs of widespread corrosion across multiple flashing sections — indicates systemic material failure, not localized repair
- Water intrusion traced to concealed flashing behind stucco or brick veneer — requires invasive removal and expert reinstatement
"Over 68% of roof leaks tied to penetrations (vents, chimneys, skylights) trace back to flashing failure — not shingle wear." — National Roofing Contractors Association (NRCA) Roofing Manual, 2022 Edition
Prevention Tips
Maintain flashing integrity year-round with these habits:
- Inspect all visible flashing twice yearly — spring and fall — looking for cracks, rust spots, or lifted edges
- Clear debris from valleys and base-of-chimney areas every 3 months to prevent water ponding and sealant erosion
- Reapply sealant at high-stress joints (e.g., pipe boots, dormer corners) every 5 years — UV exposure degrades most silicone-based products faster than advertised
- Use color-matched acrylic caulk for painted flashing — avoids yellowing and peeling seen with cheap latex alternatives
Can I use regular caulk instead of roofing cement?
No. Standard acrylic or silicone caulk lacks the flexibility and adhesion needed for thermal expansion/contraction cycles on roofs. It will crack within 6–12 months. Use plastic roofing cement (like Henry 208) or a specialty sealant rated for metal roofing applications — both remain pliable down to -20°F and resist UV degradation.
How long does a DIY flashing repair last?
A well-executed repair using quality materials lasts 7–10 years on average — but only if underlying causes (e.g., poor attic ventilation causing ice dam pressure) are addressed. According to the U.S. Department of Energy, unvented attics increase flashing stress by 40% due to extreme temperature swings.
Do I need to replace all flashing if one section leaks?
Not necessarily — but inspect adjacent sections closely. Flashing fails progressively: if one corner of a chimney’s base flashing is rusted, check the entire perimeter. Replace only what’s compromised, but document condition with photos for future reference.
Can flashing leaks cause mold behind walls?
Yes — even slow seepage can raise wood moisture content above 20%, creating ideal conditions for Aspergillus and Penicillium. The EPA notes that hidden moisture from flashing failures accounts for nearly 22% of residential mold investigations in humid climates.
Is copper flashing worth the extra cost?
For high-exposure locations (chimneys, dormers, valleys), yes. Copper lasts 50+ years versus 20–30 for galvanized steel. It’s also self-healing — minor scratches oxidize into protective patina. Just avoid direct contact with aluminum or treated lumber to prevent galvanic corrosion.
What’s the fastest temporary fix for a flashing leak during heavy rain?
Apply a peel-and-stick flashing patch (e.g., Grace Ice & Water Shield) over the wet area *after* drying with a towel and heat gun. Press firmly, overlapping edges by 3". This buys 2–4 weeks while you plan a permanent fix — but never rely on it beyond that. Temporary patches fail rapidly under UV and thermal cycling.
Flashing isn’t glamorous, but it’s the unsung guardian of your home’s envelope. A 15-minute inspection twice a year — plus knowing when to tighten a nail versus calling in reinforcements — keeps water where it belongs: outside. For related help, see our guides on roof leak detection and chimney flashing repair.