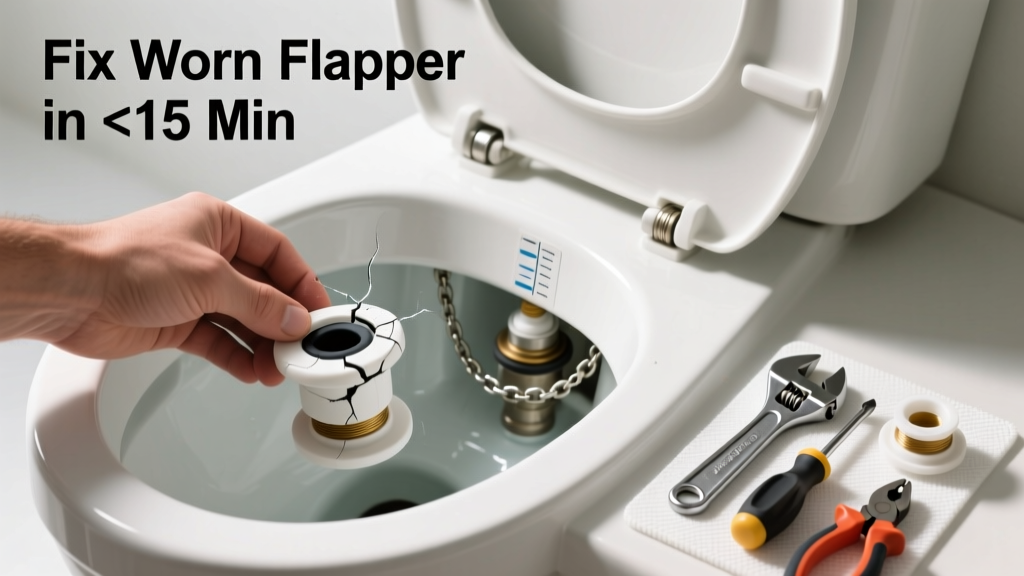
If your toilet runs intermittently—or you hear faint hissing or trickling long after flushing—you’re likely dealing with a worn flapper. This small rubber seal sits at the bottom of the tank and degrades over time, especially in homes with chlorinated or hard water. Replacing it takes under 15 minutes and costs less than $5.
Quick Diagnosis
A worn flapper rarely fails catastrophically—it leaks gradually, causing phantom flushes, inconsistent bowl refills, or higher water bills. Before assuming it’s the flapper, rule out these common culprits:
- Chain too tight or tangled, holding flapper open
- Flapper misaligned on overflow tube or seat
- Mineral buildup on flapper seat (tank bottom)
- Older flappers made with chlorine-sensitive rubber (common in pre-2010 toilets)
- Cracked or warped flush valve seat—requires replacement, not just flapper
Tools & Materials Needed
| Item | Purpose | Estimated Cost |
|---|---|---|
| Universal flapper kit (e.g., Fluidmaster 502P) | Fits most 2-inch and 3-inch flush valves; includes multiple flapper styles and chain | $4.99–$7.49 |
| Adjustable wrench or pliers | Loosens/cleans flush valve nut if mineral buildup is present | $8.00–$22.00 |
| Vinegar and soft brush | Removes calcium and rust from flapper seat without scratching porcelain | $3.00–$6.00 |
| Flashlight | Helps inspect flapper seal and seat condition in low-light tank interior | $5.00–$18.00 |
Step-by-Step Fix
Follow this sequence—even if your flapper looks fine, age alone may warrant replacement. Most flappers last only 3–5 years.
- Turn off water supply: Locate the shut-off valve behind the toilet (usually a brass knob). Turn clockwise until snug. Flush once to drain tank.
- Remove old flapper: Unhook chain from flush lever. Detach flapper ears from overflow tube pegs (or unscrew threaded flapper base if older model).
- Clean the flush valve seat: Use vinegar-soaked rag and soft nylon brush to scrub mineral deposits. Rinse thoroughly—any grit prevents new flapper sealing.
- Install new flapper: Match style to your valve (2” round, 3” wide, or cone-style). Hook ears onto pegs, reattach chain with ½” slack (too tight = won’t seal; too loose = won’t lift fully).
- Test and adjust: Turn water back on. Let tank fill. Press handle: flapper should lift cleanly and reseat with a soft *hiss*, not a *clunk*. Adjust chain length if it sticks or leaks.
When to Call a Pro
DIY works in 90% of flapper cases—but skip the wrench if you see any of these red flags:
- Flush valve seat is cracked, pitted, or warped (visible hairline fractures or uneven surface)
- Overflow tube or tank floor shows stress cracks near the valve opening
- Water pressure drops significantly elsewhere in the house when toilet fills
- You’ve replaced the flapper twice in 12 months—and still have leaks
According to the U.S. EPA, 14% of household water usage is from leaks—and a single running toilet can waste 200+ gallons per day. A plumber can assess whether your flush valve assembly needs full replacement, which costs $75–$120 but prevents repeat failures.
Prevention Tips
Extend flapper life by reducing chemical exposure and wear:
- Use non-chlorine toilet tank cleaners—bleach tablets degrade rubber fast
- Check flapper annually during spring cleaning (look for warping, stickiness, or discoloration)
- Install a water softener if hardness exceeds 7 gpg (grains per gallon)—reduces mineral buildup on seat and flapper
- Choose flappers labeled "chlorine-resistant" or "silicone"—they last up to 8 years in treated water
Can I use bleach on this?
No. Chlorine rapidly oxidizes rubber flappers, causing cracking and premature failure. Even diluted bleach wipes near the tank rim can volatilize and damage the seal. Stick to white vinegar or citric acid solutions for cleaning.
Why does my new flapper still leak?
Most often, it’s improper chain tension or mineral residue on the seat—not a defective part. Recheck slack (1/2" gap between chain and lever arm at rest) and scrub the seat again with vinegar. If leakage persists after two cleanings, inspect the flush valve seat with a flashlight: tiny pits or chips mean it’s time for a flush valve replacement.
How do I know if I need a 2-inch or 3-inch flapper?
Measure the flush valve opening at the bottom of the tank. A 2-inch valve has a smooth, round hole about the size of a lime; a 3-inch valve is wider—closer to a grapefruit—and often has a flared lip. When in doubt, buy a universal kit like the Fluidmaster 502P, which includes both sizes and adapters.
Do all flappers fit all toilets?
No. Older toilets (pre-1994) often use proprietary flappers, while post-1994 models standardized around 2" or 3" openings. Dual-flush and pressure-assist toilets require specialty flappers. Check your toilet’s model number (inside tank lid or on rear exterior) and cross-reference with manufacturer specs before buying.
Can a worn flapper cause low flush power?
Yes—indirectly. If the flapper leaks during the flush cycle, water escapes prematurely from the tank, reducing the volume and velocity delivered to the bowl. That leads to incomplete waste removal and repeated flushes. A properly sealing flapper ensures full tank discharge, maximizing siphon action.
Is replacing the flapper the same as replacing the fill valve?
No. The flapper controls water release *from* the tank into the bowl. The fill valve controls water *into* the tank after flushing. They’re separate components with different failure modes. If your tank refills slowly or makes whistling noises, the issue is likely the fill valve—not the flapper.
A worn flapper is one of the easiest, most cost-effective repairs you’ll ever make—and it pays for itself in water savings within weeks. Keep a spare flapper in your utility drawer, test your toilet’s seal every six months, and you’ll avoid surprise leaks, high bills, and late-night tank inspections. For deeper issues like cracked tanks or corroded supply lines, check our guide on identifying hidden toilet leaks.