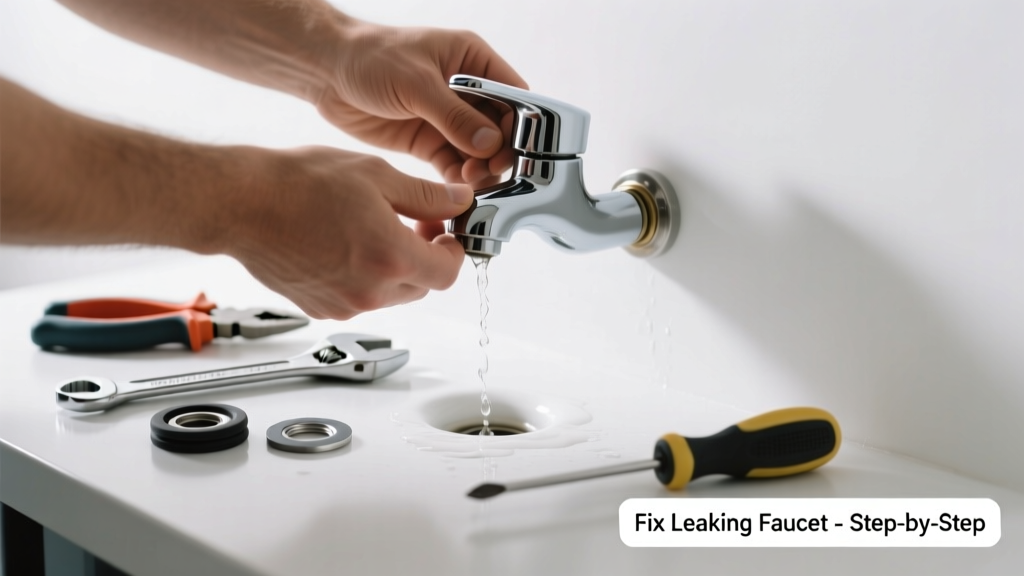
A dripping faucet wastes up to 3,000 gallons of water per year — that’s enough to fill a small swimming pool. Even a slow leak can raise your water bill by $100+ annually and risk mold growth behind walls or under cabinets. Most fixture leaks are simple to fix in under an hour if you know where to look and what to replace.
Quick Diagnosis
Before grabbing tools, identify the leak’s source. Common causes include:
- Worn rubber washers (most frequent in compression faucets)
- Cracked or warped cartridge (common in single-handle Moen or Delta fixtures)
- Loose or corroded valve seat (especially in older brass fixtures)
- Failed O-rings on the stem or handle assembly
- Mineral buildup clogging aerator or internal passages
Tools & Materials Needed
| Item | Purpose | Estimated Cost |
|---|---|---|
| Adjustable wrench | Secures nuts without stripping threads; fits multiple sizes | $12–$25 |
| Phillips & flat-head screwdrivers | Removes handle screws and trim plates | $8–$15 |
| Replacement cartridge or washer kit | Brand-specific part matching your faucet model | $5–$22 |
| Vinegar soak container | Removes limescale from aerators and cartridges | $0 (use a small jar) |
| Plumber’s grease (silicone-based) | Lubricates O-rings and cartridges without degrading rubber | $4–$9 |
Step-by-Step Fix
Follow these methods in order — start with the simplest and escalate only if needed:
- Check and clean the aerator: Unscrew the tip of the spout, soak parts in white vinegar for 15 minutes, rinse, and reassemble. This fixes 20% of kitchen and bathroom faucet leaks (U.S. EPA WaterSense, 2022).
- Replace the washer: Turn off water supply valves, remove handle and stem, swap the rubber washer (size varies: 1/4", 5/16", or 3/8") with an exact match, and reassemble tightly but not over-torqued.
- Swap the cartridge: For single-handle fixtures, pull the handle, unscrew retaining clip, extract old cartridge, match orientation and length before inserting new one, then reinstall.
- Re-seat the valve seat: Use a valve seat wrench to remove and replace corroded seats — common in pre-1990s compression faucets. A worn seat causes persistent drip even with new washers.
When to Call a Pro
DIY isn’t safe or effective in these cases:
- Leak originates from behind the wall or under the sink cabinet floor (possible pipe joint failure)
- Fixture is soldered copper or threaded galvanized steel — no compression fittings to easily access
- You detect musty odors or visible mold near the leak — indicates long-term moisture exposure
- Water pressure drops significantly elsewhere in the house when the fixture is used
- The shutoff valve itself is leaking or won’t close fully (a critical safety issue)
Prevention Tips
Extend your fixture’s life and prevent repeat leaks with these habits:
- Turn handles gently — never force them past resistance
- Flush aerators every 6 months using vinegar and a soft brush
- Apply silicone-based plumber’s grease to O-rings and cartridges during reassembly
- Install a whole-house water softener if your home has hard water (over 7 gpg hardness)
- Replace rubber washers every 3–5 years, even if no leak is visible
Can I use bleach to clean a mineral-clogged aerator?
No — bleach corrodes brass and dissolves rubber seals. Stick to white vinegar or citric acid solutions. According to the Plumbing-Heating-Cooling Contractors Association (PHCC) 2021 Maintenance Guide, chlorine-based cleaners accelerate degradation of faucet components by up to 40%.
Why does my faucet leak only when the handle is in the 'off' position?
This points to a failed cartridge or worn valve seat — the seal isn’t engaging fully at rest. Compression faucets often leak here due to washer compression fatigue; cartridge models usually need full replacement, not just lubrication.
Is Teflon tape necessary when reassembling faucet parts?
Only on threaded male pipe connections (e.g., supply line nuts), never on internal faucet components like stems or cartridges. Overuse can cause misalignment and cracking. Use 2–3 wraps max, applied clockwise, per the American Society of Mechanical Engineers (ASME A112.18.1, 2020).
How tight should I tighten the packing nut on a compression faucet?
Tighten until the leak stops — then back off 1/8 turn. Overtightening cracks the stem or deforms the washer. A properly adjusted nut should hold firm with finger pressure plus one-quarter turn of a wrench.
Will replacing the entire faucet solve recurring leaks?
Not always — if supply lines, shutoff valves, or wall pipes are corroded or undersized, new fixtures will still leak. Inspect supply lines for bulging or brittleness, and test shutoff valves for smooth operation before assuming the fixture is the sole culprit.
What’s the average lifespan of a bathroom faucet cartridge?
Most quality cartridges last 5–7 years with normal use, but drop to 2–3 years in homes with hard water above 12 grains per gallon. The National Association of Home Builders (NAHB) reports 68% of premature cartridge failures correlate with unfiltered hard water exposure.
"A single dripping faucet wastes more water in a year than a person drinks — yet 9 out of 10 leaks are repairable with under $20 in parts." — U.S. EPA WaterSense Program, 2023
Fixing a leaking fixture isn’t about perfection — it’s about catching small problems before they become costly repairs or health hazards. If you’ve replaced washers twice in six months, it’s time to inspect the valve seat or consider upgrading to a ceramic-disk faucet with fewer moving parts. For help choosing durable replacements, see our best kitchen faucets and bathroom faucet replacement guide. Keep a small toolkit under the sink — it pays for itself the first time you stop a leak before it soaks the cabinet floor.