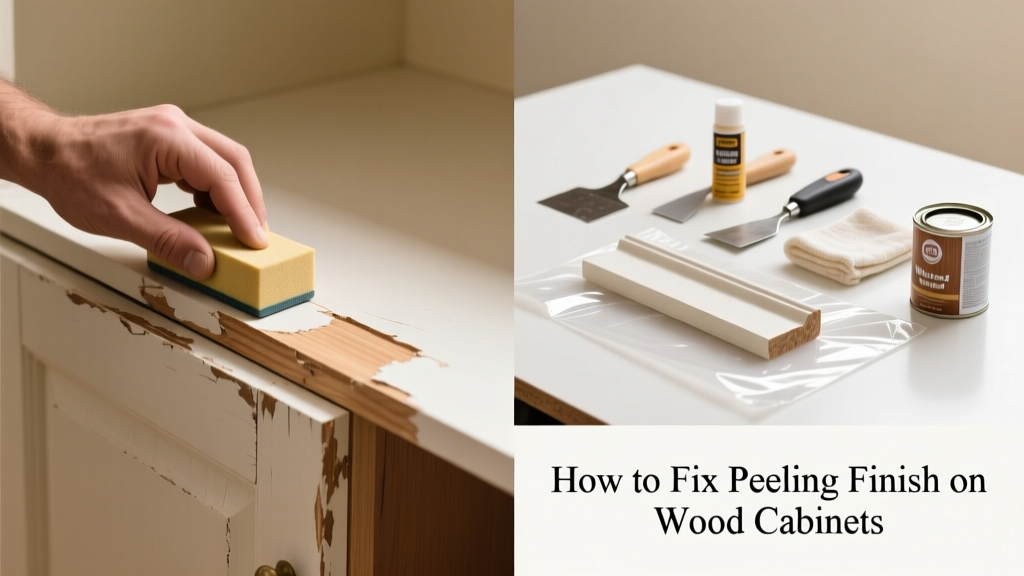
That flaky, curling finish on your kitchen cabinets or baseboards isn’t just ugly—it’s a warning sign that moisture, UV exposure, or poor prep is undermining the surface. Left unaddressed, peeling can worsen fast, exposing bare wood to warping, staining, or mold. The good news? Most cases are fixable in a weekend with the right approach.
Quick Diagnosis
Before grabbing sandpaper, identify the root cause—this dictates whether you’re patching or rebuilding:
- Moisture infiltration (e.g., near sinks, dishwashers, or leaky windows)
- UV exposure from direct sunlight on finished surfaces
- Poor surface prep before original finishing (dust, oil, or silicone residue)
- Using incompatible products (e.g., water-based topcoat over oil-based stain)
- Aging finish—especially nitrocellulose lacquer older than 15 years
Tools & Materials Needed
| Item | Purpose | Estimated Cost |
|---|---|---|
| 120- and 220-grit sandpaper (or orbital sander) | Smooths edges of peeling areas and creates a feathered transition | $8–$15 |
| Denatured alcohol or mineral spirits | Cleans residue without raising grain; tests finish type | $6–$12 |
| Wood filler or grain filler (if needed) | Fills exposed pores or minor dents after sanding | $10–$18 |
| Compatible topcoat (e.g., wipe-on poly or acrylic lacquer) | Rebuilds protective layer without lifting existing finish | $14–$24 |
| Microfiber cloths & tack cloth | Removes dust without scratching or static buildup | $5–$9 |
Step-by-Step Fix
Choose the method based on severity and location. Always test on an inconspicuous area first.
- Light peeling (edges only): Sand gently with 220-grit until the edge is feathered and smooth. Wipe with tack cloth, then apply one thin coat of compatible topcoat using a foam brush—no sanding between coats.
- Moderate peeling (1–3 sq ft, no bare wood): Remove loose finish with a plastic scraper, sand entire affected zone with 120-grit, then 220-grit. Clean with mineral spirits, let dry 30 minutes, then apply two thin coats of topcoat, lightly sanding with 320-grit between coats.
- Severe peeling (exposed wood or >5 sq ft): Strip full section using CitriStrip Gel (non-caustic), neutralize with vinegar/water, sand smooth, condition wood if blotchy, then refinish with matching stain and 3 coats of satin polyurethane.
When to Call a Pro
DIY isn’t always safe—or cost-effective. Call a certified finisher if:
- You see bubbling or alligatoring across large surfaces (sign of substrate failure)
- The peeling coincides with water stains, soft wood, or musty odors (possible hidden rot or mold)
- It’s on antique furniture with historic finishes like French polish or shellac—reversal requires solvent-specific expertise
- You’ve attempted two refinishing cycles and peeling recurs in the same spot (points to unresolved moisture source)
"Over 60% of finish failures traced to moisture originate from plumbing leaks behind cabinetry—not surface spills," notes the National Kitchen & Bath Association's 2022 Repair Standards Guide.
Prevention Tips
Extend your repair’s lifespan with these habits:
- Install cabinet toe-kick ventilation near dishwashers to reduce steam buildup
- Use UV-filtering window film on south-facing kitchen windows
- Wipe spills within 90 seconds—especially acidic ones like vinegar or citrus juice
- Reapply a maintenance coat of wipe-on poly every 18–24 months on high-wear surfaces
- Avoid silicone-based cleaners—they leave invisible residue that repels future finishes
Can I use bleach on this?
No. Bleach degrades wood lignin and weakens adhesion of any new finish. It also turns tannins in oak or cherry black, creating permanent stains. For mold-related peeling, use a 1:10 vinegar/water solution instead—and confirm moisture is resolved first.
Will painting over peeling work?
Only after complete removal of all loose and compromised finish. Painting over peeling causes delamination within months. If going paint-over-stain, use a bonding primer like Zinsser BIN and sand aggressively to 120-grit minimum.
How long does the fix last?
A proper repair lasts 5–8 years in low-moisture areas (e.g., bedroom trim). In kitchens and bathrooms, expect 3–5 years unless you address humidity control—installing a properly ducted bathroom fan can double longevity.
Can I match the sheen level?
Yes—but only by measuring with a gloss meter or comparing to an untouched area under consistent lighting. Satin (35–45 gloss units) and semi-gloss (50–70) are most common. Use the same brand and batch as original if possible; our wood finish types guide breaks down visual differences.
Do I need to strip the whole door?
Not unless peeling extends beyond 25% of the surface or crosses panel seams. Spot repairs work well on flat, solid-wood doors—but avoid patching on MDF or veneered surfaces where heat/moisture can lift adjacent layers.
Is sanding dust dangerous?
Yes—especially from older finishes containing lead (pre-1978) or formaldehyde-based resins. Wear an N95 respirator, seal off the room, and use a shop vac with HEPA filtration. Never dry-sand without dust collection—see our safe sanding checklist.
A peeling finish isn’t a death sentence for your cabinets or trim—it’s a chance to upgrade protection while preserving value. The key is acting early, choosing compatible materials, and respecting the role of environment. With clean prep and thoughtful product selection, your repair won’t just look seamless—it’ll outlast the original.