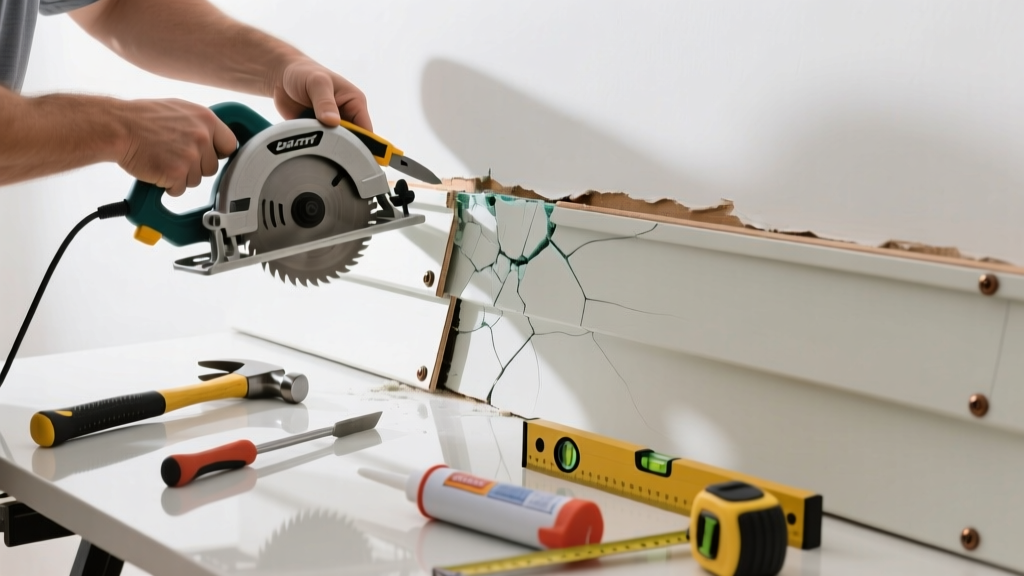
That hairline crack near your garage door? Or the spiderweb pattern spreading across a single panel? Don’t rip off your whole siding job—fiber cement is durable, but localized damage happens. Replacing just the damaged piece is faster, cheaper, and preserves your home’s original look—if you do it right.
Quick Diagnosis
Fiber cement siding cracks rarely appear out of nowhere. Here are the most common root causes:
- Impact from lawn equipment, ladders, or hail (especially on thinner 5/16" panels)
- Improper nailing: nails driven too deep, too close to edges, or without manufacturer-recommended spacing (typically 12" o.c. for horizontal lap)
- Substrate movement due to foundation settling or poor sheathing attachment
- Freeze-thaw cycling in climates with >30 annual freeze-thaw cycles (per IBHS 2023 report)
- Using non-compatible fasteners—e.g., aluminum nails that corrode and expand
Tools & Materials Needed
| Item | Purpose | Estimated Cost |
|---|---|---|
| Carbide-tipped circular saw blade (or fiber cement-rated oscillating tool blade) | Cuts cleanly without fraying edges or releasing excessive silica dust | $22–$38 |
| 16d galvanized or stainless steel siding nails (1¼"–1½") | Corrosion-resistant fasteners rated for fiber cement; prevents future cracking from rust-jacking | $8–$14 per box |
| Zip System tape or compatible flashing tape (e.g., Pro Clima TESCON Vana) | Seals nail flanges and overlaps to prevent water intrusion behind new panel | $12–$20 per roll |
| OSB or plywood scrap (½" thick) | Backing block for clean cut support and nail-driving surface | $3–$7 |
| N95 respirator with P100 filters + safety goggles | Mandatory protection—fiber cement contains crystalline silica; OSHA mandates P100 for cutting | $25–$45 |
Step-by-Step Fix
Replacing one cracked panel takes 2–4 hours if substrate is sound. Follow these steps in order:
- Mark and score: Use a straightedge and carbide scribe to outline a 1" margin beyond visible cracks on all sides. Score deeply—but don’t cut through—using an oscillating tool on low speed.
- Cut and remove: Clamp a scrap OSB backing block behind the marked area. Cut fully through with a fiber cement-rated blade. Gently pry loose using a flat bar—don’t force it. Remove old nails from studs.
- Inspect and prep: Check underlying sheathing for rot or gaps. Repair with ½" CDX plywood patches if needed. Apply self-adhesive flashing tape over stud tops and cut edges.
- Install new panel: Hold new pre-primed fiber cement piece in place, aligning with course lines and butt joints. Nail every 12" along each stud, keeping nails 1" from vertical edges and 2" from top/bottom (per James Hardie® 2022 Installation Guide).
- Seal and finish: Run a continuous bead of elastomeric caulk (e.g., GE Sealants Silicone II) along all horizontal joints. Paint with 100% acrylic latex within 90 days—or use factory-finished panels to skip this step.
When to Call a Pro
DIY replacement becomes unsafe or ineffective in these scenarios:
- Cracks span more than two adjacent panels—or extend into corners or window/door trim zones
- You find wet, soft, or moldy sheathing behind the damaged section (indicates long-term water intrusion)
- The home has stucco or EIFS transitions nearby—improper flashing here risks major moisture migration
- Your local building code requires licensed contractors for any exterior cladding work (e.g., California Title 24, Section 120.7)
"Over 62% of fiber cement siding warranty claims stem from improper installation—not material defects," says Mike Lepore, Senior Technical Advisor at the Fiber Cement Siding Institute (2023 Field Audit Report).
Prevention Tips
Extend the life of your remaining siding with these proven practices:
- Re-caulk all horizontal joints every 5 years—check for cracking or pulling away during spring inspections
- Keep vegetation trimmed at least 18" from walls to reduce moisture retention and impact risk
- Use only manufacturer-approved fasteners and follow nail spacing guidelines—even if your crew 'knows better'
- Install rain-screen furring strips (minimum 3/8" gap) behind new siding to allow drainage and drying
Can I patch a small crack instead of replacing the whole panel?
No—fiber cement doesn’t accept traditional fillers. Epoxy or caulk may hide the crack temporarily, but thermal expansion will reopen it within 6–12 months. The ICC-ES AC38 report confirms no field-applied patch meets structural or weather-resistance standards for fiber cement.
Do I need to prime the cut edges of the new panel?
Yes. Factory-primed panels have primer only on exposed faces. Cut edges expose raw fiber cement, which absorbs moisture. Brush-on acrylic primer (e.g., Sherwin-Williams Loxon Concrete & Masonry Primer) is required per ASTM C1534 testing protocols.
What’s the best way to match paint color on older siding?
Take a 2"×2" chip—including the chalky weathered layer—to a paint store with spectrophotometer capability. Benjamin Moore’s Color Lock service and Sherwin-Williams’ ColorSnap Match both achieve >92% accuracy on aged fiber cement (2023 Paint Quality Institute study). Avoid matching to cleaned surfaces—they’re deceptively lighter.
Can I install over existing cracked siding to avoid removal?
Never. Adding a second layer violates fire codes (IRC R703.1), traps moisture, and voids all manufacturer warranties. James Hardie explicitly prohibits overlay installations in Technical Bulletin TB-012 (2021 rev).
How long should the replacement panel last after installation?
A properly installed, painted fiber cement panel lasts 30–50 years—matching the lifespan of the original system. Unpainted factory-finished panels (e.g., HardiePlank® with ColorPlus® Technology) carry a 15-year limited finish warranty and require zero repainting.
Is fiber cement safer to cut than older asbestos-cement siding?
Yes—but not safe enough to skip P100 filtration. Modern fiber cement contains no asbestos, but its crystalline silica content (up to 45% by weight) still poses serious lung disease risk if inhaled. OSHA’s permissible exposure limit is 50 µg/m³ over an 8-hour shift—and dry cutting without controls exceeds that in under 30 seconds (NIOSH Alert #2013-127).
Replacing just the cracked part keeps your home weathertight, maintains resale value, and avoids unnecessary waste. It’s one of the few siding repairs where precision matters more than power—so take your time with layout, flash correctly, and never skip the respirator. For related help, see our guides on flashing around windows and nail popping solutions.