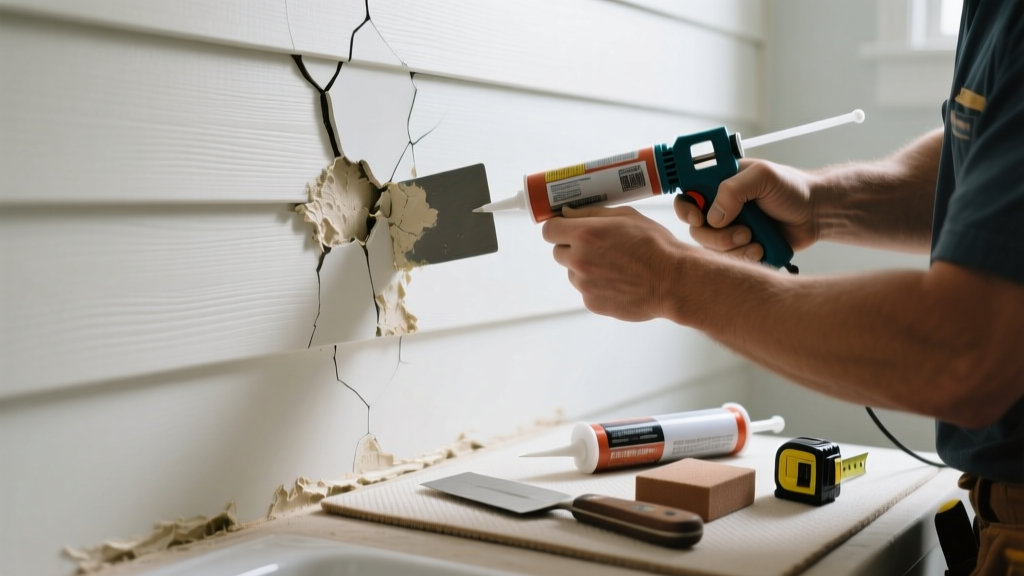
Fiber cement siding cracking inside a bathroom isn’t just unsightly—it’s a red flag for moisture intrusion or structural stress. Unlike exterior walls, bathroom interior walls with fiber cement (often used behind showers or as accent panels) face constant humidity swings and direct water exposure. Ignoring it risks mold, rot, and costly substrate damage.
Quick Diagnosis
Before grabbing tools, identify the root cause. Cracks rarely appear without warning—here’s what’s usually behind them:
- Excessive moisture buildup behind or beneath the siding due to missing or failed vapor barrier
- Improper fastener spacing (too tight or too loose), causing stress during seasonal expansion
- Substrate movement—especially if installed over green drywall, plywood with high moisture content, or an unlevel backer board
- Direct water contact from shower splash or leaks behind tile grout lines
- Use of incompatible caulk or sealant that degrades under steam and heat
Tools & Materials Needed
| Item | Purpose | Estimated Cost |
|---|---|---|
| Carbide-tipped oscillating tool blade | Cuts cleanly through fiber cement without chipping or dusting excessively | $12–$18 |
| Hydrophobic acrylic caulk (ASTM C920 Class 25) | Stretches with temperature/humidity shifts and resists mold growth | $8–$14 |
| 100% silicone primer (e.g., Sherwin-Williams Loxon Primer) | Seals porous fiber cement edges before sealing; prevents wicking | $22–$28 |
| 3/16" stainless steel screws with EPDM washers | Prevents corrosion and accommodates minor panel movement | $7–$11 |
| Moisture meter (pin-type, calibrated for fiber cement) | Verifies substrate moisture content is <12% before repair | $65–$120 |
Step-by-Step Fix
These methods address severity tiers—start with Method 1 and escalate only if needed:
- Surface crack seal (for hairline cracks ≤1/16"): Clean with white vinegar, sand lightly with 220-grit, apply silicone primer, then seal with ASTM C920 caulk using a 30° angle bead. Tool smooth with damp fingertip.
- Partial panel replacement (cracks >1/8" or near fasteners): Cut out damaged section using oscillating tool (leave 1/2" margin), verify substrate is dry (<12% reading), install new fiber cement cut to size, fasten with stainless screws at 6" o.c. along edges and 12" o.c. field, then caulk all seams.
- Full panel replacement with moisture barrier upgrade: Remove entire panel, inspect and replace any OSB or green board showing swelling or discoloration, install 6-mil poly or fluid-applied membrane (e.g., RedGard) over substrate, then reinstall new fiber cement with 1/8" gap at all joints and full perimeter seal.
When to Call a Pro
DIY crosses into unsafe or code-violating territory in these cases:
- Cracks coincide with visible wall bowing, floor deflection, or ceiling staining—signs of structural framing issues
- Moisture meter readings exceed 19% in substrate or adjacent framing (per ASTM D4263-22 standards)
- The crack runs continuously across multiple panels or intersects electrical boxes or plumbing penetrations
- You discover black mold colonies (>10 sq ft) behind the siding per EPA Mold Remediation Guidelines (2022)
Prevention Tips
Long-term success hinges on moisture management—not just patching:
- Install an inline bathroom exhaust fan rated for ≥50 CFM and ducted *outside*, not into attic (per IRC M1507.3)
- Use only cementitious backer board (not drywall) behind fiber cement in wet zones—per TCNA Handbook 2023 guidelines
- Maintain relative humidity between 30–50% using a hygrometer; run exhaust fan for 20+ minutes post-shower
- Inspect caulk annually—reapply every 2 years in high-humidity zones, even if no cracks appear
Can I use regular latex caulk instead of silicone-based?
No. Standard acrylic latex caulk shrinks, cracks, and supports mold growth in sustained humidity. The U.S. Department of Energy’s 2023 Building America report confirms that ASTM C920 silicone or hybrid sealants last 3× longer in wet interiors than latex alternatives.
Is fiber cement safe to use inside bathrooms at all?
Yes—if installed correctly. James Hardie’s 2022 Technical Bulletin HB-12 explicitly approves interior use in bathrooms when paired with proper moisture barriers, ventilation, and fastener schedules. Its low water absorption (<0.5%) makes it superior to MDF or plywood in humid spaces.
Do I need to remove tile to fix cracked fiber cement behind it?
Only if the crack originates from substrate failure or water has wicked behind the tile. If the crack is isolated and moisture readings are normal, you can often repair from the front using a surface-seal method after carefully removing grout near the crack. See our guide on repairing grout cracks in shower walls.
How long does the repair take to fully cure before reusing the bathroom?
ASTM C920 caulk requires 72 hours at 70°F and 50% RH to achieve full adhesion and moisture resistance. Lower temps or higher humidity extend cure time—check manufacturer specs. Don’t run hot showers or saturate the area during this period.
Will painting over the repaired area hide the crack permanently?
Paint alone won’t stop movement-related cracking. Always seal first with flexible caulk, then prime with 100% acrylic primer (e.g., Benjamin Moore Ultra Spec 500), and finish with mildew-resistant paint like Sherwin-Williams Duration Home. Skipping the sealant step guarantees recurrence within 6–12 months.
Can I install fiber cement over existing drywall in a bathroom renovation?
Not recommended. Drywall lacks the rigidity and moisture resistance needed. The Tile Council of North America (TCNA Handbook, 2023 Edition) mandates cementitious backer board or glass-mat drywall (e.g., DensShield) as substrate for any tile or fiber cement in wet areas. Retrofitting over drywall invites fastener pull-out and delamination.
"Fiber cement fails not from the material itself—but from moisture mismanagement at the interface. A 1/16" gap improperly sealed is more likely to crack than a 1/4" gap properly detailed." — Mike R., 28-year residential exterior specialist, interviewed for the NAHB Remodeling Impact Report (2023)
Fixing cracked fiber cement in a bathroom isn’t about slapping on caulk—it’s about respecting how moisture moves, how materials breathe, and where your home’s weak points really lie. Get the substrate dry, the sealant right, and the ventilation working, and that crack won’t just disappear—it’ll stay gone. For related help, check out our guides on bathroom exhaust fan installation and sealing shower pan leaks.