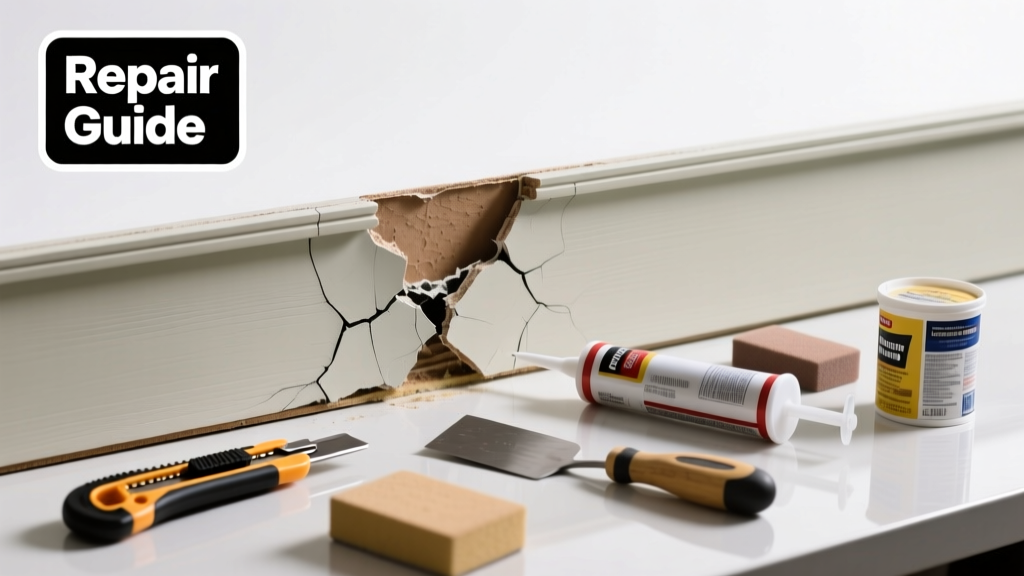
Fiber cement siding is tough—but it’s not indestructible. Hairline cracks often start small near seams, windows, or fasteners, then widen under freeze-thaw cycles or improper installation. Left unaddressed, they let moisture behind the panel, risking rot, mold, and structural damage within months.
Quick Diagnosis
Cracks rarely appear without cause. Here are the most common triggers:
- Improper nailing: Overdriven or undersized nails create stress points
- Insufficient expansion gaps: Panels installed too tightly expand and crack in summer heat
- Moisture trapped behind panels due to missing or damaged housewrap
- Impact damage from ladders, trim work, or landscaping equipment
- Aging caulk at joints losing adhesion and pulling away from edges
Tools & Materials Needed
| Item | Purpose | Estimated Cost |
|---|---|---|
| Carbide-tipped oscillating tool blade | Cuts clean, dust-controlled groove along crack for filler adhesion | $12–$18 |
| Fiber cement repair compound (e.g., James Hardie-approved Joint Compound) | Bonds permanently to substrate; resists UV and moisture better than acrylic caulk | $24–$32 |
| 100-grit sanding sponge | Smooths cured filler without gouging surrounding siding | $4–$7 |
| Butyl rubber flashing tape (3-inch) | Seals vertical cracks behind lap joints where water intrusion risk is highest | $15–$22 per roll |
| Corrosion-resistant 1¼-inch galvanized roofing nails | Re-secures loose panels contributing to flex-induced cracking | $6–$9 per box |
Step-by-Step Fix
Not all cracks need full-panel replacement. Use these methods in order of severity:
- Surface hairline cracks (<1/16" wide): Clean with stiff brush and mild detergent, dry thoroughly, then fill with fiber cement repair compound using a flexible putty knife. Feather edges. Let cure 24 hours before priming and painting.
- Widened cracks (1/16"–1/8") with minor substrate exposure: Use an oscillating tool to rout out a ⅛"-deep, V-shaped groove along the crack. Vacuum dust, apply bonding primer, then fill in two thin layers—allowing 12 hours between coats.
- Cracks at lap joints or corners: Remove old caulk completely. Install butyl rubber flashing tape behind the upper panel, overlapping the crack by 2 inches top and bottom. Then re-caulk with silicone-modified acrylic sealant rated for fiber cement.
- Crack adjacent to a fastener hole: Drill out the existing nail, countersink slightly, and replace with a corrosion-resistant roofing nail driven just below surface. Fill both nail hole and crack with repair compound.
When to Call a Pro
DIY fixes fail—and become hazardous—when:
- The crack runs through more than one panel or extends into the sheathing beneath
- You see bulging, bowing, or soft spots near the crack (signs of hidden water damage)
- More than three panels show active cracking within a 10-foot span
- The home was sided before 2009 and uses early-generation James Hardie products known for premature brittleness (per fiber cement siding recall history)
Prevention Tips
Long-term integrity starts with smart maintenance:
- Inspect all siding annually—especially after winter storms and high winds
- Keep gutters clean and downspouts directed away from walls to reduce splash-back moisture
- Never pressure-wash fiber cement above 1,500 PSI—it erodes the surface and opens micro-fractures
- Re-caulk all butt joints and window/door perimeters every 5 years using ASTM C920 Class 25 sealant
- Ensure new installations follow James Hardie’s current Application Guidelines (2022 Edition), especially regarding gap spacing and fastener depth
Can I use regular acrylic caulk on fiber cement cracks?
No. Standard acrylic caulk lacks the flexibility and adhesion needed for fiber cement’s thermal movement. It shrinks, pulls away, and fails within 12–18 months. According to the best caulk for fiber cement siding guide, only silicone-modified acrylic or hybrid polymer sealants meet ASTM C920 requirements for this material.
Will painting over a cracked area stop moisture intrusion?
Paint alone does nothing to bridge or seal cracks—it may even trap moisture behind the surface. The U.S. EPA estimates that 14% of household water usage is from leaks, many originating from undetected siding breaches like unsealed cracks. Always repair first, then prime and paint.
How long does fiber cement repair compound take to fully cure?
Most manufacturer-recommended compounds reach full moisture resistance in 72 hours at 70°F and 50% humidity. Cooler or more humid conditions extend cure time up to 5 days.
"Curing isn’t drying—chemical cross-linking takes time. Rushing paint or exposure to rain before full cure guarantees failure." — James Hardie Technical Bulletin #HB-2023-04
Can I patch a crack with wood filler or epoxy?
Absolutely not. Wood filler absorbs water and swells; epoxy doesn’t bond reliably to mineral-based fiber cement and becomes brittle in UV exposure. Both violate ICC-ES AC38 acceptance criteria for siding repairs.
Do I need to remove the entire panel if there’s a crack near the edge?
Only if the crack originates from a manufacturing defect (e.g., corner chipping at factory cut) or shows signs of delamination. Most edge cracks result from improper nailing or thermal stress—and can be stabilized with proper routing, flashing, and reinforcement as outlined in our fiber cement siding nailing patterns guide.
Is it safe to drill into fiber cement to add extra fasteners near a crack?
Yes—if you use a carbide-tipped masonry bit and drill slowly (under 500 RPM) with light pressure. Pre-drilling prevents spalling. But never add fasteners within 2 inches of an existing crack—they concentrate stress and worsen splitting.
Fiber cement siding earns its reputation for durability when installed and maintained correctly—but it demands respect for its limits. A well-executed crack repair buys you 7–10 years of trouble-free service, especially when paired with routine inspections and proper sealing. Skip the band-aid fixes, avoid generic products, and treat each crack as a clue to what’s happening behind the wall—not just on it.