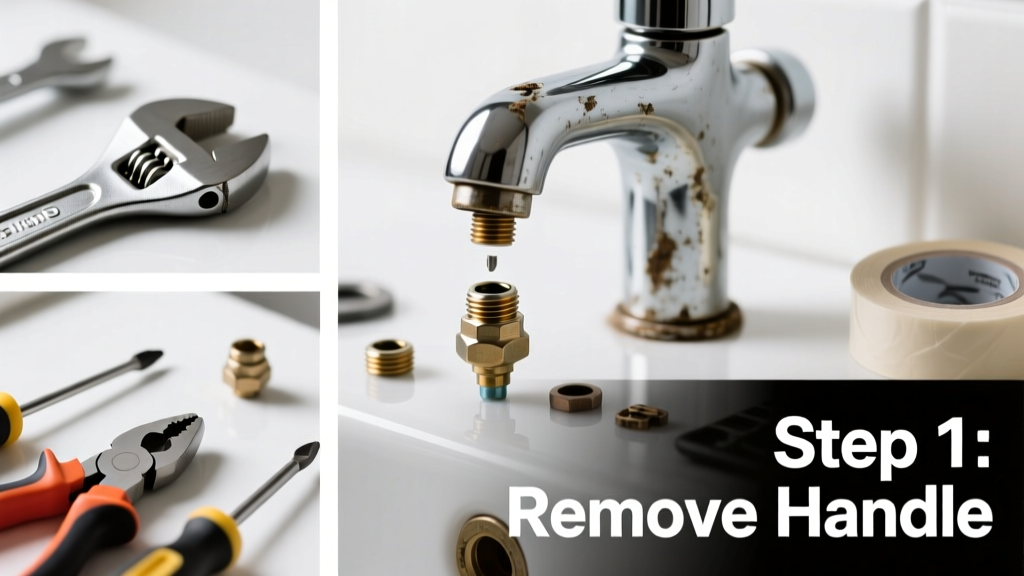
If your faucet drips constantly, won’t shut off fully, or delivers inconsistent water temperature—especially after years of use—the cartridge inside is likely worn out. This small, precision-machined part controls flow and mixing, and wear happens faster in hard water areas or with frequent on/off cycling. Replacing it takes under 30 minutes for most single-handle models, and costs less than $25 in parts.
Quick Diagnosis
Before grabbing tools, rule out simpler issues. A worn cartridge typically shows these signs—but confirm they’re not caused by other failures:
- Dripping from spout even when handle is fully closed
- Handle spins freely without resistance or stops at extremes
- Hot and cold water mix unpredictably (e.g., scalding water at low flow)
- Water pressure drops significantly only at that faucet
- No visible leaks at base or supply lines—so the issue is internal
Tools & Materials Needed
| Item | Purpose | Estimated Cost |
|---|---|---|
| Cartridge puller (or needle-nose pliers) | Grips and extracts stubborn cartridges without damaging housing | $8–$15 |
| Adjustable wrench | Tightens/loosens mounting nuts and supply line connections | $12–$22 |
| Replacement cartridge (brand/model-specific) | Exact match required—Moen, Delta, and Kohler cartridges are not interchangeable | $10–$28 |
| White vinegar + soft brush | Cleans mineral deposits from cartridge seat before reassembly | $3–$5 |
| Rubber gloves & safety glasses | Protects hands from sharp edges and debris during disassembly | $4–$9 |
Step-by-Step Fix
Follow these steps in order. Skip step 1 only if you’ve already confirmed water is off and pressure is relieved.
- Shut off water and relieve pressure: Turn off both hot and cold shutoff valves under the sink. Open the faucet fully to drain residual water and release pressure—wait 30 seconds before proceeding.
- Remove handle and trim: Pry off the decorative cap (often with a flathead screwdriver), unscrew the handle set screw (usually 1/8" Allen key), then lift off the handle. Remove the metal or plastic escutcheon ring next.
- Extract the old cartridge: Use a cartridge puller—or grip firmly with needle-nose pliers—and twist while pulling straight out. If stuck, soak the cartridge housing in white vinegar for 10 minutes first to dissolve scale.
- Inspect and clean the valve body: Check for scratches or pitting inside the cartridge sleeve. Clean the seat thoroughly with vinegar and a soft nylon brush—any grit left behind will damage the new cartridge within weeks.
- Install the new cartridge: Align orientation marks (most have a notch or tab matching the valve body). Push in firmly until seated—do not force. Reassemble in reverse order, tightening the mounting nut to 25–30 in-lbs (use torque wrench if possible).
When to Call a Pro
DIY replacement isn’t safe or effective in these scenarios:
- The cartridge breaks apart during removal and leaves fragments lodged in the valve body
- You own a commercial-grade or vintage faucet (e.g., 1970s Price Pfister) with no available replacement parts
- After replacement, water leaks from the base or handle—even after retorquing all components
- Your home has polybutylene pipes (installed 1978–1995), where vibration from cartridge removal can crack brittle fittings
"Over-tightening the cartridge mounting nut is the #1 cause of premature failure in DIY replacements—just 5 in-lbs beyond spec can warp the brass sleeve." — Plumbing Contractor Magazine, 2022
Prevention Tips
Extend cartridge life by reducing stress and buildup:
- Install a whole-house water softener if hardness exceeds 7 grains per gallon (GPG)
- Flush aerators every 3 months to reduce sediment entering the valve
- Avoid slamming handles—turn off gently to preserve internal seals
- Replace rubber O-rings inside the cartridge housing every 2 years, even if the cartridge itself seems fine
How do I identify my faucet brand and cartridge model?
Look for stamped logos on the base, handle, or escutcheon plate—Moen uses "M", Delta has a triangle symbol, and Kohler often etches "K" or "KOHLER". Remove the handle and photograph the cartridge’s shape, color, and alignment tabs; cross-reference with manufacturer diagrams online or at your local hardware store’s plumbing counter.
Can I reuse the old cartridge after cleaning it?
No—cleaning may remove surface scale but won’t restore worn ceramic discs or degraded rubber seals. According to the American Society of Home Inspectors’ 2023 Plumbing Standards Guide, cartridges showing visible scoring or loss of rotational resistance should always be replaced.
Why does my new cartridge still leak at the handle?
This usually points to a damaged or misaligned O-ring on the cartridge stem—not the cartridge itself. Disassemble again and inspect each O-ring for nicks or flattening. Replace them with OEM-specified sizes; generic kits often use oversize rings that pinch and fail prematurely.
Is there a difference between Moen 1222 and 1225 cartridges?
Yes—though similar in appearance, the 1222 is used in older Moen Posi-Temp valves (pre-2005), while the 1225 fits newer Moen 1225B and 1222B series. Using the wrong one causes improper temperature control and premature failure. Always verify using Moen’s Moen faucet cartridge replacement guide.
Do I need Teflon tape on the cartridge threads?
No—cartridge threads aren’t sealed with tape. They rely on compression from the mounting nut against the cartridge’s upper seal. Applying tape risks over-torque and cracking the housing. Instead, apply a pea-sized dab of silicone-based lubricant to the O-rings before insertion—this reduces friction and extends seal life.
What’s the average lifespan of a faucet cartridge?
Most last 7–12 years under normal use, but drop to 3–5 years in homes with >10 GPG hardness or high chlorine levels. The U.S. EPA estimates that 14% of household water usage is from leaks—including those caused by failed cartridges—making timely replacement both economical and environmentally responsible.
A worn cartridge doesn’t mean you need a new faucet—just a $15 part and 20 focused minutes. Most homeowners replace theirs successfully on the first try, especially once they know the exact model and avoid common torque mistakes. If you’ve tackled this repair before, consider checking your shower valve cartridges next—they wear at nearly the same rate. For help identifying your specific faucet, see our identify faucet brand by photo guide or faucet leak troubleshooting chart.