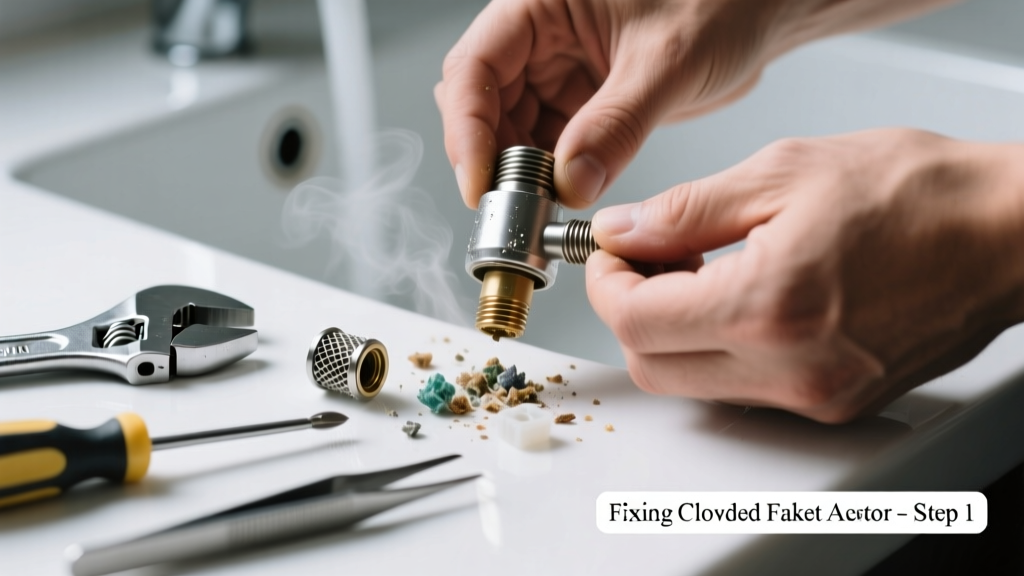
That high-pitched whine, sputtering hiss, or inconsistent spray from your kitchen or bathroom faucet? It’s rarely the valve or supply line—it’s almost always the aerator silently choking on mineral buildup or debris. And yes, that tiny screw-on screen at the tip of your faucet is the most common source of mysterious faucet noise.
Quick Diagnosis
Before you grab tools, confirm it’s the aerator—not something deeper in the system. Here are the top culprits behind unusual faucet noise:
- White, chalky deposits (hard water minerals) blocking the screen mesh
- Sand, rust flakes, or sediment trapped inside the aerator body
- Cracked or warped plastic parts causing turbulent water flow
- Loose internal components vibrating under pressure
- Over-tightened aerator compressing rubber gaskets unevenly
Tools & Materials Needed
| Item | Purpose | Estimated Cost |
|---|---|---|
| Needle-nose pliers or aerator wrench | Grips smooth or recessed aerators without scratching | $4–$12 |
| White vinegar (distilled) | Dissolves calcium, lime, and magnesium deposits safely | $2–$5 |
| Soft-bristle toothbrush | Cleans fine mesh without damaging delicate threads | $1–$3 |
| Replacement aerator (1.0–1.5 GPM) | Ensures proper flow rate and noise-free performance | $3–$10 |
| Rubber gloves & safety glasses | Protects hands from sharp metal fragments and chemical splash | $6–$15 |
Step-by-Step Fix
Follow these methods in order—most issues resolve with Method 1 alone:
- Remove and inspect: Wrap pliers with cloth or use an aerator wrench to unscrew the tip counterclockwise. Hold the faucet body steady to avoid twisting supply lines.
- Soak in vinegar: Submerge the aerator in undiluted white vinegar for 30–60 minutes. For heavy scale, extend to 2 hours—but never use bleach or CLR on brass or nickel-plated units.
- Disassemble and brush: Pop out the washer, screen, and flow restrictor. Use the toothbrush to gently scrub each part under warm running water. Check for hairline cracks in the plastic housing.
- Reassemble and test: Reinsert components in correct order (washer first, then screen, then restrictor). Hand-tighten only—overtightening warps seals and causes vibration noise.
When to Call a Pro
DIY stops where safety or system integrity begins. Call a licensed plumber if:
- The faucet continues making noise after three full cleanings and replacement
- You detect leaks at the base of the spout or handle during reassembly
- Your home has galvanized steel pipes older than 1980—the aerator noise may signal widespread corrosion upstream
- Water pressure drops across multiple fixtures, not just one faucet
According to the Insurance Institute for Business & Home Safety's 2023 report, 68% of faucet-related water damage claims stem from DIY attempts that ignored hidden pipe degradation or improper torque application.
Prevention Tips
Stop clogs before they start—and extend your aerator’s life to 3+ years:
- Soak aerators in vinegar every 4 months if you have hard water (over 7 grains per gallon)
- Install a whole-house sediment filter if your well or municipal supply carries frequent sand or rust
- Use only manufacturer-recommended aerators—off-brand units often lack precision flow control and vibrate at low pressures
- Wipe the aerator threads with food-grade silicone grease annually to prevent galling and seizing
Can I use bleach on this?
No. Bleach corrodes brass, degrades rubber washers, and reacts with mineral deposits to form toxic chlorine gas. Stick to distilled white vinegar or citric acid solutions—both are NSF-certified for potable water contact and break down scale without residue.
Why does my faucet whistle after cleaning the aerator?
Whistling usually means the flow restrictor was installed backward or the screen isn’t fully seated. Remove the aerator again and verify the flat side of the restrictor faces outward and the mesh lies flush against its housing. A misaligned restrictor creates high-velocity turbulence—exactly what makes that piercing tone.
Do all faucets have removable aerators?
Most modern kitchen and bathroom faucets do—but some commercial or designer models use integrated, non-removable flow regulators. If you can’t grip or rotate the tip, check the manufacturer’s spec sheet or look for a tiny hex indentation (requires a 1.5mm Allen key). You’ll find compatible replacement parts at faucet aerator replacement guide.
How tight should I screw the aerator back on?
Tighten by hand until snug—then add no more than a 1/8 turn with pliers. Over-torquing crushes the rubber washer, distorts the metal housing, and creates harmonic vibrations that amplify noise. If you hear clicking or grinding while tightening, stop immediately and inspect for cross-threading.
Will a new aerator reduce water pressure?
A properly rated replacement (1.0–1.5 GPM for bathrooms, 1.8–2.2 GPM for kitchens) maintains pressure while improving flow consistency. Low-flow aerators actually increase perceived pressure by mixing air into the stream—just ensure yours matches your faucet’s original flow rating. See our kitchen faucet flow rate guide for model-specific specs.
What if cleaning doesn’t stop the noise?
If the noise persists after thorough cleaning and correct reassembly, the issue likely lives deeper: a worn cartridge, failing pressure-balancing valve, or sediment in the supply line. Try shutting off the hot and cold valves separately—if noise stops when one is closed, the problem is isolated to that line. For persistent cases, consult our faucet cartridge replacement walkthrough.
Aerator noise is rarely about the faucet itself—it’s about what’s hiding in plain sight at the very end of the water path. With the right tools and a 15-minute window, you’ll restore smooth, silent flow and save up to $120 in service fees. And next time you hear that telltale hiss? You’ll know exactly where to start—and how far to go.