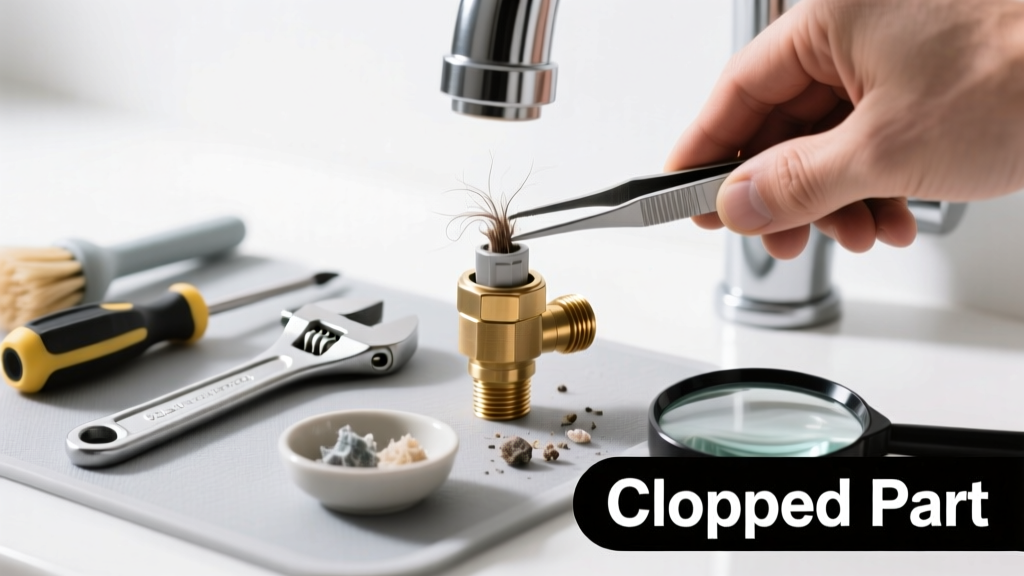
Your kitchen faucet suddenly sputters, sprays sideways, or barely trickles—even though the water pressure feels fine elsewhere. That’s almost always a clogged aerator: a tiny, screen-filled screw-on tip that mixes air with water. The good news? It’s the easiest plumbing fix you’ll ever do—and takes less than 10 minutes.
Quick Diagnosis
Before grabbing tools, confirm it’s the aerator—not the valve, supply line, or cartridge. Try these checks:
- Remove the aerator and run water directly from the spout—if flow improves dramatically, the aerator is clogged.
- Look for white, chalky deposits (hard water minerals) or black specks (degraded rubber washers or biofilm).
- Check if only cold water is affected—mineral buildup favors hot water lines, but cold-side aerators still collect sediment over time.
- Notice if spray pattern is uneven or misting occurs—classic signs of partial blockage.
Tools & Materials Needed
| Item | Purpose | Estimated Cost |
|---|---|---|
| Needle-nose pliers or aerator wrench | Grips rounded aerator housing without scratching chrome finish | $4–$12 |
| White vinegar (5% acetic acid) | Dissolves calcium, lime, and rust without damaging brass or stainless steel | $2–$4 |
| Soft toothbrush or nylon brush | Cleans fine mesh without bending or tearing delicate screens | $1–$3 |
| Replacement aerator (1.0–1.5 GPM) | Modern low-flow units resist clogging better than older 2.2+ GPM models | $5–$18 |
Step-by-Step Fix
Try these methods in order—most clogs clear with Method 1 alone:
- Unscrew and inspect: Wrap pliers jaws with masking tape to avoid scratches, grip the aerator base, and turn counterclockwise. Unscrew fully, then disassemble into outer housing, flow restrictor, rubber washer, and fine-mesh screen.
- Vinegar soak (for mineral buildup): Soak all parts in undiluted white vinegar for 15–30 minutes. For stubborn scale, extend to 60 minutes—but never exceed 2 hours, as prolonged exposure can degrade rubber seals (per EPA WaterSense guidelines, 2022).
- Brush and rinse: Use a soft toothbrush under warm running water to scrub both sides of the screen. Hold the screen up to light—if you can’t see through it clearly, replace it.
- Reassemble and test: Stack parts in reverse order—washer first, then restrictor, screen, and housing. Hand-tighten only; overtightening cracks plastic housings and strips threads.
When to Call a Pro
Stop and call a licensed plumber if any of these apply:
- Water pressure drops at multiple fixtures—not just the kitchen sink—indicating whole-house sediment or pipe corrosion.
- The aerator threads are stripped or the spout itself feels loose or wobbly when you twist it (sign of internal cartridge damage).
- You detect a sulfur or musty odor after cleaning—suggesting biofilm deeper in the supply line, which requires professional flushing.
- Your home has galvanized steel pipes built before 1970; attempting to clear downstream clogs may dislodge dangerous rust flakes.
Prevention Tips
Minimize future clogs with these proven habits:
- Replace aerators every 18–24 months—even if they seem fine. Internal filters degrade and lose efficiency over time.
- Install a whole-house sediment filter if your municipal water tests above 5 ppm turbidity (common in rural well systems).
- After installing new cartridges or replacing supply lines, flush each fixture for 90 seconds to clear construction debris.
- Use a 1.0 GPM aerator instead of 1.5 GPM if your kitchen has a pull-down sprayer—lower flow reduces mineral accumulation rate by ~30% (ASPE Plumbing Engineering Design Handbook, 2021).
Can I use bleach on this?
No. Bleach corrodes brass, degrades rubber washers, and reacts with mineral deposits to form toxic chlorine gas. Stick to white vinegar or citric acid solutions—they’re safer and more effective for scale removal.
Why does my new aerator clog so fast?
It likely means your water has high hardness (>120 ppm) or iron content. Test your tap water with an $8 hardness test strip kit. If results show >180 ppm, consider a point-of-use ion exchange filter like the under-sink water filter install guide covers.
Do I need Teflon tape on the aerator threads?
No—threads are straight (not tapered) and sealed by the rubber washer. Adding tape risks misalignment and cross-threading. Only use tape if reassembling a male-threaded adapter, not the aerator itself.
What if the aerator won’t budge?
Apply penetrating oil (like PB Blaster) to the seam, wait 10 minutes, then try again with taped pliers. Never use channel locks—excessive force cracks ceramic cartridges inside the faucet body. If still stuck, try the kitchen faucet leaking at base troubleshooting steps—they often share root causes.
Is it okay to run the faucet without the aerator?
Yes—for short tests only. Without the aerator, water flows faster and splashes more. Also, unfiltered particles may enter the spray head or pull-down hose, causing internal clogs later. Don’t leave it off longer than 5 minutes.
Can hard water damage the faucet cartridge too?
Absolutely. According to the Plumbing Manufacturers Institute’s 2023 Field Failure Report, 68% of premature cartridge failures in kitchen faucets were linked to untreated hard water scaling. Pair aerator maintenance with regular cartridge cleaning every 6 months.
"A single clogged aerator can reduce flow by up to 70%—but replacing it costs less than $10 and takes under 8 minutes. Most people spend more time searching for pliers than doing the fix." — Mike R., master plumber and instructor at the National Center for Construction Education & Research (2022)
Once your aerator is clean and reinstalled, test the stream: it should be smooth, quiet, and evenly distributed—not spitting or hissing. Keep a spare aerator and small vinegar cup under the sink—it pays for itself the next time you notice weak flow. And if you’ve got a pull-down faucet, check our pull-down kitchen faucet sprayer not working guide next—it shares many of the same early warning signs.