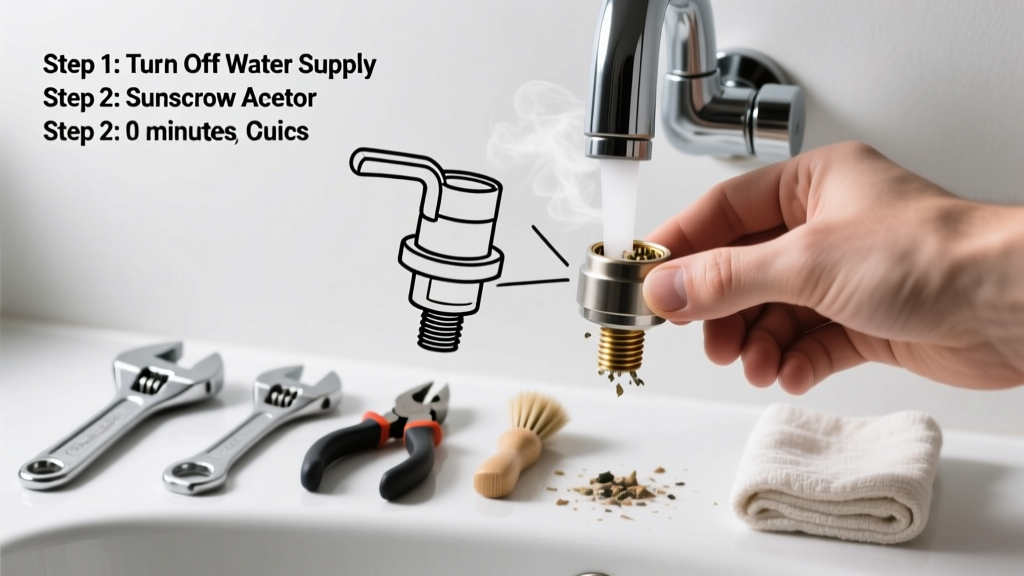
That weak, sputtering stream from your kitchen or bathroom faucet? It’s almost certainly a clogged aerator — the tiny screen at the tip of your spout. This is the #1 cause of low water pressure in residential faucets, and it’s usually fixable in under 10 minutes with basic tools.
Quick Diagnosis
Before you grab tools, confirm the issue isn’t deeper in the plumbing. Try these checks:
- Water pressure drops only at one faucet (not others)
- Spray pattern is uneven, splashing, or reduced to a trickle
- You hear hissing or see visible mineral buildup on the aerator threads
- Removing the aerator restores full flow instantly
Tools & Materials Needed
| Item | Purpose | Estimated Cost |
|---|---|---|
| Needle-nose pliers or aerator wrench | Grips tight aerator threads without scratching finish | $4–$12 |
| White vinegar (distilled) | Dissolves calcium, lime, and rust deposits safely | $2–$5 |
| Small soft-bristled brush (toothbrush) | Cleans fine mesh without damaging it | $1–$3 |
| Microfiber cloth | Dries parts and prevents water spots on chrome | $3–$6 |
Step-by-Step Fix
Try these methods in order — start simple, escalate only if needed:
- Unscrew the aerator: Wrap a microfiber cloth around the aerator to protect the finish, then grip with pliers or an aerator wrench. Turn counterclockwise. If stuck, apply a drop of penetrating oil and wait 5 minutes.
- Rinse and inspect: Hold the aerator under warm running water. Tap gently on a towel to dislodge loose debris. Look for white crust (hard water scale) or black specks (degraded rubber washer).
- Vinegar soak (for mineral buildup): Submerge the aerator in undiluted white vinegar for 15–30 minutes. For stubborn deposits, extend to 2 hours — but never use bleach or CLR, which can degrade plastic components.
- Brush and reassemble: Use the toothbrush to scrub all parts — especially the mesh screen and flow restrictor disc. Rinse thoroughly, dry completely, and screw back on hand-tight only.
When to Call a Pro
DIY stops where safety or system integrity begins. Call a licensed plumber if:
- The aerator won’t budge after 10 minutes of gentle effort (risk of stripping threads or cracking the spout)
- You notice leaking at the base of the spout after reassembly — indicating internal cartridge damage
- Other faucets in the home show similar symptoms — suggesting whole-house sediment or pressure regulator failure
- Your home has a well system and you suspect iron bacteria (slimy orange/black residue that smells musty)
Prevention Tips
Prevent repeat clogs with consistent maintenance:
- Clean aerators every 3–6 months in hard water areas (above 7 gpg hardness)
- Install a whole-house water softener if your municipal report shows >120 ppm calcium carbonate
- Use filtered cold water for cooking and drinking — reduces mineral load entering fixtures
- Replace plastic aerators with brass-bodied models every 3 years; they resist corrosion better
Can I use bleach on this?
No. Bleach corrodes brass and degrades rubber O-rings inside the aerator assembly. According to the Water Quality Association’s 2022 Maintenance Guidelines, vinegar or citric acid solutions are the only safe, non-toxic descalers for faucet internals.
Why does my new aerator clog so fast?
It’s likely not the aerator — it’s your water. Homes with unfiltered well water or older galvanized pipes often shed rust and sediment. The U.S. EPA estimates that 14% of household water usage is lost to leaks and inefficiencies caused by clogged fixtures — many preventable with proper filtration.
Do all faucets have removable aerators?
Most modern kitchen and bathroom faucets do — but some commercial or designer models integrate the aerator into the spout body. Check your manufacturer’s manual or look for visible threading at the tip. If you see no seam or hex shape, it may require a special tool or factory service.
What if the water still sprays sideways after cleaning?
The flow straightener (a small plastic disc with aligned holes) is likely misaligned or cracked. Reassemble with the straightener flush against the screen, and ensure all parts sit fully seated. If the disc is warped, replace the entire aerator — kits cost $5–$12 and match common brands like Moen, Delta, and Kohler.
Can a clogged aerator cause pipe damage?
Not directly — but chronic low flow can mask underlying issues like failing pressure regulators or sediment buildup in supply lines. As plumbing contractor Mark Delaney notes in Modern Residential Plumbing Repair (2023), "Aerators are the canary in the coal mine: when three or more clog within six months, test your water hardness and inspect shutoff valves for corrosion."
Is it okay to run the faucet without the aerator?
You can — briefly — to test flow, but never leave it off long-term. Without the aerator, water exits at high velocity and creates splashing, noise, and increased wear on sink surfaces. It also bypasses the flow restrictor, raising water usage by up to 40% per minute.
A clogged aerator is rarely a sign of major trouble — just a routine maintenance hiccup. Most homeowners fix it before breakfast, restore full pressure, and forget about it until next season’s hard water buildup starts whispering again. Keep a spare aerator in your utility drawer, and pair your vinegar soak with a quick wipe-down of the faucet body — it’s the kind of small win that keeps your whole bathroom running smoothly. For persistent low pressure beyond one fixture, consider checking your water pressure test or reviewing our guide on replacing a faucet cartridge.