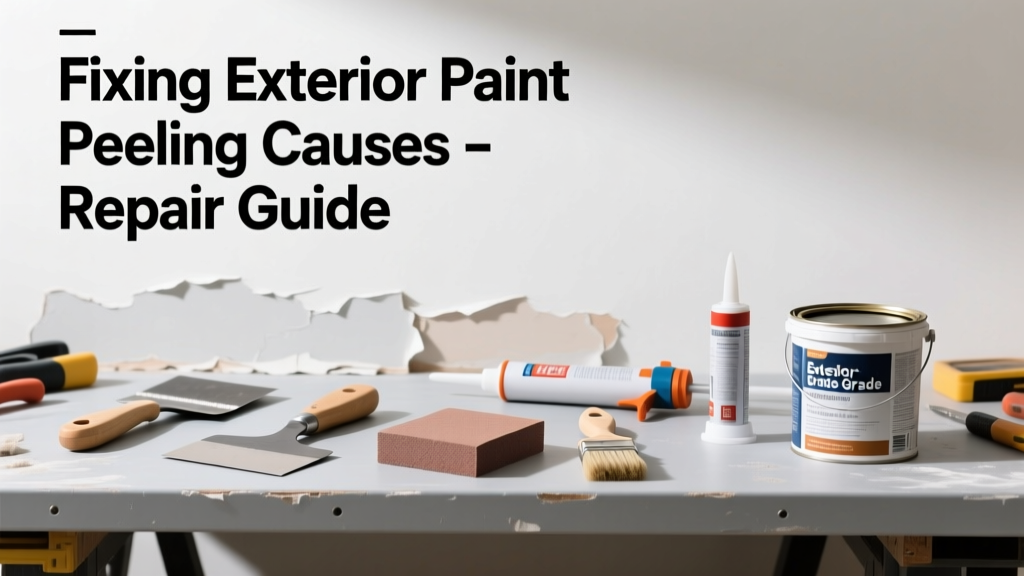
That chalky, curling edge of paint on your siding isn’t just ugly—it’s a red flag that moisture’s getting behind the finish or the surface wasn’t prepped right. Most peeling isn’t about bad paint; it’s about what happened before the brush touched the wall. Let’s get it fixed—right the first time.
Quick Diagnosis
Before grabbing tools, identify the root cause. Peeling rarely happens in isolation—it’s a symptom. Check for these five culprits:
- Moisture intrusion from clogged gutters, poor grading, or missing caulk around windows and doors
- Paint applied over dirty, chalky, or glossy surfaces without proper cleaning or sanding
- Using interior-grade or low-VOC paint on exterior surfaces exposed to UV and rain
- Applying paint in temperatures below 50°F or above 90°F, or during high humidity (>85%)
- Previous layers of incompatible paint (e.g., latex over oil without proper primer)
Tools & Materials Needed
| Item | Purpose | Estimated Cost |
|---|---|---|
| 3-in-1 scraper + 5-in flexible putty knife | Remove loose paint without gouging wood or stucco | $12–$18 |
| 120-grit and 220-grit sandpaper (or orbital sander) | Smooth edges and feather bare spots for seamless blending | $8–$25 |
| Zinsser Peel Stop or BIN shellac-based primer | Seals chalky surfaces and prevents bleed-through; critical for problem areas | $24–$32 per quart |
| 100% acrylic exterior paint (e.g., Sherwin-Williams Duration or Benjamin Moore Aura) | Flexible, breathable, and UV-resistant—essential for long-term adhesion | $45–$75 per gallon |
| Pressure washer (2,500 PSI max) with wide-angle tip | Cleans algae, mildew, and dust without damaging substrate | Rent: $65/day or buy used: $220–$350 |
Step-by-Step Fix
Don’t rush the prep—this step accounts for 70% of lasting results, according to the Painting and Decorating Contractors of America’s exterior paint prep checklist. Follow this sequence:
- Scrape & sand: Remove all loose, flaking, and bubbled paint down to firm substrate. Feather edges with 220-grit until smooth—not shiny, but uniformly dull.
- Clean thoroughly: Pressure wash at 1,800–2,200 PSI using a 40° tip. Let dry 48+ hours—check moisture content with a pinless meter (must be <15% for wood, <12% for stucco).
- Prime every bare spot: Use Zinsser Peel Stop on chalky areas or BIN on stained wood. Don’t skip corners, trim, or lap lines—even if they look fine.
- Paint with full coverage: Apply two coats of 100% acrylic paint at recommended spread rate (typically 300–400 sq ft/gal). Maintain a wet edge and avoid painting in direct sun.
When to Call a Pro
Some peeling signals deeper trouble—and DIY can worsen it. Call a licensed exterior painter or contractor if you see:
- Peeling extending behind window/door trim or into soffits—likely indicates chronic water infiltration
- Soft, spongy wood under paint, especially near grade level (possible rot requiring structural repair)
- Widespread blistering on south- or west-facing walls paired with interior moisture stains (roof or flashing failure)
- Asbestos-containing siding (pre-1980 homes with textured cement board or shingles)—testing and abatement required by law
According to the Insurance Institute for Business & Home Safety's 2023 report, improper exterior paint repairs contribute to 22% of premature siding replacement claims—most tied to skipped moisture diagnostics.
Prevention Tips
Longevity starts before the first coat. These habits extend paint life from 5–7 years to 10+:
- Caulk all joints, seams, and trim gaps annually—use silicone-acrylic hybrid like Big Stretch or DAP Alex Plus
- Keep gutters cleaned twice yearly and ensure downspouts discharge at least 5 ft from foundations
- Repaint every 8–10 years—even if it looks fine—before UV degradation compromises the film integrity
- Always test new paint on a small area first: apply two coats, wait 7 days, then tape-test with 3M 610 tape per ASTM D3359
Can I use bleach on this?
No—never use straight chlorine bleach on painted wood or fiber cement. It degrades lignin in wood fibers and etches cementitious binders, accelerating future failure. For mildew, use a 1:3 mix of oxygen bleach (sodium percarbonate) and water, applied cool and rinsed within 10 minutes. See our guide on how to clean mildew from exterior paint.
Do I need to prime over old paint?
Only if it’s chalky, glossy, or compromised. Sound, clean, matte latex paint doesn’t require full priming—but always spot-prime bare patches and feathered edges. Oil-based paints over latex? Yes—use an alkyd primer like Benjamin Moore Fresh Start All-Purpose.
Why did my premium paint peel after one year?
Premium paint fails when applied over inadequate prep—not because it’s defective. The U.S. EPA estimates that 14% of household water usage is from leaks, many hidden behind peeling paint. That one-year failure almost always traces to trapped moisture or surface contamination missed during cleaning.
Can I paint over peeling paint with elastomeric?
No. Elastomeric coatings bridge hairline cracks but cannot bond to unstable or poorly adhered layers. They’ll lift right off with the failing paint beneath. Full removal and substrate repair are mandatory first.
How long should I wait between coats?
Check the technical data sheet—not the label. Most 100% acrylics require 4–6 hours minimum at 77°F and 50% RH. In cooler or humid conditions, extend to 12–24 hours. Rushing causes poor coalescence and weak film formation.
Is power washing enough before repainting?
No. Power washing removes surface grime but not chalk, oxidation, or contaminants embedded in pores. Always follow with hand-sanding or scrubbing with TSP-free cleaner (e.g., Krud Kutter Original), then rinse and verify pH neutrality with litmus paper (6.5–7.5).
Peeling paint isn’t a cosmetic issue—it’s your home’s way of asking for attention to moisture, prep, and product compatibility. Get those three things right, and your next paint job won’t just look better—it’ll last longer, protect better, and save you money down the line. If you’re tackling cedar shakes or historic masonry, check our cedar shake painting guide or masonry paint selection tips for material-specific advice.