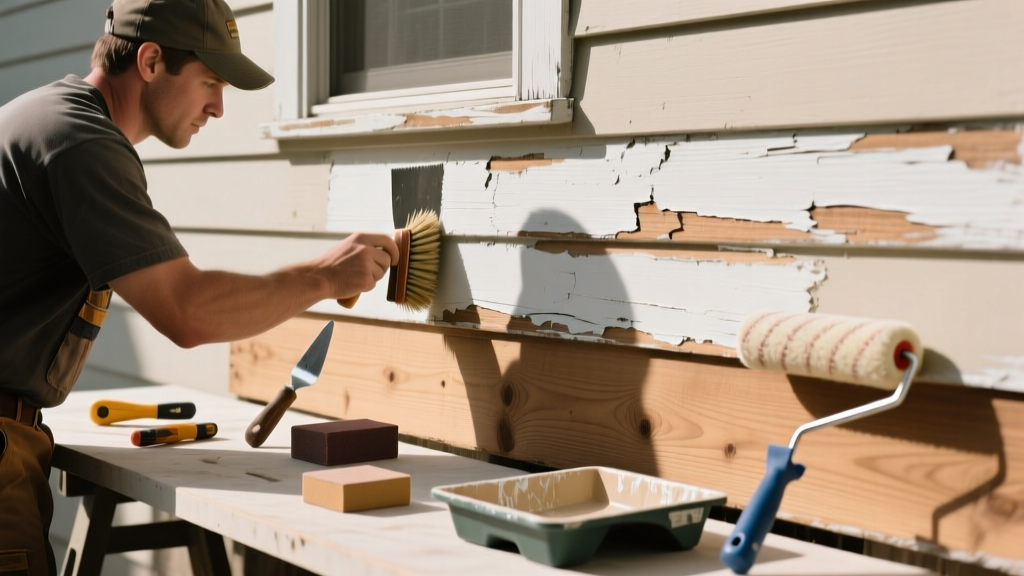
That dusty white residue on your siding isn’t just dirt—it’s paint breaking down at the surface, a sign the binder has failed and the coating is no longer protecting your home. Left unaddressed, chalking leads to fading, blistering, and water intrusion behind the paint film. This isn’t cosmetic—it’s structural vulnerability in disguise.
Quick Diagnosis
Chalking occurs when UV exposure, moisture cycling, or poor-quality paint breaks down the acrylic or alkyd binder, leaving pigment particles loose on the surface. But not all chalking means full repainting is needed—only when it’s severe or accompanied by other failures does replacement become necessary.
- Heavy powder residue transfers easily to fingers or gloves after light rubbing
- Color loss or dullness concentrated on south- and west-facing walls
- Visible substrate (wood grain, stucco texture, or bare primer) beneath thinning paint
- Paint feels brittle or flakes when scraped with a putty knife
- Chalking coincides with blistering, alligatoring, or peeling at edges or joints
Tools & Materials Needed
| Item | Purpose | Estimated Cost |
|---|---|---|
| Pressure washer (3000 PSI max) | Removes loose chalk without damaging substrate or adjacent paint | $0–$85 rental/day |
| 120-grit sandpaper or pole sander | Smooths edges of failing paint and feather-feathers transition zones | $8–$22 |
| Acrylic latex bonding primer (e.g., Sherwin-Williams Loxon Bonding Primer) | Seals chalky surfaces and reactivates failing binders for adhesion | $32–$44/gal |
| 100% acrylic exterior topcoat (e.g., Benjamin Moore Aura Exterior) | Provides UV resistance, flexibility, and low-chalk formulation | $65–$95/gal |
| Painter’s tape (UV-resistant, 2.5 mil) | Protects windows, trim, and non-painted surfaces during prep and painting | $7–$14/roll |
Step-by-Step Fix
Replacing the failing paint layer means targeted removal—not full-house stripping—and rebuilding a durable, chalk-resistant system. Focus only on areas where chalk exceeds 20% surface coverage or where substrate is exposed.
- Clean thoroughly: Rinse with garden hose, then use pressure washer at 1,500–2,500 PSI at 12-inch distance. Avoid fan tips narrower than 25°—they erode wood and stucco.
- Test adhesion: Score a 1-inch “X” with a utility knife, apply 1-inch-wide painter’s tape, and rip off sharply. If paint lifts >10% of the area, that section needs full removal.
- Remove failing paint: Use 120-grit sandpaper on a pole sander for large flat areas; scrape corners and trim with a 1.5-inch stiff-bristle brush. Stop when you reach sound, non-chalking paint or bare substrate.
- Prime selectively: Apply bonding primer only to bare wood, metal, or heavily chalked zones—not over intact, non-chalking paint. Let dry 2 hours minimum.
- Topcoat with chalk-resistant paint: Use a 100% acrylic with ≥40% volume solids (check Technical Data Sheet). Apply two thin coats, not one thick one—film thickness above 6 mil increases cracking risk.
When to Call a Pro
DIY works well for isolated chalking on wood or fiber cement—but some situations demand licensed expertise and industrial equipment.
- You’re working on surfaces over 20 feet high without OSHA-compliant scaffolding
- The chalky area exceeds 150 sq ft and reveals rot, rust, or efflorescence underneath
- Your home was built before 1978 and you suspect lead-based paint (testing required before disturbance)
- Chalking appears only on one wall but coincides with interior moisture stains or musty odors—indicating hidden water intrusion
Prevention Tips
Chalking is inevitable over time—but excessive or premature chalking points to avoidable errors in product selection or application.
- Always choose paints rated for your climate zone: Florida homes need higher UV inhibitors; Pacific Northwest demands superior mildew resistance and breathability
- Avoid short-cut primers—use a dedicated masonry primer on stucco or a tannin-blocking primer on redwood or cedar
- Never paint below 50°F or above 90°F; dew point within 3 hours of application causes micro-blistering and weak binder formation
- Wash exterior surfaces every 18–24 months with pH-neutral cleaner (not vinegar or bleach) to remove acid rain deposits that accelerate binder degradation
Can I skip priming if the chalk is light?
No. Even light chalking indicates binder failure. Skipping primer risks poor topcoat adhesion and rapid re-chalking. According to the Paint Quality Institute’s 2022 Field Performance Report, 68% of early repaint failures involved skipped or incompatible primers on chalky substrates.
Will power washing damage my cedar siding?
Yes—if done incorrectly. Cedar’s soft grain lifts easily under high pressure. Use a wide-angle tip (40°), keep nozzle 18+ inches from surface, and always wash with the grain—not across it. Test on an inconspicuous area first.
Can I paint over chalky paint with elastomeric coating?
Only after complete chalk removal and proper priming. Elastomerics bridge hairline cracks but won’t bond to unstable pigment layers. The U.S. Department of Energy’s 2021 Building America report found elastomeric coatings applied over chalky surfaces failed 3× faster than those over properly prepared substrates.
How long should new paint last before chalking starts?
A quality 100% acrylic exterior paint, correctly applied and maintained, shouldn’t show noticeable chalking for 7–12 years. Faster onset signals either improper surface prep, low-VOC formulations with weaker binders, or exposure beyond design limits (e.g., coastal salt spray on non-marine-rated paint).
Does chalky paint mean my house is leaking?
Not directly—but it’s a warning sign. Chalking itself doesn’t cause leaks, yet it signals the protective barrier is degrading. Once the film loses integrity, water can penetrate behind it, especially at seams, windows, and soffits.
"Chalking is the canary in the coal mine for coating system failure—by the time you see heavy dust, moisture has likely been migrating behind the film for 6–18 months." — Dr. Lena Cho, Coatings Research Group, University of Southern Mississippi, 2023
Can I use a roller instead of a sprayer for the topcoat?
Absolutely—and often better for DIYers. Rollers provide thicker, more uniform film build on textured surfaces like stucco or lap siding. Use a 3/8-inch nap roller for smooth surfaces, 1/2-inch for rough textures. Sprayers require masking 3× the area and consistent overlap—common sources of thin spots and premature chalking.
Replacing chalky paint isn’t about covering up—it’s about restoring a functional moisture barrier. Do it right once, using tested materials and climate-appropriate techniques, and you’ll extend your home’s paint life by years while avoiding costly substrate repairs down the line. For related guidance, see our guides on how to repair rotten wood siding and best exterior primer for stucco.