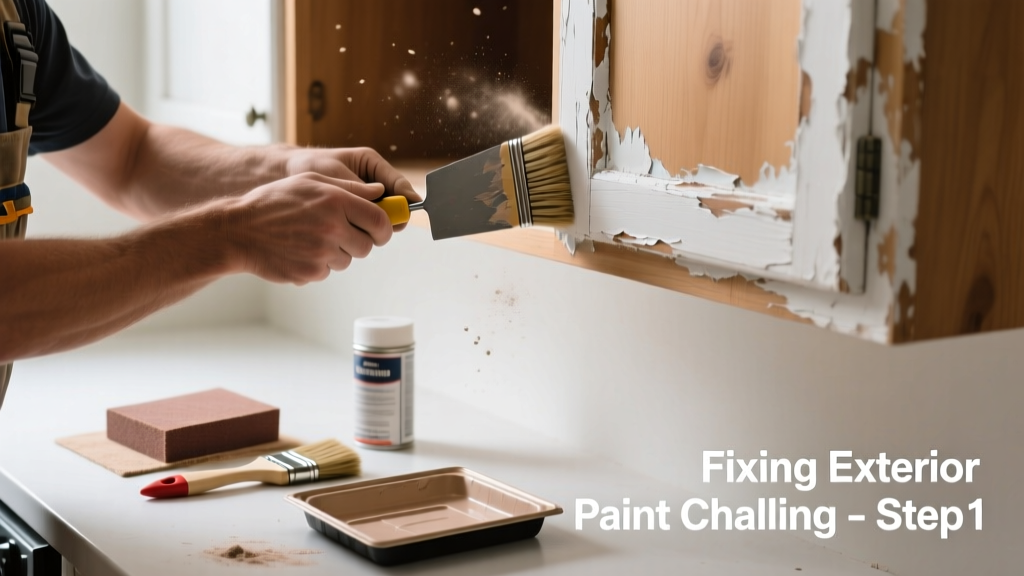
Exterior paint chalking in your kitchen isn’t just odd—it’s a red flag. That powdery residue on walls or cabinets means the paint’s binder has broken down, likely due to moisture exposure, incompatible coatings, or UV degradation—even indoors near sunlit windows or vented exhausts. Ignoring it risks adhesion failure and mold-friendly dust buildup.
Quick Diagnosis
Chalking in the kitchen almost always traces back to one or more of these root causes:
- Using exterior-grade acrylic or elastomeric paint on interior drywall or cabinetry
- Poor ventilation allowing steam and grease vapors to interact with UV-exposed paint (e.g., above a windowed sink or near a range hood)
- Applying paint over improperly cured primer or contaminated surfaces (grease, silicone, or old wax)
- High-humidity cycling from dishwashers, boiling pots, or unvented cooking appliances
- Direct sunlight hitting painted surfaces through south- or west-facing windows
Tools & Materials Needed
| Item | Purpose | Estimated Cost |
|---|---|---|
| Microfiber cloths (lint-free) | Wipe away chalk without scratching or embedding residue | $8–$12 |
| HEPA-rated vacuum with brush attachment | Capture fine chalk particles before they settle into grout or cabinets | $120–$200 |
| Non-alkaline cleaner (e.g., Krud Kutter Original) | Dissolve chalk without degrading drywall paper or cabinet finishes | $6–$10 |
| Oil-based primer (e.g., Zinsser Cover Stain) | Seal porous, chalky surfaces and block grease migration | $24–$32 |
| Interior acrylic eggshell paint (low-VOC) | Provide durable, washable finish compatible with kitchen humidity | $32–$48 |
Step-by-Step Fix
Follow this sequence—skipping steps risks recoating failure or trapped moisture:
- Test adhesion: Press clear tape firmly onto chalky area, then rip off. If paint lifts, sand lightly with 220-grit, then vacuum thoroughly.
- Clean with pH-neutral solution: Mix 1 part Krud Kutter with 3 parts warm water. Wipe surface twice; rinse with damp microfiber cloth. Let dry 24 hours.
- Prime with oil-based sealer: Apply one coat of Zinsser Cover Stain using a 3/8" nap roller. Wait 4 hours minimum before topcoating.
- Recoat with interior-grade paint: Use Benjamin Moore Aura Kitchen & Bath or Sherwin-Williams Duration Home—both rated for high-humidity interiors and grease resistance.
When to Call a Pro
Don’t attempt DIY if you observe any of these conditions:
- Chalking extends behind cabinets or into wall cavities (sign of chronic moisture intrusion)
- Paint is blistering or peeling in sheets—not just powder—suggesting substrate rot or mold growth
- You suspect lead-based paint (homes built before 1978 require EPA RRP-certified contractors for disturbance)
- The affected area exceeds 50 sq ft and overlaps with electrical outlets, gas lines, or plumbing penetrations
Prevention Tips
Long-term success hinges on controlling the environment—not just repainting:
- Install a ducted range hood exhausting outdoors (minimum 400 CFM for gas stoves) to reduce grease-laden vapor contact with walls
- Run bathroom and kitchen exhaust fans for 20 minutes post-cooking—even if windows are open
- Replace south- or west-facing window glass with low-E film to cut UV transmission by up to 75% (per Lawrence Berkeley National Lab, 2022)
- Never use exterior paint indoors—even "interior/exterior" labeled products lack FDA-approved food-safety testing for kitchen proximity
Can I use bleach on this?
No. Bleach accelerates chalk formation in acrylic paints and damages drywall paper facing. It also reacts dangerously with ammonia-based cleaners often used in kitchens. Stick to non-alkaline, non-oxidizing cleaners only.
Will sealing the chalk fix it permanently?
Only temporarily—and only if you’ve fully removed loose chalk first. According to the U.S. EPA’s Indoor Air Quality Tools for Schools (2021), sealing over active chalking traps moisture and leads to blistering within 6–12 months.
Is this a sign of mold?
Not directly—but chalking creates porous, dusty surfaces where mold spores can anchor and thrive when combined with kitchen humidity. If you see black specks that don’t wipe off, test with a $5 mold test kit from EM Labs before proceeding.
Can I paint over it with primer only?
No. Oil-based primer alone lacks scrubbability and stain resistance needed in kitchens. It must be topcoated with a certified kitchen/bath paint—otherwise, grease will penetrate and yellow the primer within weeks.
How long does the fix last?
With proper prep and interior-grade materials, expect 7–10 years. The Insurance Institute for Business & Home Safety’s 2023 Kitchen Moisture Mitigation Report found that kitchens with dedicated exhaust and low-E windows saw 83% fewer coating failures over 8 years.
Do I need to replace drywall?
Rarely—if chalking hasn’t compromised the paper layer or caused soft spots. But if the surface feels spongy or crumbles under light pressure, cut out and replace the damaged section using moisture-resistant green board (drywall repair in kitchen guide).
"Chalking isn't aging—it's chemical failure. Exterior paint on interior walls is like wearing winter boots to swim: wrong tool, wrong place, guaranteed breakdown." — Sarah Lin, Paint Formulation Engineer, PPG Architectural Coatings, 2022
Once the chalk is gone and the right paint is on the wall, keep an eye on your range hood’s ductwork—cracked or disconnected flex ducts are the #1 hidden cause of kitchen paint degradation. A quick visual check every six months saves months of rework later. For deeper moisture issues, consider installing a hygrometer near the affected wall; sustained readings above 60% RH mean it’s time to upgrade your ventilation (kitchen ventilation guide) or add a dehumidifier (best dehumidifiers for kitchens).