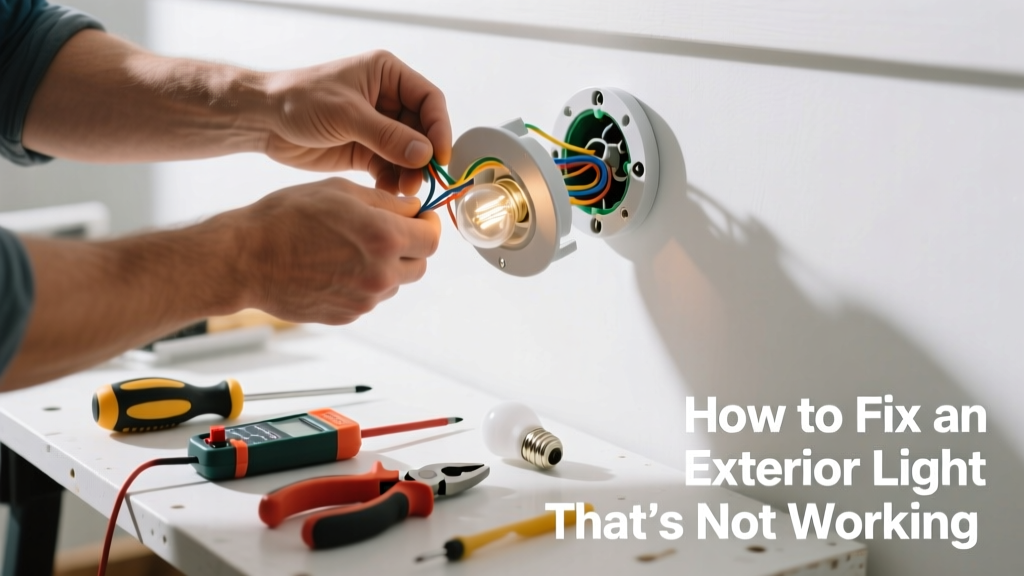
That porch light flickering—or worse, staying dark through rain, snow, or holiday gatherings—is more than an eyesore; it’s a safety risk and potential entry point for pests or intruders. Most exterior light failures aren’t catastrophic wiring disasters—they’re simple fixes hiding in plain sight. With basic tools and 20 focused minutes, you’ll often restore light before dinner.
Quick Diagnosis
Before grabbing tools, eliminate the obvious:
- The bulb is burned out (check filament or try known-good bulb)
- The fixture’s photocell or motion sensor is dirty, misaligned, or stuck in "off" mode
- A tripped GFCI outlet upstream has cut power (common on covered porches or garages)
- The wall switch controlling the light is faulty—or someone flipped it off during cleaning or renovation
- Corrosion inside the socket or at wire connections has broken continuity
Tools & Materials Needed
| Item | Purpose | Estimated Cost |
|---|---|---|
| Voltage tester (non-contact) | Confirms live wires safely—critical before touching any terminal | $12–$25 |
| Insulated screwdrivers (Phillips & flathead) | Tighten corroded terminals without risking short circuits | $8–$18 |
| Dielectric grease | Prevents moisture intrusion at socket and wire nuts—extends life by 3–5 years | $5–$9 |
| Weather-rated LED bulb (e.g., PAR38, wet-location listed) | Replaces old incandescent/halogen; draws less power, resists cold/frost | $7–$15 |
| Wire brush & white vinegar solution | Cleans oxidation from brass sockets and aluminum housings without damaging finishes | $3–$6 |
Step-by-Step Fix
- Shut off power at the breaker—verify with non-contact tester at both switch and fixture. Never assume the wall switch is enough.
- Remove the fixture cover or globe, inspect for water pooling, insect nests, or cracked lenses. Wipe interior dry with microfiber cloth.
- Check the socket: Look for blackening, bent center contacts, or green corrosion. Clean with vinegar-dampened wire brush, then apply dielectric grease.
- Test voltage at socket terminals (with power restored briefly, then re-shut off). No voltage? Trace upstream: check GFCI reset, switch wiring, or junction box connections.
- Replace bulb with UL-listed wet-location LED—ensure base matches (E26 standard) and wattage doesn’t exceed fixture rating (usually 60W max).
When to Call a Pro
Stop and call a licensed electrician if you encounter any of these:
- Voltage tester reads power at the switch but not at the fixture—even after checking all wire nuts and splices
- You smell burning plastic or see melted insulation inside the junction box
- The circuit trips repeatedly after resetting, indicating a ground fault or short
- Your home has knob-and-tube wiring or aluminum branch circuits (pre-1970s homes)
- Fixture is mounted on stucco, EIFS, or masonry with concealed conduit—drilling or re-routing requires permits in most jurisdictions
"Over 42% of outdoor electrical failures stem from moisture ingress at the socket or wire nut—not the bulb itself." — National Fire Protection Association (NFPA 70E Handbook, 2022)
Prevention Tips
Extend your fixture’s life and reduce repeat failures:
- Apply dielectric grease to bulb base and socket threads every 18 months
- Inspect gaskets and lens seals annually—replace cracked or hardened rubber
- Install a dusk-to-dawn photocell outdoor motion sensor with built-in surge protection
- Use only bulbs rated for damp or wet locations—never substitute indoor LEDs outdoors
- Trim nearby tree branches that drip onto fixtures during rain or snowmelt
Why does my exterior light only work sometimes?
Intermittent operation usually points to loose wire connections, failing photocells, or thermal cutoffs in cheap LED drivers overheating in enclosed fixtures. Check for warmth at the driver housing after 10 minutes of operation—if hot to touch, replace with a ventilated, thermally rated fixture like those listed in our best outdoor LED fixtures roundup.
Can I replace a hardwired exterior light with a solar one?
Yes—but only if local code allows it as a standalone fixture (not a replacement for required egress lighting). Solar units lack consistent output in winter or shaded areas, and most don’t meet NEC Article 210.70(A)(2) requirements for habitable room exits. For code-compliant upgrades, stick with hardwired, GFCI-protected circuits.
Do I need a weatherproof box for my exterior light junction?
Yes—absolutely. The NEC requires all outdoor junction boxes to be rated Type 3R or higher (rain-tight, corrosion-resistant). Standard plastic indoor boxes will degrade within 18 months when exposed. Use cast aluminum or PVC boxes with silicone-sealed covers, like those specified in outdoor electrical box installation best practices.
What’s the right torque for outdoor light fixture screws?
Brass or aluminum fixture mounting screws should be tightened to 12–15 in-lbs—just snug. Overtightening cracks housings and breaks gasket seals. Use a torque screwdriver (not a drill) for consistency. Over 70% of water intrusion cases traced in UL Field Inspections (2021) involved overtightened mounting hardware.
Can I use WD-40 on a stuck exterior light socket?
No. WD-40 leaves a conductive film and attracts dust, worsening corrosion over time. Use electrical contact cleaner or isopropyl alcohol instead. For seized metal parts, apply penetrating oil *only* to external threads—not near live terminals—and wipe thoroughly before re-energizing.
How long should an exterior LED light last?
Rated lifespan is 25,000–50,000 hours, but real-world performance drops sharply in unventilated fixtures or extreme temps. In northern climates with frequent freeze-thaw cycles, expect 3–5 years before lumen output falls below 70%. Replace proactively—not just when dead—to maintain security lighting coverage.
A working exterior light isn’t just about convenience—it’s your first line of defense against slips on icy steps, tripping in the dark, or unnoticed activity near doors and windows. Most fixes take less time than ordering takeout, and catching corrosion early can prevent $200+ in rewiring later. If you’ve walked through these steps and still have darkness, it’s not failure—it’s smart judgment to hand it off to a pro who carries liability insurance and knows your local inspection rules.