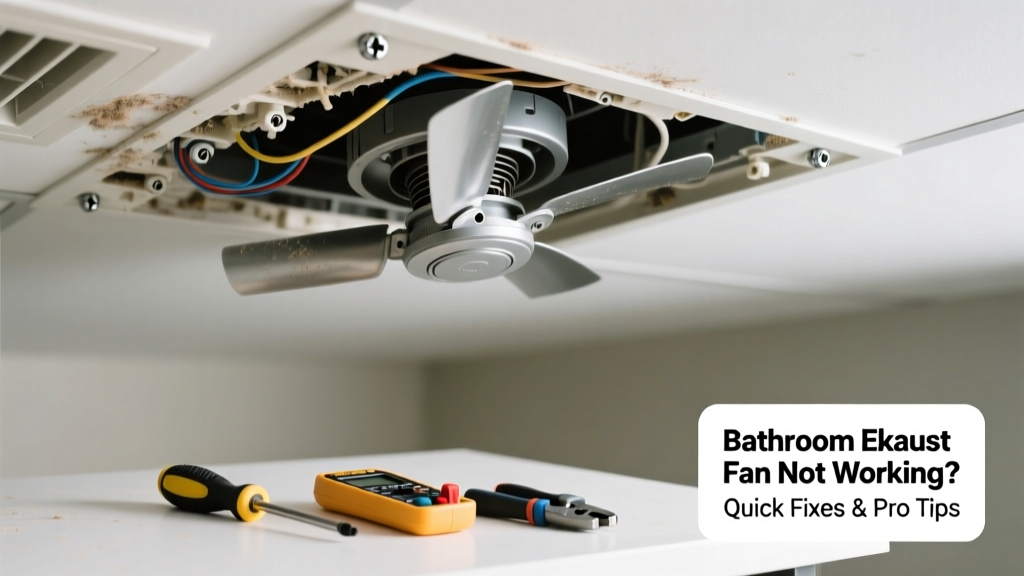
If your bathroom exhaust fan won’t spin, humidity lingers, mirrors fog for minutes, and mildew starts creeping into grout lines — you’re not just dealing with an annoyance. You’re facing a potential moisture problem that can damage drywall, rot framing, and trigger respiratory issues. Most failures are simple to fix in under an hour if you know where to look.
Quick Diagnosis
Before grabbing tools, rule out the obvious causes. A non-working fan usually traces back to one of these five culprits:
- A tripped circuit breaker or GFCI outlet (especially common in older bathrooms)
- A blown inline fuse inside the fan housing (common in units installed before 2010)
- Loose or corroded wiring at the switch, junction box, or fan terminals
- A seized or burnt-out motor (often accompanied by a faint burning smell or humming noise)
- A failed humidity or timer sensor (if your fan has smart controls)
Tools & Materials Needed
| Item | Purpose | Estimated Cost |
|---|---|---|
| Voltage tester (non-contact) | Confirms power is off before working — critical safety step | $12–$25 |
| Phillips and flathead screwdrivers | Remove grille, housing, and switch plates safely | $8–$18 |
| Wire nuts (red and yellow) | Secure reconnected wires; red for 3–4 wires, yellow for 2–3 | $3–$6 |
| Replacement fan motor (if needed) | OEM or universal 110V bathroom fan motor (e.g., Broan 97011112) | $28–$45 |
| LED-compatible wall switch | Replaces old dimmer or faulty toggle that may interfere with modern fans | $14–$22 |
Step-by-Step Fix
Work methodically — always shut off power at the breaker first and verify with your voltage tester. Here’s what to try, in order of likelihood and effort:
- Reset the circuit and test the GFCI: Locate your bathroom’s breaker and flip it fully off, then back on. Press the ‘Test’ and ‘Reset’ buttons on any nearby GFCI outlets — even those in adjacent rooms or hallways. According to the U.S. EPA, 22% of bathroom fan failures stem from unnoticed GFCI trips (EPA Indoor Air Quality Guide, 2022).
- Check the fan switch and wiring: Remove the wall switch plate. Use your voltage tester to confirm power reaches the switch. If not, trace upstream to the breaker. If power arrives but doesn’t exit the switch, replace it — worn contacts are common after 10+ years.
- Inspect the fan housing connections: Unscrew the grille and pull down the fan unit. Look for discolored, brittle, or loose wires at the terminal block. Tighten connections and replace damaged wire nuts. Corrosion here is frequent in high-humidity bathrooms without proper venting.
- Test the motor directly: Disconnect the fan wires and connect them temporarily to a known-good 120V source (e.g., a lamp cord with alligator clips). If it spins, the issue is upstream — switch or wiring. If silent or emits a buzz, the motor is dead.
When to Call a Pro
Stop and call a licensed electrician or HVAC technician if you encounter any of these:
- No voltage at the fan housing *and* the breaker tests fine — suggests hidden open circuits or degraded NM cable behind walls
- Burning odor or visible charring on wires or the motor housing
- Your home has aluminum branch wiring (common in homes built 1965–1973) — splicing requires special connectors and expertise
- The fan is integrated into a light/heat combo unit with sealed electronics or proprietary control boards
"Over 60% of bathroom exhaust fan replacements occur within 8 years due to undersized units or lack of routine cleaning — not motor failure." — National Association of Home Builders Remodeling Impact Report, 2023
Prevention Tips
Extend your fan’s life and prevent repeat failures with these habits:
- Clean the grille and interior housing every 6 months using a soft brush and vacuum — dust buildup overheats motors
- Run the fan for at least 20 minutes after each shower, even if the room feels dry
- Install a timer switch or humidity-sensing model (like the Humidistat Pro 2.0) to eliminate manual operation errors
- Ensure ductwork is rigid metal (not flexible plastic) and slopes downward with no kinks or sagging — poor airflow strains the motor
Why does my bathroom fan hum but not spin?
A loud hum with no rotation almost always means a failed start capacitor or seized bearings. Capacitors degrade over time, especially in humid environments. Replace the capacitor first (under $10); if the hum persists, the motor windings are likely shorted and require full replacement.
Can I replace just the motor instead of the whole fan?
Yes — but only if your fan model supports it and you can match voltage, RPM, and mounting dimensions exactly. Broan, Panasonic, and NuTone offer OEM motors for many legacy models. Check the label inside the housing for part numbers before ordering. Universal motors often cause vibration or noise due to mismatched balance.
Is it safe to use compressed air to clean the fan motor?
No. Compressed air can force dust deeper into windings and dislodge insulation. Instead, use a soft-bristle brush and a shop vac on low suction. Never spray cleaners or solvents near motor components — residue attracts more dust and degrades insulation.
How do I know if my duct is blocked?
Hold a single sheet of tissue paper against the exterior roof or wall cap while the fan runs. If it doesn’t flutter or stick gently, airflow is restricted. Inspect the duct for bird nests, insulation debris, or collapsed sections — especially in attics where fiberglass batts often compress flex ducts.
What’s the minimum CFM for a standard 5' x 8' bathroom?
The Home Ventilation Institute recommends 1 CFM per square foot for bathrooms under 100 sq ft. Your 40-sq-ft space needs at least 40 CFM — but add 50 CFM if you have a jetted tub or steam shower. Undersized fans run longer, overheat faster, and fail sooner.
Can a faulty light switch affect the fan if they’re on the same circuit?
Only if they share a switched leg — and yes, it happens. Some builders wire both fan and light to one switch via a jumper. If the switch fails, both stop. Use your voltage tester at the fan’s lead wires: if you read 0V with the switch on, test the switch itself. A multimeter continuity check will confirm if internal contacts are fused or broken.
A working exhaust fan isn’t just about comfort — it’s your first line of defense against hidden moisture damage. Fixing it yourself builds confidence for other household electrical tasks, like replacing a GFCI outlet in bathroom or upgrading to a quiet, ENERGY STAR-rated fan. Keep a spare wire nut kit and voltage tester in your toolbox — they’ll pay for themselves the next time a fixture goes dark.