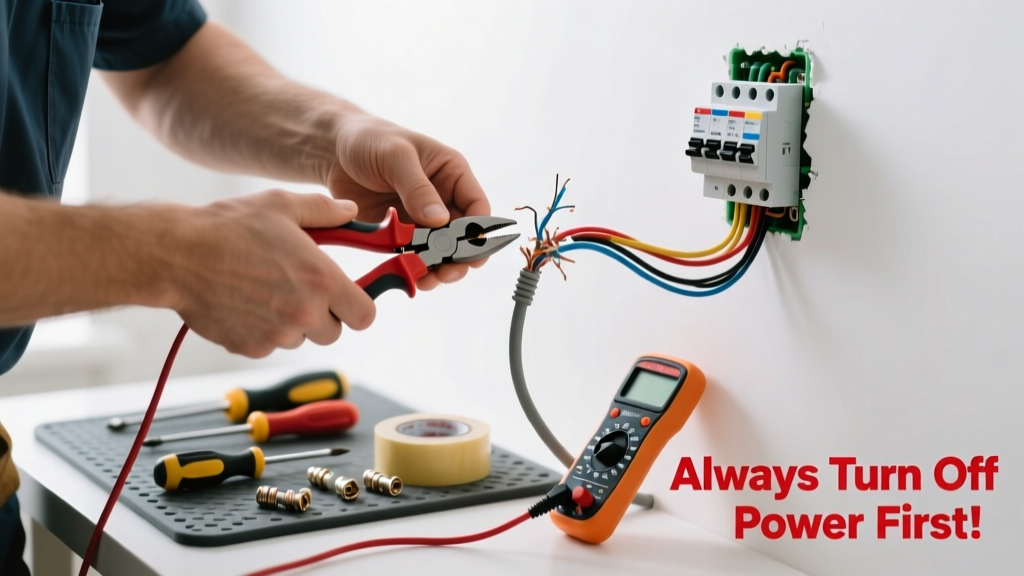
Exposed electrical wire isn’t just an eyesore—it’s a shock and fire hazard waiting to happen. Even a small nick in insulation on a 120V circuit can deliver a painful jolt or ignite nearby dust or insulation. Don’t ignore it, but don’t rush in without proper prep either.
Quick Diagnosis
Before grabbing tools, identify the root cause. Most exposed wire incidents fall into these categories:
- Physical damage from nails, screws, or drilling too close to wiring
- Aging or brittle insulation—common in homes built before 1980 with rubber-coated NM cable
- Loose connections inside outlets, switches, or junction boxes where wires pull free
- Improperly stripped wire during prior DIY work—too much copper showing beyond the terminal screw
- Animal chewing (especially rodents in attics or crawlspaces)
Tools & Materials Needed
| Item | Purpose | Estimated Cost |
|---|---|---|
| Voltage tester (non-contact) | Verifies power is OFF before handling wires—never skip this | $12–$25 |
| Wire strippers (with gauge markings) | Cleanly removes insulation without nicking copper | $8–$18 |
| UL-listed wire nuts (e.g., Ideal red or yellow) | Secure, code-compliant splices for repairs | $3–$7 per pack |
| Heat-shrink tubing (3:1 ratio, 1/4" diameter) | Provides durable, moisture-resistant insulation over repaired sections | $10–$15 per 10-ft roll |
| Electrical tape (UL-rated vinyl) | Temporary coverage only—never a permanent fix | $4–$8 |
Step-by-Step Fix
Choose the method based on severity and location. Always de-energize the circuit at the breaker panel first—and verify with your voltage tester.
- Minor insulation nick (less than 1/4" of copper exposed): Slide heat-shrink tubing over the wire, position it over the damaged area, and apply heat evenly with a heat gun (not a lighter). Shrink until snug and glossy.
- Stripped too far at a device terminal: Turn off power, loosen the terminal screw, gently push wire back so 1/4" of bare copper remains, then retighten firmly. Confirm no stray strands are touching adjacent terminals.
- Mid-cable break or large insulation loss (over 1"): Cut out the damaged section using wire cutters. Strip 3/4" of insulation from both ends. Join with a UL-listed wire nut sized for the wire gauge and number of conductors. Wrap the nut and connection tightly with electrical tape—then slide heat-shrink over the entire splice and shrink.
When to Call a Pro
Some situations demand licensed expertise—not just for safety, but for code compliance and insurance validity. Call an electrician if:
- The exposed wire is in knob-and-tube, aluminum, or cloth-covered wiring (common in pre-1960 homes)
- Damage occurs inside a wall cavity and you can’t access it without major drywall removal
- You find charring, melting, or a burnt odor near the exposure—signs of arcing or overheating
- The circuit trips repeatedly after repair attempts, indicating deeper fault issues
- You’re working in a bathroom, kitchen, or outdoor circuit requiring GFCI protection or wet-location ratings
"Over 51,000 home fires annually involve electrical distribution or lighting equipment—many starting from undetected or improperly repaired wire damage." — U.S. Fire Administration, Home Structure Fires Report 2022
Prevention Tips
Stop future exposures before they happen:
- Use nail plates on studs where cables run within 1.25" of the surface—required by NEC 300.4(A)(1)
- Label circuits clearly at your panel; test breakers annually with a plug-in tester
- Replace old outlets and switches every 15–20 years—loose terminals increase wire stress
- Seal attic and crawlspace entry points to deter rodents; inspect wiring there biannually
Can I use regular duct tape instead of electrical tape?
No. Duct tape lacks flame resistance, degrades quickly under heat, and its adhesive dries out—leaving exposed wire within months. Only UL-listed vinyl electrical tape (ASTM D1000) meets NEC requirements for temporary insulation.
Is heat-shrink tubing code-approved for permanent repairs?
Yes—if installed over a properly made mechanical connection (e.g., wire nut or crimp) and rated for the wire’s voltage and environment. The NEC doesn’t prohibit it, but it must not be the sole means of securing conductors. Always pair with an approved connector.
What gauge wire do most homes use for lighting circuits?
Standard 15-amp lighting circuits use 14 AWG NM-B (Romex) cable. Outlets typically use 12 AWG for 20-amp circuits. Verify gauge by checking printed markings on the cable sheath—or measure conductor diameter with calipers if markings are faded.
How long does electrical tape last before needing replacement?
Under ideal indoor conditions, UL-rated electrical tape lasts 5–7 years before UV degradation, temperature cycling, or adhesive failure compromises its seal. In damp or high-heat areas (like near recessed lights), replace it every 2–3 years—or better yet, use heat-shrink as a permanent solution.
Do I need a permit to repair exposed wiring?
Most jurisdictions don’t require permits for simple repairs like re-insulating or replacing a single outlet—but if you’re adding new circuits, upgrading panels, or modifying more than three devices, a permit and inspection are mandatory. Check with your local building department; unpermitted electrical work can void homeowner’s insurance.
Can I cover exposed wire with caulk or spray foam?
Never. Caulk and spray foam aren’t rated for electrical insulation, trap heat, and may contain solvents that degrade wire jackets. They also make future inspections or repairs nearly impossible. Only approved electrical materials belong on or near energized conductors.
Fixing exposed wire is one of those repairs that feels urgent—and it should be—but speed shouldn’t override safety or code. A clean heat-shrink repair on a bedroom light switch takes 12 minutes. Replacing chewed cable behind a baseboard? That’s a two-hour job with drywall patching and painting. Know your limits, respect the amperage, and remember: when in doubt, turn it off and call a licensed electrician. For related help, see our guides on how to replace a light switch and outlet not working troubleshooting.