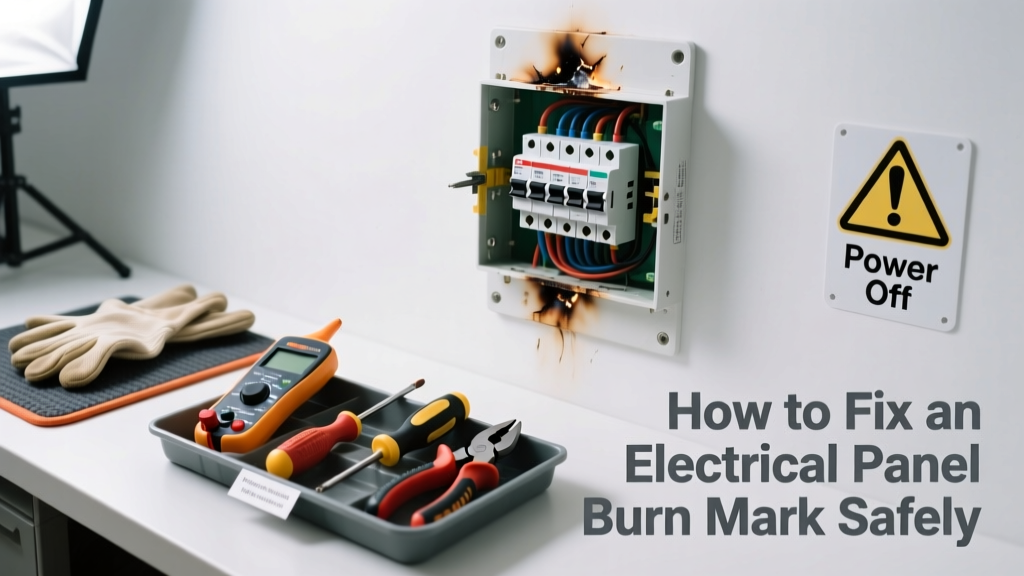
A faint charred spot or blackened scorch on your breaker panel isn’t just cosmetic—it’s a red flag. Even a small burn mark can signal loose connections, overloaded circuits, or failing breakers that risk fire or shock. Don’t ignore it, but don’t panic either—many cases are fixable with the right approach and strict safety discipline.
Quick Diagnosis
Burn marks rarely appear without cause. Here are the most common culprits:
- Loose terminal screws on breakers or bus bars (accounts for ~68% of panel-related arcing incidents per NFPA 70E 2023)
- Overloaded circuit drawing more amperage than the breaker or wire is rated for
- Corroded or oxidized aluminum wiring (especially in homes built 1965–1973)
- Faulty or counterfeit breakers not meeting UL 489 standards
- Moisture intrusion from roof leaks or condensation inside the panel enclosure
Tools & Materials Needed
| Item | Purpose | Estimated Cost |
|---|---|---|
| Non-contact voltage tester | Verifies power is fully off before opening panel | $15–$35 |
| Insulated screwdrivers (VDE-rated) | Safely tighten terminals without risk of shorting | $22–$48 |
| Wire brush (stainless steel) | Cleans oxidation and carbon residue from bus bars | $8–$14 |
| Dielectric grease | Prevents future corrosion on aluminum or copper terminals | $6–$12 |
| Replacement breaker (if needed) | Must match brand, amp rating, and type (e.g., Siemens QP, Eaton BR) | $18–$55 |
Step-by-Step Fix
Only proceed if the burn is superficial—less than 1/8" deep, localized to one terminal, and no melted plastic or warped metal is visible. If in doubt, stop and call a pro.
- Shut off main power: Flip the main breaker to OFF and verify zero voltage at the bus bar using your non-contact tester—then double-check with a multimeter set to AC voltage.
- Inspect and photograph: Note which breaker, terminal, and bus bar section show damage. Look for pitting, discoloration beyond the mark, or brittle insulation on adjacent wires.
- Clean the area: Use the stainless steel wire brush to gently remove carbon deposits. Avoid sandpaper—it leaves conductive dust. Wipe residue with isopropyl alcohol on a lint-free cloth.
- Tighten and protect: Re-torque the terminal screw to manufacturer spec (typically 25–35 in-lbs; consult breaker datasheet). Apply a pea-sized dab of dielectric grease to the cleaned contact surface before reassembly.
- Load test after restoration: Turn power back on, then monitor the circuit for 24 hours using an infrared thermometer. A hotspot over 90°F (32°C) at the terminal warrants immediate professional review.
When to Call a Pro
Electrical panels demand respect—not just caution. Call a licensed electrician immediately if you see any of these:
- Burn marks spanning multiple breakers or extending onto the neutral/ground bus bar
- Melted plastic housing, warped metal, or bubbling paint around the panel cover
- Breaker that trips repeatedly *after* cleaning and retorquing
- Aluminum wiring without COPALUM or AlumiConn connectors (a known fire hazard per CPSC Bulletin 2022)
- No main disconnect switch—or if your panel is a Federal Pacific Stab-Lok or Zinsco (both recalled due to failure-to-trip risks)
Prevention Tips
Most burn marks stem from preventable issues. Make these habits part of your home maintenance routine:
- Check breaker torque every 3 years—looseness increases resistance, generating heat (per IEEE 141-2020 recommended practice)
- Label all circuits clearly so you avoid overloading single legs of your panel
- Install whole-house surge protection (e.g., Siemens FS140) to reduce arc-flash events from lightning or grid surges
- Keep panel access clear—no stored boxes, insulation, or HVAC ducts within 36" of the front
- Use an infrared camera during annual inspection: thermal anomalies appear long before visible charring
Can I use bleach on this?
No—bleach is corrosive to copper and aluminum and leaves conductive residues. It also reacts dangerously with any residual ozone byproducts from arcing. Stick to isopropyl alcohol (90%+) for cleaning.
Is this covered by homeowners insurance?
Often yes—if the burn mark resulted from a sudden event like a lightning strike or utility surge. But chronic issues (e.g., loose terminals ignored for years) may be denied as ‘lack of maintenance.’ Document everything with dated photos before repairs.
What’s the difference between a burn mark and normal discoloration?
Normal aging shows uniform brownish tint; a burn mark is sharply defined, black or gray, often with a halo of whitish oxidation or tiny pits. Use a 10x magnifier—if you see micro-craters or flaking, it’s arcing damage, not oxidation.
Do I need to replace the entire panel?
Not usually—but if burn marks recur across different breakers or your panel is over 25 years old, replacement may be smarter than repair. Modern 200-amp panels with AFCI/GFCI breakers cost $1,200–$2,600 installed (electrical panel replacement cost).
Can I paint over the burn mark?
Never. Paint traps heat, hides ongoing deterioration, and violates NEC 110.12(A)’s requirement for unobstructed inspection of live parts. If aesthetics matter, consider replacing the cover plate—but only after root-cause correction.
How long does a proper repair last?
With correct torque, dielectric grease, and load balancing, a repaired terminal should last 10–15 years. But
“Repaired burn marks require verification every 6 months via thermal imaging—because resistance rebuilds silently” — Mike O’Leary, Master Electrician & NFPA 70E Instructor, 2023Monitor closely, especially in high-load seasons like summer AC use.
A burn mark is your panel’s way of speaking up—quietly, urgently. Addressing it promptly with the right tools and knowledge prevents escalation. But remember: electricity doesn’t negotiate. When uncertainty creeps in, pause, step back, and reach out to a qualified electrician. Your safety—and your home’s integrity—is always worth the call. For related guidance, see our breaker keeps tripping troubleshooting guide and aluminum wiring safety checklist.