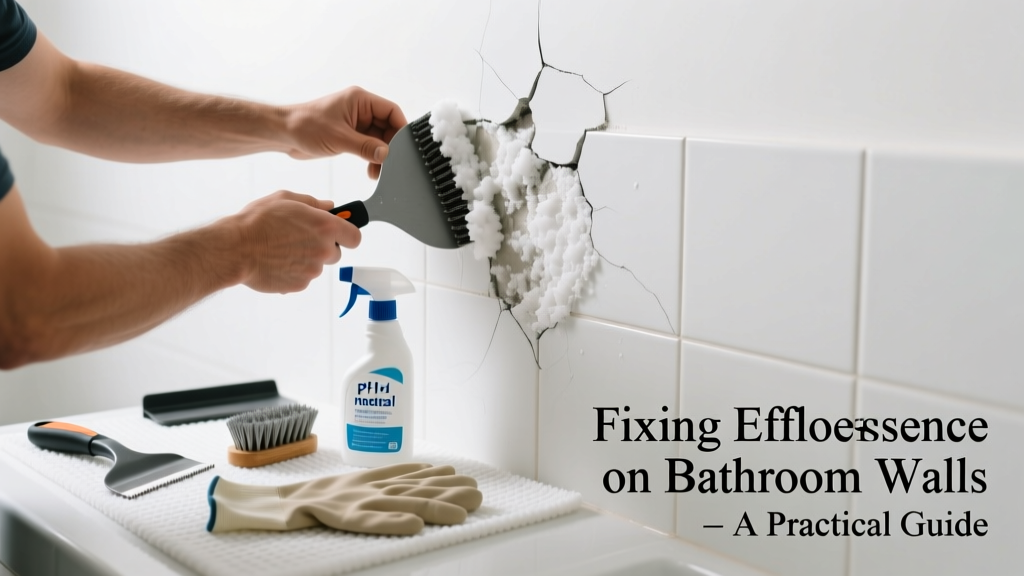
That chalky white powder blooming on your bathroom walls isn’t mold—it’s efflorescence, a telltale sign of moisture moving through masonry or concrete backer board. Left unchecked, it signals deeper water intrusion that can rot framing or degrade tile adhesion. Fixing it isn’t just cosmetic—it’s structural housekeeping.
Quick Diagnosis
Efflorescence forms when water dissolves soluble salts (like calcium sulfate or sodium carbonate) in mortar, grout, or concrete, then carries them to the surface as it evaporates. In bathrooms, common triggers include:
- Poorly sealed grout or caulk around tubs, showers, or sinks
- Missing or cracked waterproof membrane behind tile (especially in shower walls)
- Condensation buildup from inadequate ventilation (e.g., no exhaust fan or fan used <5 minutes post-shower)
- Leaking supply lines or drain pipes concealed behind walls
- High indoor humidity (>60%) combined with cold exterior walls (common in older homes with single-pane windows or uninsulated stud cavities)
Tools & Materials Needed
| Item | Purpose | Estimated Cost |
|---|---|---|
| White vinegar (5% acetic acid) or diluted muriatic acid (1:10 with water) | Dissolves salt deposits without damaging most tile or grout; muriatic acid is stronger but requires extreme caution | $3–$12 |
| Stiff nylon brush (non-metallic) | Loosens powdery residue without scratching glazed tile or etching stone | $4–$8 |
| Microfiber cloths & spray bottle | For controlled application and residue wipe-down—critical to avoid re-deposition | $6–$10 |
| Hygrometer | Measures relative humidity; essential for verifying if ventilation is sufficient (target: ≤50% RH during/after shower) | $12–$25 |
| Waterproofing primer (e.g., RedGard or Mapei Mapelastic) | Seals porous surfaces *after* cleaning and drying—prevents future salt migration | $25–$45 per gallon |
Step-by-Step Fix
Never scrub wet efflorescence—it re-dissolves salts and pushes them deeper. Always start dry, then clean only after confirming the wall is fully dry (use a moisture meter: readings must be <12% MC in substrate). Follow this sequence:
- Dry thoroughly: Run bathroom exhaust fan continuously for 48 hours; use a dehumidifier if RH stays above 55%. Confirm surface and subsurface dryness with a pinless moisture meter.
- Dry-brush first: Use a stiff nylon brush to gently lift loose powder. Vacuum debris immediately—don’t sweep, which redistributes salts.
- Apply vinegar solution: Spray undiluted white vinegar onto affected areas. Let sit 3–5 minutes, then scrub gently. For stubborn deposits, switch to 1 part muriatic acid : 10 parts water—always add acid to water, never reverse. Wear gloves, goggles, and N95 mask.
- Rinse & dry again: Wipe with damp microfiber cloth using distilled water (tap water adds minerals). Air-dry 24 hours before sealing.
- Seal the substrate: Apply two coats of liquid waterproofing membrane over cleaned, dry drywall or cement board—especially at joints, corners, and near fixtures. Let cure 72 hours before re-grouting or re-caulking.
When to Call a Pro
DIY stops where hidden damage begins. Call a licensed contractor or moisture specialist if you observe any of these:
- Efflorescence appears *behind* tile—not just on grout lines—indicating failed waterproofing membrane
- Wall feels spongy, sounds hollow when tapped, or shows bulging tiles (signs of substrate rot or delamination)
- Moisture meter readings exceed 18% in wall studs or >15% in cement board after 72 hours of drying
- Recurring efflorescence within 30 days of cleaning—even after sealing and ventilation upgrades
According to the Insurance Institute for Business & Home Safety's 2023 report, 68% of bathroom water damage claims involved undetected membrane failure behind tile—most missed by homeowners attempting cosmetic fixes.
Prevention Tips
Efflorescence won’t return if you break the moisture-salt-evaporation cycle. Prioritize these proven interventions:
- Install a timer or humidity-sensing exhaust fan that runs minimum 20 minutes post-shower (per ASHRAE 62.2-2022)
- Re-caulk all perimeter joints annually with 100% silicone rated for continuous submersion (e.g., GE Silicone II Kitchen & Bath)
- Use a hygrometer to confirm bathroom RH drops to ≤50% within 30 minutes of fan activation
- Replace standard drywall with cement board or glass-mat drywall in all wet zones (shower, tub surround)
- Check supply line connections quarterly—leaks as small as 0.5 oz/day can generate visible efflorescence in 6 weeks
Can I use bleach on this?
No. Bleach does not dissolve mineral salts and can react with ammonia (from urine residue) to produce toxic chloramine gas. It also degrades grout sealers and accelerates metal corrosion in fasteners. Stick to acidic cleaners like vinegar or properly diluted muriatic acid.
Will painting over efflorescence fix it?
Painting traps moisture and salts beneath the film—causing blistering, peeling, and eventual paint failure. You must remove efflorescence, dry the wall completely, and apply a breathable masonry primer (e.g., Sherwin-Williams Loxon Concrete & Masonry Primer) before topcoating.
Is efflorescence dangerous to breathe?
The salts themselves (mostly calcium carbonate or sulfates) aren’t highly toxic, but airborne dust can irritate eyes, nose, and throat—especially for people with asthma or COPD. Always wear an N95 mask during dry brushing and vacuuming. Never sand efflorescence.
Why does it keep coming back after cleaning?
Because the source moisture hasn’t been stopped. Reappearance within 2 weeks means either ongoing leakage (check supply lines, drains, or roof flashings above), insufficient ventilation (fan CFM too low for room size), or missing waterproofing behind tile. Use a thermal camera or hire a moisture inspector to locate the entry point.
Can I seal the wall without removing the efflorescence first?
No. Sealing over efflorescence locks salts beneath the membrane. As moisture continues migrating, pressure builds and causes coating delamination, tile tenting, or grout pop-outs. Removal and drying are non-negotiable prerequisites.
Does efflorescence mean my foundation is failing?
Not in bathrooms—efflorescence here almost always originates from interior moisture sources (shower leaks, condensation), not groundwater. Foundation-related efflorescence appears on basement walls, crawlspaces, or exterior masonry—not tiled shower surrounds. If you see it on bathroom walls, focus on plumbing and ventilation first.
Efflorescence is your wall’s distress signal—not a stain to scrub away and forget. Treat the symptom without addressing the moisture source, and you’ll be back at square one in weeks. But do the diagnostics right, seal thoughtfully, and upgrade your ventilation, and that white dust won’t darken your grout lines again. For more on related issues, see our guides on how to fix a leaking shower valve and best exhaust fans for small bathrooms.