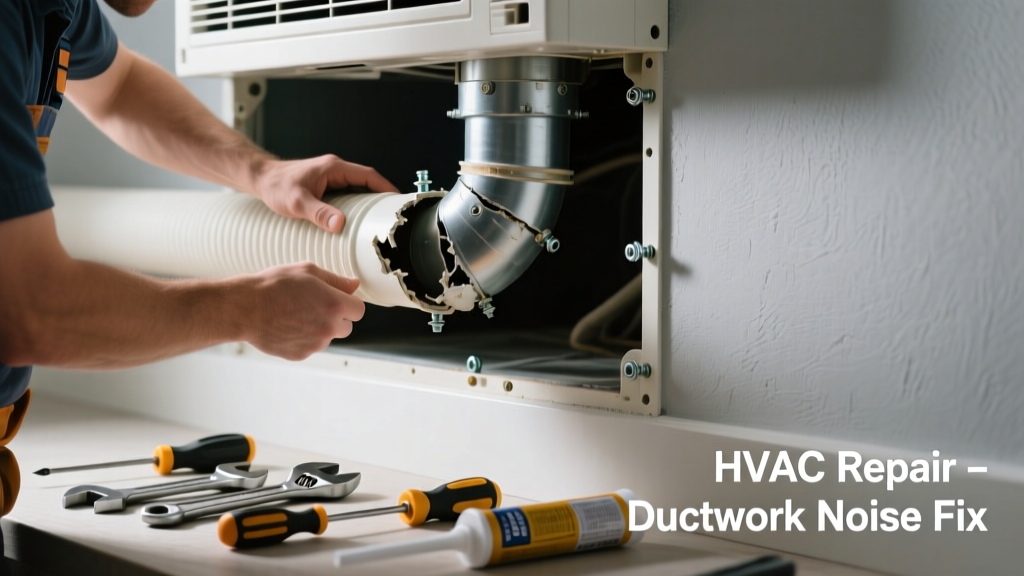
If your ductwork rattles, whistles, or groans every time the furnace kicks on—or worse, delivers weak airflow—it’s not just annoying; it’s a sign of inefficiency, energy waste, or even hidden damage. Ignoring it can raise utility bills by up to 20% and shorten your HVAC system’s lifespan, according to the U.S. Department of Energy’s 2022 Home Energy Audit Guide.
Quick Diagnosis
Start here before grabbing tools. Most noisy, malfunctioning ducts stem from one (or more) of these root causes:
- Loose or disconnected duct joints—especially at plenums or branch takeoffs
- Collapsed or kinked flexible ducts behind walls or in attics
- Undersized ducts or improper trunk-to-branch ratios causing high-velocity airflow
- Duct insulation missing, compressed, or soaked with moisture
- Dirty air filters or clogged evaporator coils restricting static pressure
Tools & Materials Needed
| Item | Purpose | Estimated Cost |
|---|---|---|
| Flexible duct sealant (mastic) | Seals leaks without cracking or drying out like tape | $8–$15 |
| Sheet metal screws (6–10 gauge) | Re-secures loose rigid duct sections and collars | $4–$7 |
| Insulation wrap (R-6 or higher) | Dampens vibration and reduces condensation-related noise | $12–$22 per 25-ft roll |
| Stud finder with metal detection | Locus hidden duct runs and fastener locations behind drywall | $25–$45 |
| Manometer (optional but recommended) | Measures static pressure to confirm airflow restrictions | $65–$120 |
Step-by-Step Fix
Work from the air handler outward. Prioritize safety: turn off power at the breaker and shut off gas if applicable.
- Inspect and reseal all accessible joints: Use mastic—not duct tape—to coat seams, screw collars, and flex duct connections. Let cure 24 hours before testing.
- Reinforce sagging or vibrating sheet metal: Add 2–3 sheet metal screws per linear foot along seams and corners. For large rectangular ducts, install 1×2 furring strips as stiffeners every 24 inches.
- Replace damaged flex duct: If you find kinks, tears, or compression >30%, cut out the section and replace with new R-6 insulated flex duct, securing both ends with zip ties and mastic.
- Balance airflow with dampers: Locate manual dampers (often near registers or in main trunks). Close dampers on short, direct runs slightly to increase resistance and equalize pressure across zones.
When to Call a Pro
DIY stops where safety, code compliance, or system design knowledge begins. Call an HVAC technician certified by NATE (North American Technician Excellence) if you encounter any of these:
- Air handler cycling rapidly (<60 seconds on/off), indicating serious static pressure imbalance
- Mold growth inside ducts—requires EPA-certified remediation, not surface cleaning
- Gas furnace exhaust ducts making popping noises (possible heat exchanger crack)
- Noise originating from inside walls or ceilings with no visible access points
- Static pressure readings above 0.5" w.c. on supply or return side (measured with manometer)
Prevention Tips
Prevent recurrence with routine habits and smart upgrades:
- Replace pleated filters every 90 days—or every 30 days if you have pets or allergies
- Install a whole-house humidifier set to 35–45% RH to reduce winter duct contraction noise
- Add acoustic lining to new duct installations (per ASHRAE Standard 120-2022 guidelines)
- Schedule professional duct cleaning every 5–7 years—only if visible mold, rodent debris, or excessive dust buildup is confirmed
Why does my duct whistle only when the heat turns on?
Whistling usually means high-velocity air escaping through a small gap—most often at a poorly sealed register boot or a partially closed damper. The heat cycle increases blower speed and static pressure, amplifying the leak. Check register boots first: remove the grille and inspect the seam where the boot meets drywall or subfloor. Seal with mastic, not caulk.
Can I insulate ducts myself in the attic?
Yes—and you should. Uninsulated attic ducts lose up to 30% of heating/cooling capacity (U.S. EPA ENERGY STAR 2023 report). Wrap rigid ducts with R-6+ fiberglass wrap, overlapping seams by 2 inches and sealing edges with foil tape. For flex duct, ensure it’s fully extended—not coiled or compressed—and verify the outer jacket is intact.
Will tightening loose ducts stop the banging noise?
Tightening helps—but only if the banging is from thermal expansion. When ducts heat or cool rapidly, thin-gauge metal flexes against framing. Adding rubber isolation hangers (not wire) and padding contact points with neoprene gasket tape solves 90% of this issue.
"Over 60% of duct-related noise complaints stem from inadequate support—not leaks," says HVAC engineer Lena Torres in the 2023 ASHRAE Journal duct design supplement.
How do I know if my ducts are undersized?
Signs include consistently weak airflow in distant rooms, loud whooshing sounds at registers, and cold spots despite thermostat settings. A pro can calculate required CFM per room and compare to actual duct dimensions. As a rule of thumb, a 6" round duct shouldn’t serve more than 60 CFM—if your 4-ton system pushes 1,600 CFM total, your main trunk likely needs to be 16–18" wide.
Can a dirty blower wheel cause duct noise?
Absolutely. A caked blower wheel throws the fan off-balance, causing harmonic vibration that travels through duct walls. Turn off power, remove the access panel, and inspect the wheel with a flashlight. Clean with a soft brush and mild detergent—never abrasive pads or solvents. Rebalance isn’t DIY; if vibration persists after cleaning, call a technician.
Is duct noise covered by home warranty plans?
Rarely. Most home warranties exclude ductwork unless it’s part of a covered HVAC system failure (e.g., compressor replacement requiring duct inspection). Read your policy’s exclusions section carefully—many list "duct leakage, insulation, or structural integrity" as explicitly excluded per the 2022 Service Contract Industry Association (SCIA) benchmark report.
Noisy, inefficient ducts rarely fix themselves—and they almost always get worse. Addressing loose joints, airflow imbalances, and insulation gaps now prevents costly repairs later and keeps your system running quietly and efficiently for years. Pair these fixes with regular filter changes and seasonal visual inspections, and you’ll spend less time troubleshooting and more time enjoying comfortable, quiet air.