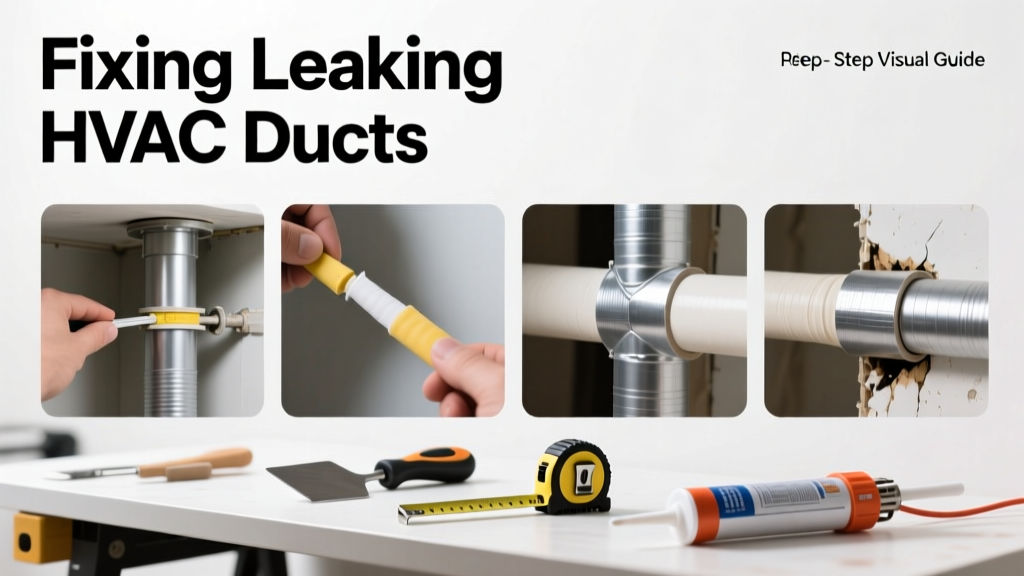
If your home feels drafty, your energy bills are creeping up, or some rooms never warm up in winter and stay sticky in summer, leaking ducts may be the hidden culprit. Unlike a dripping faucet, duct leaks are silent, invisible, and often overlooked — yet they can waste up to 30% of your conditioned air before it reaches the register. The good news? Many common leaks are simple to find and fix with basic tools and under $25.
Quick Diagnosis
Before grabbing tape or mastic, confirm the issue is actually duct leakage — not a failing blower motor, clogged filter, or thermostat glitch. Start here:
- Feel for airflow around duct joints, seams, and connections near registers and the air handler
- Notice if one room is consistently colder/hotter than others despite balanced dampers
- Check for visible gaps, crushed flex duct, or disconnected sections in accessible areas (attic, crawlspace, basement)
- Listen for hissing sounds near ductwork when the system runs
- Use incense or a smoke pencil near joints — visible smoke drift indicates leakage
Tools & Materials Needed
| Item | Purpose | Estimated Cost |
|---|---|---|
| Aluminum foil tape (UL 181A-P rated) | Seals small gaps and joints; withstands temperature swings and won’t dry out like duct tape | $8–$12 |
| Duct mastic (water-based, UL 181B-FX rated) | Fills larger gaps, cracks, and irregular surfaces; provides long-term, airtight seal | $15–$22 |
| Stiff-bristle brush or putty knife | Applies mastic evenly and removes old debris or crumbling tape residue | $4–$7 |
| Flashlight + ladder (for attic/crawlspace access) | Enables safe visual inspection of overhead or tight-space ductwork | $15–$40 (ladder) |
| Smoke pencil or incense stick | Visualizes air movement at suspected leak points without expensive equipment | $5–$9 |
Step-by-Step Fix
Most duct leaks occur at seams, connections, and transitions between rigid metal and flexible duct. Follow this sequence — always power off the HVAC system first:
- Clean the surface: Wipe joints with a dry cloth; remove dust, grease, or old tape residue with rubbing alcohol and a stiff brush.
- Seal small gaps (<1/8"): Apply UL 181A-P aluminum foil tape over clean, dry seams — press firmly and smooth edges to prevent lifting.
- Fill larger gaps or holes: Use a putty knife to spread UL 181B-FX duct mastic over cracks, holes, or loose connections. Cover at least 2" beyond each side of the gap.
- Reinforce flex duct connections: Where flexible duct meets a metal collar or plenum, wrap mastic-coated foil tape around the entire joint — then add a second layer after 1 hour.
- Test your work: After 24 hours (for mastic cure), run the system and recheck with smoke or hand feel. No airflow should escape at sealed points.
When to Call a Pro
Not every duct issue is DIY-safe. Skip the wrench and call a licensed HVAC technician if you encounter:
- Leakage inside insulated ductboard (common in older homes) — cutting into it risks fiberglass exposure and structural failure
- Corroded or rusted sheet metal ducts with multiple pinholes — replacement is safer than patching
- Leaks in ducts buried in walls, ceilings, or concrete slabs — requires infrared imaging or pressure testing
- A whole-house pressure test reveals >15% total duct leakage (measured in CFM25) — that’s beyond typical homeowner scope
"According to the U.S. Department of Energy’s 2022 Residential Energy Consumption Survey, homes with unsealed ducts lose an average of 20–30% of heated or cooled air — costing homeowners $150–$300 annually in wasted energy."
Prevention Tips
Proper sealing lasts years — but only if installed correctly and maintained. Prevent future leaks with these habits:
- Inspect accessible duct joints every 18 months — especially after seasonal temperature shifts
- Replace disposable filters every 30–90 days to reduce strain on the blower and internal duct pressure
- Never use standard duct tape — it fails within 6–12 months due to heat cycling and UV exposure
- After any HVAC upgrade (e.g., new furnace or AC unit), request a duct leakage test as part of commissioning
Can I use regular duct tape to fix a leak?
No — standard gray duct tape is not rated for HVAC use. Its rubber-based adhesive dries out, cracks, and loses adhesion under temperature fluctuations. UL 181A-P aluminum foil tape is the minimum acceptable repair material for joints, per the International Mechanical Code.
How do I know if my ducts are insulated?
Look for a white or silver foil jacket covering the duct exterior — often with R-4 to R-8 printed on the label. Uninsulated metal ducts appear bare and shiny. Flex ducts are typically insulated by design; rigid metal ducts in attics or garages usually aren’t unless retrofitted.
Will sealing ducts lower my energy bill?
Yes — especially if leaks exceed 10% of total airflow. The EPA estimates that sealing ducts in a typical home reduces heating and cooling costs by 10–20%, with payback periods under two years in most climates. Duct leak testing gives you exact numbers before and after.
Can duct leaks cause health problems?
Indirectly — yes. Leaks in return ducts can draw in dust, mold spores, or garage fumes (like CO or car exhaust) and recirculate them indoors. In humid climates, cold supply ducts sweating in unconditioned spaces can promote mold growth inside insulation. Mold in air ducts requires professional remediation.
Do I need to seal both supply and return ducts?
Yes — both matter. Supply leaks waste conditioned air. Return leaks pull in unfiltered, unconditioned air (attic dust, crawl space moisture, garage fumes), reducing indoor air quality and system efficiency. Prioritize return-side leaks near the air handler first — they’re often the most impactful.
How long does duct mastic take to dry?
Water-based mastic dries to the touch in 1–2 hours but needs 24 hours to fully cure and achieve maximum adhesion and flexibility. Avoid running the HVAC during that time. Solvent-based mastics dry faster but require ventilation and are rarely needed for residential repairs.
Fixing duct leaks isn’t glamorous — but it’s one of the highest-ROI repairs you can make. You’ll notice quieter operation, more consistent room temperatures, and a lighter load on your HVAC system. And unlike replacing a furnace or AC unit, this fix pays for itself fast while extending your equipment’s life. Just remember: when in doubt about accessibility, material condition, or safety, reach out to a certified HVAC technician — especially before cutting into concealed ductwork or handling fiberglass insulation.