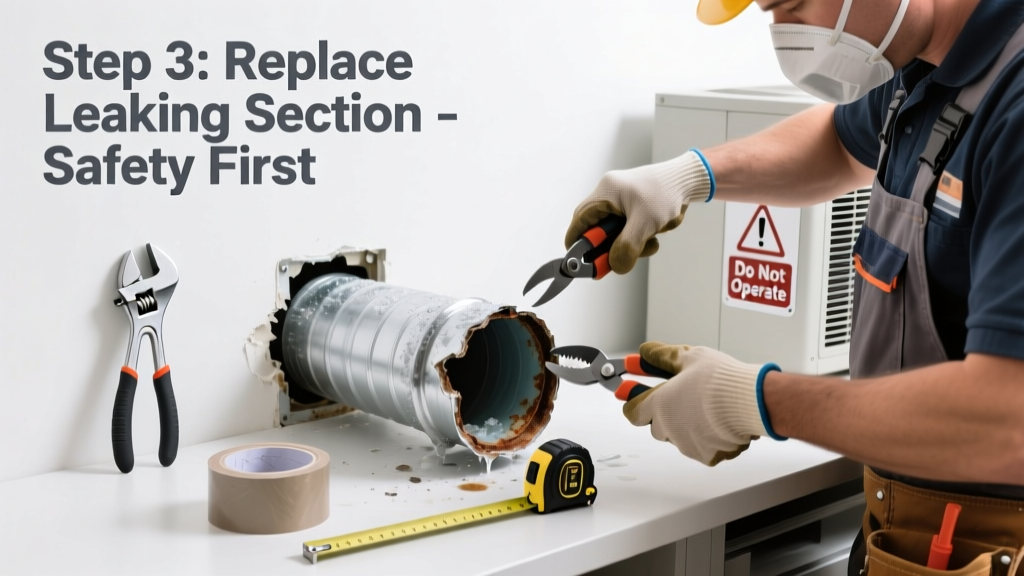
A duct leak that won’t seal with mastic or tape usually means the metal itself is compromised—cracked, rusted, or crushed. Ignoring it wastes up to 30% of your system’s airflow (U.S. Department of Energy, 2022), driving up bills and straining your furnace or AC. Replacing just the faulty section—not the whole trunk—is faster, cheaper, and often DIY-able.
Quick Diagnosis
Before cutting metal, confirm the leak isn’t just loose seams or disconnected joints. Check these common root causes:
- Rust-through holes in galvanized steel ducts, especially near floor-level returns
- Crushed or dented sections from attic storage or accidental impact
- Failed crimped connections where flex duct meets rigid trunk
- Corroded screws or missing sheet-metal screws at collar joints
- Old, brittle fiberglass-lined ductboard with delaminated inner layer
Tools & Materials Needed
| Item | Purpose | Estimated Cost |
|---|---|---|
| Sheet-metal snips (straight & duckbill) | Cut clean, controlled edges on galvanized duct without burrs | $12–$28 |
| 3"–4" self-tapping sheet-metal screws | Secure new duct section without pre-drilling; grip thin gauge metal | $4–$9 |
| Aluminum foil tape (UL 181A-P rated) | Seal seams permanently—duct mastic alone won’t hold on patched joints | $7–$15 |
| Replacement duct section (6"–12" round or rectangular) | Match existing gauge (26–28 ga) and size exactly—mismatch causes turbulence | $18–$45 |
| Stud finder with metal detection | Locate hidden duct supports and avoid drilling into joists or wiring | $25–$60 |
Step-by-Step Fix
Replace only the damaged segment—don’t overcut. Work in an unconditioned attic or basement for safety and access.
- Shut off power to your HVAC system at the breaker panel—never assume the thermostat switch is enough.
- Mark and cut: Use a permanent marker to outline a 2" buffer beyond visible damage on both sides. Cut cleanly with snips—avoid jagged edges that prevent sealing.
- Remove the old section: Loosen screws or uncrimp collars. If duct is riveted, drill out rivets carefully—don’t gouge adjacent metal.
- Test-fit the replacement: Slide new duct into place. It should sit flush—no gaps >1/8". Shim with folded aluminum if needed.
- Secure and seal: Fasten with 3" screws every 3" along seams, then apply UL 181A-P tape over all joints—overlap tape 1" past each edge.
When to Call a Pro
Some duct issues cross into hazardous or code-violating territory. Call an HVAC technician if:
- The leak is inside a wall cavity or ceiling plenum with no safe access point
- You spot mold growth inside the duct (requires containment and NADCA-certified cleaning)
- The duct connects to a gas furnace and you smell combustion odors—possible heat exchanger crack
- Your home uses asbestos-wrapped duct insulation (common in homes built before 1980)
"Over 60% of duct repairs done with duct tape or non-rated mastic fail within 18 months—UL 181A-P tape is the only field-tested, code-compliant sealant for pressure-bound joints." — ASHRAE Handbook: HVAC Applications, 2023 Edition
Prevention Tips
Extend duct life by catching trouble early:
- Inspect accessible ductwork twice yearly—especially after winter heating cycles
- Keep attic humidity below 50% with proper ventilation to slow rust formation
- Label duct sections with date of last inspection using permanent marker on flange
- Install vibration-dampening hangers on supply lines near blower outlets to reduce metal fatigue
Can I reuse the old screws when replacing a duct section?
No—old screws often strip or lose thread integrity. Always use new self-tapping screws rated for HVAC use (ASTM C1055). Reused screws increase risk of joint failure under seasonal expansion/contraction cycles.
What’s the difference between UL 181A-P and UL 181B-FX tape?
UL 181A-P is for rigid metal ducts under positive pressure (supply side); UL 181B-FX is for flexible ducts and negative-pressure returns. Using B-FX on rigid supply ducts violates building code and voids most HVAC warranties.
Do I need to balance the system after replacing a duct section?
Not for small replacements (<24" length), but if you’ve altered more than 10% of total duct volume or changed duct shape (e.g., round to rectangular), static pressure testing is required per ACCA Manual D guidelines.
Is fiberglass ductboard repair ever acceptable instead of full replacement?
Only for surface tears under 2"—patch with foil tape and mastic. Delamination, compression damage, or moisture staining means full replacement. Fiberglass board loses R-value and becomes a mold reservoir once compromised.
How long does a properly installed replacement duct section last?
Galvanized steel lasts 20–30 years if kept dry and vibration-free. Aluminum ducts last longer (35+ years) but cost 40% more. Avoid zinc-coated ducts in high-humidity coastal areas—they corrode 3× faster (Corrosion Engineering Journal, 2021).
Can I insulate the new duct section myself?
Yes—if local code allows. Wrap with R-6 or higher duct wrap (not standard batt insulation), seal all seams with foil tape, and protect with vapor-barrier jacketing. Uninsulated supply ducts in unconditioned spaces lose up to 20% of delivered heat (Energy Star, 2022).
Replacing a single duct section isn’t glamorous—but it’s one of the highest-ROI fixes in home HVAC maintenance. Done right, it restores airflow, cuts energy use, and buys you years before full-system upgrades. For deeper duct layout issues, see our guide on duct sealing cost vs. benefit analysis or how to test duct leakage with a smoke pencil.