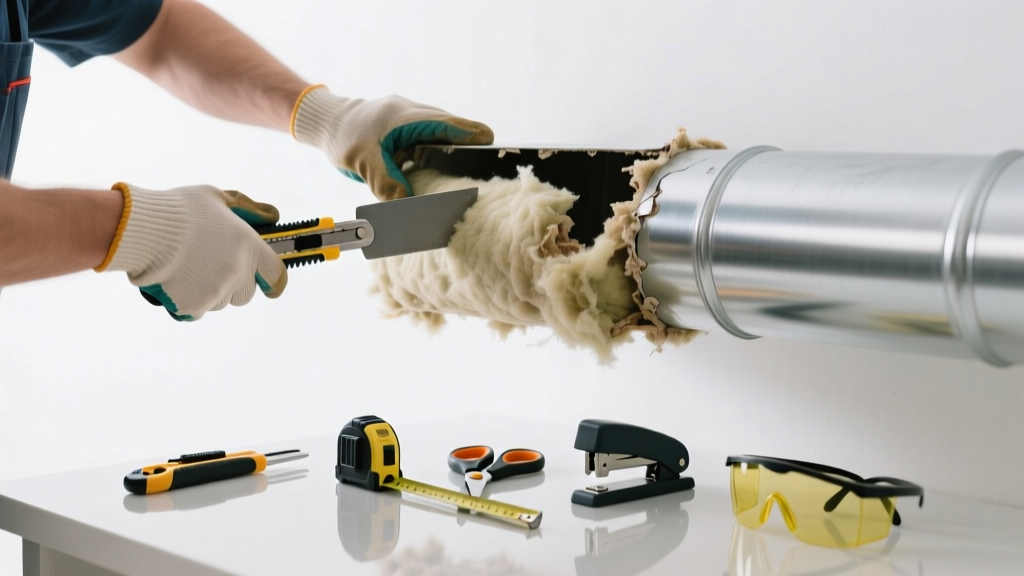
If you’ve spotted sagging, torn, or moisture-soaked insulation on your HVAC ducts—especially near joints, seams, or attic penetrations—you’re likely losing energy and inviting condensation or mold. Small localized damage doesn’t always mean replacing the entire duct run; targeted replacement is faster, cheaper, and just as effective when done right.
Quick Diagnosis
Before grabbing tools, confirm the issue isn’t deeper than surface damage. Here are the most common root causes:
- Physical impact from attic storage, rodent activity, or accidental tool contact
- Condensation buildup due to missing vapor barrier or poor sealing (especially in humid climates)
- Aging fiberglass that’s crumbled or compressed after 10+ years
- Poor initial installation—gaps at seams, insufficient tape coverage, or undersized wrap
Tools & Materials Needed
| Item | Purpose | Estimated Cost |
|---|---|---|
| Fiberglass duct insulation wrap (R-6 or R-8, 1.5" thick) | Matches standard residential duct specs and provides thermal resistance | $12–$24 per 25-ft roll |
| Aluminum foil tape (UL 181A-P rated) | Seals seams and edges; withstands HVAC temperature swings without drying out | $8–$15 per 2-in × 60-yd roll |
| Utility knife with snap-off blades | Cuts insulation cleanly without fraying or compressing fibers | $5–$12 |
| Measuring tape & marker | Ensures precise cut length and alignment over duct contour | $3–$7 |
| Work gloves + N95 respirator | Protects against fiberglass skin irritation and airborne particles | $10–$22 |
Step-by-Step Fix
Follow these steps to replace only the damaged segment—not the whole duct. Work in a well-ventilated area and wear full PPE.
- Turn off HVAC power at the breaker and verify no airflow by running the blower fan briefly—then shut it down.
- Cut away damaged insulation using a utility knife, removing 2 inches beyond visible damage on each side to expose clean, dry duct metal.
- Wipe duct surface with a dry microfiber cloth—no solvents—to remove dust or debris before applying new wrap.
- Measure and cut new insulation to wrap snugly around the duct circumference plus 1 inch overlap; length should match the removed section plus 3 inches total (1.5" extra on each end).
- Apply insulation wrap, pressing firmly along seams and overlapping ends by at least 1 inch; seal all edges and seams with UL 181A-P aluminum tape—no duct mastic or regular packing tape.
When to Call a Pro
Some situations require licensed expertise—not just because they’re hard, but because they’re hazardous or code-critical:
- Ducts with visible rust, holes larger than ½ inch, or structural deformation
- Insulation damage inside walls, crawlspaces with limited access, or ducts connected to gas furnaces with combustion air concerns
- Moisture staining that extends beyond the insulation into sheet metal—indicating possible duct leakage or condensation from oversized AC units
- Any work involving return air ducts near bedrooms or living spaces where improper sealing could affect indoor air quality
"Over 60% of duct systems in U.S. homes have measurable leakage—and poorly repaired insulation accelerates heat loss by up to 30% in winter," says the U.S. Department of Energy’s Residential Duct Retrofit Guide, 2022.
Prevention Tips
Extend the life of your next insulation repair with these field-tested habits:
- Install rigid foam board shields over vulnerable duct runs in high-traffic attic areas
- Check insulation annually during HVAC maintenance—look for compression, discoloration, or separation at seams
- Ensure attic ventilation meets local code (typically 1:150 net free area) to reduce summer condensation risk
- Use only UL 181A-P tape for all duct repairs—standard HVAC tape fails within 18 months in attics above 120°F
Can I reuse the old insulation if it’s only slightly torn?
No. Fiberglass insulation loses R-value once compressed or disturbed—even minor tears compromise vapor barrier integrity and trap moisture. According to ASHRAE Standard 90.1-2022, any insulation with visible gaps, compression, or fiber displacement must be replaced, not patched.
Is duct mastic acceptable instead of aluminum tape for sealing?
Only for sealing duct joints—not insulation seams. Mastic is too thick and inflexible for wrapping applications and cracks under thermal cycling. Aluminum foil tape (UL 181A-P) is the only material approved by the International Mechanical Code for insulating wrap seams.
How do I know if my ducts need R-6 vs. R-8 insulation?
R-8 is required in IECC Climate Zones 4–8 (most of the northern and mountain U.S.), while R-6 suffices in Zones 1–3 (southern tier). Check your local building department’s adopted version of the duct insulation R-value guide for exact requirements.
Can I insulate ducts in unconditioned garages the same way?
No—garage ducts need additional protection. Per the 2021 IRC Section M1601.3.1, ducts in garages require either R-8 insulation plus a thermal barrier (½" gypsum) or R-11 with sealed vapor jacketing. See our garage duct insulation code checklist for compliance details.
What’s the best way to dispose of old fiberglass insulation?
Wrap tightly in heavy-duty plastic trash bags, label “fiberglass,” and check with your municipal waste authority—many accept it with construction debris, but some require special drop-off. Never burn or compost it. The EPA prohibits landfill disposal of insulation containing formaldehyde binders unless certified low-emission (ASTM C1313-21).
Do I need to insulate both supply and return ducts?
Yes—both. Uninsulated return ducts in hot attics pull in 90°F+ air, forcing your AC to cool already-conditioned air. The U.S. EPA estimates that insulating returns improves system efficiency by 8–12%, especially in two-story homes with attic returns. Read more in our supply vs. return duct insulation comparison.
A properly repaired duct insulation patch doesn’t just restore efficiency—it prevents future moisture traps, reduces HVAC runtime, and helps maintain consistent room temperatures. Most homeowners complete this fix in under 90 minutes, and the payoff shows up fast on your next utility bill. Just remember: when in doubt about duct integrity or airflow balance, skip the guesswork and call an HVAC technician certified by NATE or ACCA.