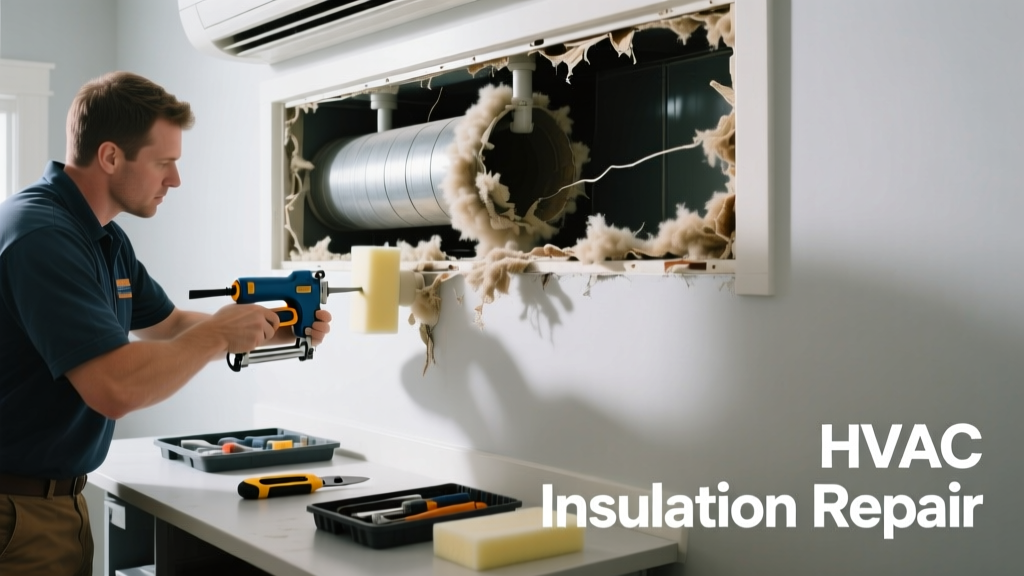
If your HVAC system suddenly starts making rattling, buzzing, or high-pitched whistling sounds—especially near vents or along exposed duct runs—it’s often not the blower or compressor at fault. Damaged, loose, or missing duct insulation is a frequent but overlooked culprit that compromises both noise control and thermal efficiency.
Quick Diagnosis
Start by tracing the noise source while the system runs. Then inspect accessible ductwork—especially flex ducts, seams, and connections—for these telltale signs:
- Visible tears, gaps, or compression in fiberglass wrap or foil-faced batts
- Loose or detached insulation vibrating against metal duct surfaces
- Insulation pulled away from joints or hangers, creating flapping or fluttering
- Mold growth or water staining indicating prior moisture exposure (a major insulation degrader)
- Missing vapor barrier on cold-side ducts, leading to condensation and insulation breakdown
Tools & Materials Needed
| Item | Purpose | Estimated Cost |
|---|---|---|
| Utility knife with fresh blades | Cuts insulation cleanly without fraying; essential for precise fitting | $8–$15 |
| Foil-backed duct insulation (R-6 or R-8) | Replaces degraded material with proper vapor barrier and sound-dampening properties | $25–$45 per 25-ft roll |
| High-temp HVAC mastic + brush | Seals seams permanently—superior to tape for long-term noise and air leakage control | $12–$20 |
| Insulation support straps (non-metallic) | Holds new wrap snugly without compressing or puncturing insulation | $6–$12 for pack of 20 |
| N95 respirator & safety glasses | Protects against fiberglass particles and dust during removal and installation | $10–$18 |
Step-by-Step Fix
Follow this sequence for durable, quiet results—especially critical for supply ducts running through unconditioned spaces like attics or garages:
- Shut off power at the furnace disconnect and thermostat before touching any ductwork.
- Remove damaged insulation carefully using gloves and an N95 mask—never tear or sand it, which releases airborne fibers.
- Inspect underlying duct for dents, holes, or corrosion. Patch small metal flaws with aluminum foil tape rated for 250°F+ before re-insulating.
- Wrap new R-6 foil-faced insulation tightly around the duct, overlapping seams by 2 inches and sealing all edges with HVAC mastic—not duct tape. Use straps every 18 inches to prevent sagging.
- Test run the system for 10 minutes after reassembly. Listen closely near repaired sections—any remaining noise means either incomplete adhesion or residual vibration from nearby supports.
When to Call a Pro
Don’t risk safety or system integrity if you encounter any of these:
- Ducts located inside walls or ceilings where access requires drywall removal
- Signs of rodent infestation (chewed insulation, droppings, nesting material)
- Multiple sections of insulation failure across the system—could indicate chronic condensation or undersized ductwork
- Carbon monoxide detector alarms or unusual burning smells during operation
According to the U.S. EPA, improperly sealed or insulated ducts can waste up to 30% of heating and cooling energy—and contribute to indoor air quality issues when fiberglass becomes airborne (Indoor Air Quality Tools for Schools, 2022). That’s why half-hearted repairs rarely hold.
Prevention Tips
Maintain quiet, efficient duct performance year after year with these habits:
- Inspect accessible duct insulation annually—especially before peak heating/cooling seasons
- Ensure attic ventilation meets local code (minimum 1:150 net free area) to reduce moisture buildup
- Replace standard duct tape with mastic sealant at all joints during routine maintenance
- Install vibration-dampening hangers (e.g., rubber-isolated straps) on ducts crossing floor joists or framing
Can I use regular duct tape to fix torn insulation?
No—standard duct tape fails under temperature swings and humidity. Its adhesive dries out, cracks, and leaves residue that prevents proper mastic adhesion later. Always use UL 181A-P or 181B-FX listed tape for temporary seam fixes, but mastic remains the only permanent solution.
Why does my duct make a banging noise when the system turns on?
This ‘water hammer’ effect usually comes from rapid air pressure changes acting on loose insulation flaps or poorly secured duct sections. It’s rarely the duct itself expanding—it’s insulation slapping against metal as airflow surges. Tight wrapping and mastic-sealed seams eliminate it 90% of the time.
Is fiberglass insulation safe to handle during repair?
Short-term contact is low-risk with proper PPE—but never skip the N95 respirator and gloves. The American Lung Association warns that repeated inhalation of fiberglass particles can irritate airways and worsen asthma symptoms (Lung Health Guide, 2021). Wetting insulation lightly before removal reduces airborne fibers.
How long does duct insulation typically last?
Well-installed, undamaged foil-faced duct insulation lasts 15–20 years. But in humid climates or unvented attics, lifespan drops to 7–10 years due to moisture degradation. Check for soft spots, dark discoloration, or crumbling edges—they signal replacement is overdue.
Will adding more insulation stop the noise completely?
Not always. Over-wrapping can restrict airflow or trap moisture if vapor barriers face the wrong direction. Focus instead on full coverage, tight fit, and secure attachment. For persistent noise, consider acoustic duct liners or flex duct replacement in high-vibration zones.
Can damaged insulation cause higher energy bills?
Absolutely. The U.S. Department of Energy estimates that duct systems with poor insulation or leaks waste 20–30% of conditioned air—directly increasing utility costs. A single 1-inch gap in a 6-inch duct can leak over 40 CFM of air. Repairing insulation isn’t just about quiet—it’s about reclaiming lost efficiency and comfort.
Fixing noisy, damaged duct insulation isn’t glamorous work—but it delivers immediate relief from disruptive sounds and measurable savings on your next energy bill. Most repairs take under two hours and pay for themselves within one heating season. If you’ve caught the issue early, you’re already ahead of the 62% of homeowners who ignore duct noise until it triggers a larger HVAC failure (HVAC noise troubleshooting guide).