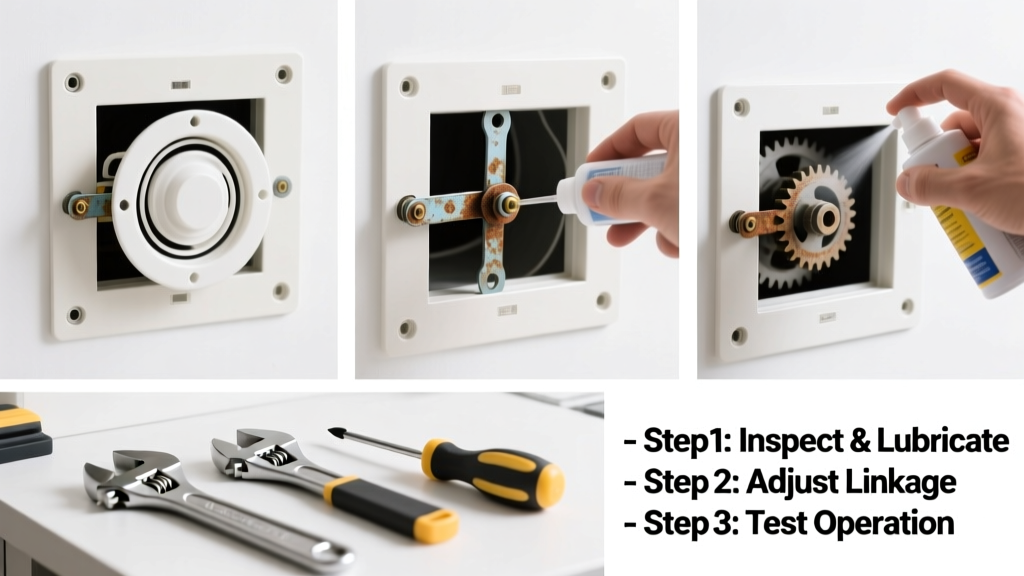
If your heating or cooling feels uneven—like one room freezes while another bakes—it’s often a stuck duct damper throwing off airflow. These small metal flaps inside your ductwork control air distribution, and when they seize up from dust, corrosion, or misalignment, your whole system suffers efficiency and comfort. Don’t assume it’s a furnace issue yet—this is frequently a simple mechanical fix you can do in under an hour.
Quick Diagnosis
Before grabbing tools, confirm the damper is actually stuck—not just misadjusted or controlled remotely. Start by locating the damper: look for a rectangular access panel on a main trunk line (usually near the furnace or where ducts branch), or check for a lever or handle protruding from round or rectangular duct sections.
- Damper lever won’t move at all—even with moderate force
- Blade appears bent, warped, or jammed against duct wall
- Motorized damper hums but doesn’t rotate (if equipped)
- Visible rust, dried grease, or hardened dust buildup around shaft or blade edges
- Manual override lever (if present) disengages but damper stays fixed
Tools & Materials Needed
| Item | Purpose | Estimated Cost |
|---|---|---|
| Needle-nose pliers | Grip and reposition seized linkage or bent rods | $8–$15 |
| 3-in-1 oil or white lithium grease | Lubricates shafts and pivots without attracting dust | $5–$10 |
| Wire brush (stiff brass or nylon) | Cleans rust and debris from damper shaft and housing | $4–$9 |
| Flathead screwdriver (3/16") | Loosens set screws and adjusts linkage tension | $3–$7 |
| Flashlight with magnetic base | Illuminates tight duct interiors hands-free | $12–$22 |
Step-by-Step Fix
Most stuck dampers respond to one of these three methods—try them in order. Always shut off power to your HVAC system at the breaker before starting.
- Clean and lubricate the shaft: Remove the access panel, inspect the damper rod for rust or gunk, scrub with wire brush, then apply 2–3 drops of 3-in-1 oil directly to the pivot points. Work the lever back and forth gently for 60 seconds.
- Adjust or replace linkage: If the lever moves but the blade doesn’t, the connecting rod may be bent or disconnected. Use needle-nose pliers to straighten or reattach; tighten set screws with the flathead screwdriver.
- Realign the damper blade: If the blade scrapes the duct wall, loosen the mounting bracket bolts slightly, shift the entire assembly 1/8" away from contact, then retighten. Check alignment with a level across the blade edge.
- Reset motorized actuators (if applicable): For electric dampers, disconnect power, hold the reset button (usually recessed on the actuator housing) for 5 seconds, then restore power and test with thermostat fan setting.
When to Call a Pro
Some situations go beyond safe DIY scope—especially when safety or code compliance is involved. According to the U.S. EPA, improperly sealed or adjusted dampers can increase duct leakage by up to 25%, reducing system efficiency and worsening indoor air quality (EPA Indoor Air Quality Tools for Schools, 2022).
- You’re dealing with a zoned HVAC system with multiple motorized dampers tied to a central controller
- The damper is inside sheet metal ductwork that requires cutting and welding to access
- You detect burning smells, melted wiring, or tripped breakers when attempting actuator reset
- Your home has asbestos-wrapped ductwork (common in homes built before 1980)—do not disturb
“Over 68% of duct-related airflow issues stem from neglected dampers—not faulty furnaces,” says HVAC technician Marcus Lin, lead trainer at North American Technician Excellence (NATE), 2023.
Prevention Tips
Maintaining your dampers takes minutes twice a year—and pays off in consistent comfort and lower energy bills. Schedule checks during your spring and fall HVAC tune-ups.
- Wipe down damper levers and rods with a dry microfiber cloth every 6 months
- Apply white lithium grease—not WD-40—to pivot points annually (WD-40 dries out and attracts dust)
- Label each damper with its zone (e.g., “Upstairs Hall” or “Master Bedroom”) using vinyl tape
- Verify damper positions match your thermostat zoning schedule quarterly
Can I use vinegar to dissolve rust on the damper shaft?
Yes—but only diluted white vinegar (1:1 with water), applied with a cotton swab for 10 minutes before brushing. Avoid soaking, as vinegar can corrode galvanized duct metal over time. Rinse with a damp cloth and dry thoroughly before lubricating.
Why does my damper stick only in winter?
Cold temperatures cause metal contraction and condensation inside ducts, which freezes lubricants and promotes rust. That’s why white lithium grease (rated to -40°F) outperforms standard oils in seasonal climates.
Is it safe to force a stuck damper lever with a wrench?
No. Excessive torque can snap the control rod, bend the blade, or crack the duct collar weld. If gentle hand pressure fails after cleaning and lubrication, move to linkage inspection—not brute force.
How do I know if my damper is manual or motorized?
Look for wires leading into the damper housing or a small rectangular box (actuator) mounted beside the lever. Manual dampers have only a metal rod and lever; motorized ones often include status LEDs or model numbers like “Honeywell V8043E.” You can also check your thermostat—if it controls zones independently, dampers are likely motorized.
Will fixing a stuck damper lower my energy bill?
Yes—typically by 8–12%. The U.S. Department of Energy estimates that properly balanced duct systems reduce HVAC runtime by up to 15%, especially in multi-story homes with unbalanced airflow (duct leakage test confirms this impact).
Can I replace just the damper blade without replacing the whole duct section?
In most rectangular trunk lines, yes—you can unbolt the old blade assembly and bolt in a universal replacement (e.g., duct damper replacement parts). Round duct dampers require precise sizing; measure inner diameter and blade width before ordering.
A well-functioning damper isn’t glamorous—but it’s one of the most cost-effective upgrades for comfort and efficiency. Once you’ve freed that stubborn flap and felt balanced airflow return to every room, you’ll wonder why you waited so long. Keep your toolkit handy, and add damper checks to your seasonal maintenance list—it’s the kind of fix that quietly makes your whole house work better.