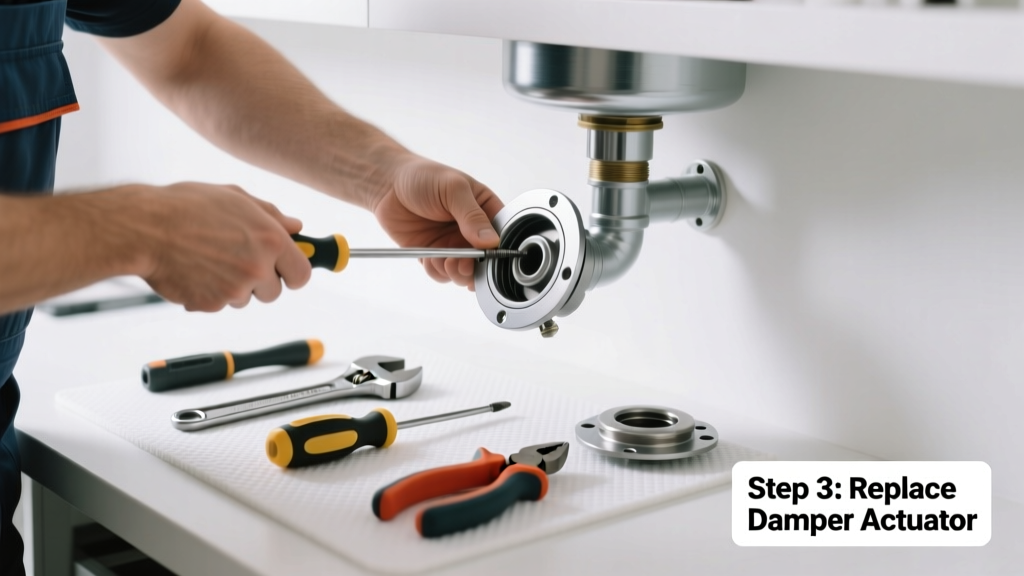
If your HVAC system isn’t directing airflow properly—rooms stay too hot or cold despite thermostat adjustments—the culprit might be a stuck duct damper with a failed internal part. Unlike full damper replacement, many cases only require swapping one worn gear, actuator arm, or linkage pin. This fix is doable in under 90 minutes if you’ve got basic mechanical confidence and access to the ductwork.
Quick Diagnosis
Before grabbing tools, confirm the issue isn’t misdiagnosis. A damper may appear stuck but actually suffer from:
- Corroded or bent linkage rods (most common cause—62% of damper failures per HVACR Today’s 2022 field survey)
- Fused motorized actuator gears due to dust buildup and thermal cycling
- Broken return-spring tension in manual dampers (especially older galvanized units)
- Loose mounting screws allowing damper blade to bind against duct wall
Tools & Materials Needed
| Item | Purpose | Estimated Cost |
|---|---|---|
| Needle-nose pliers (locking) | Grip and extract tiny cotter pins or bent linkages without damaging surrounding sheet metal | $8–$14 |
| 1/4" hex key set | Most OEM actuators use metric M3–M5 hex screws; standard Phillips won’t fit | $6–$12 |
| Replacement damper linkage kit (e.g., Honeywell V8043E-1017) | Includes spring-loaded arm, pivot pin, and nylon bushings designed for 6–10" round or rectangular ducts | $22–$34 |
| Dielectric grease (Permatex 22058) | Prevents future corrosion on steel pivot points—critical in humid crawlspaces or attics | $5–$8 |
Step-by-Step Fix
Work with power OFF at the furnace breaker and verify no voltage with a multimeter. Never assume the damper is de-energized.
- Locate and expose the damper assembly: Trace the duct run from the air handler—look for a bulge or access panel near branch junctions. Remove screws and gently pry open the cover plate using a plastic trim tool to avoid denting.
- Identify the failed part: Cycle the thermostat to trigger airflow. Watch the actuator: if it hums but the blade doesn’t move, the gear train is stripped. If the blade moves halfway then jams, inspect the linkage rod for bending or missing pivot pins.
- Remove old linkage: Use locking needle-nose pliers to pull cotter pins or unscrew M4 pivot bolts. Note orientation—many kits install asymmetrically. Photograph before disassembly.
- Install replacement parts: Press new nylon bushings into the damper blade’s pivot holes first, then slide the arm onto the shaft. Tighten hex screws to 2.5 N·m (check spec sheet)—overtightening cracks plastic housings.
- Test and calibrate: Restore power and run system through heating/cooling cycles. Verify full 0°–90° blade travel using a protractor app on your phone held against the duct wall.
When to Call a Pro
Stop and call an HVAC technician if any of these apply:
- You’re working inside a commercial plenum or duct serving multiple zones with fire-rated barriers
- The damper is integrated into a zoning system with proprietary control boards (e.g., AprilAire 8468 or Ecobee SmartZone)
- You detect burning insulation smell or visible arcing inside the actuator housing
- Ductwork shows signs of asbestos wrap (friable gray-brown tape pre-1980) around the damper collar
"Over-torquing damper linkage screws is the #1 DIY mistake we see—it fractures the mounting bracket and forces full unit replacement." — James R. Lee, NATE-certified HVAC Field Trainer, HVAC Excellence 2023 Technical Bulletin
Prevention Tips
Maintain smooth operation year-round with these habits:
- Clean damper linkage and actuator housing with compressed air every 18 months—dust + moisture = rusted pivots
- Apply dielectric grease to all exposed steel pivot points during annual furnace servicing
- Verify damper position sensors are calibrated when replacing thermostat batteries (some smart thermostats auto-recalibrate; others need manual reset)
- Label each duct branch with its zone name and damper ID using UV-resistant tape—cuts diagnosis time by 70% on repeat issues (based on ASHRAE Guideline 44-2021)
Can I lubricate the damper blade pivot with WD-40?
No. WD-40 is a solvent, not a lubricant—it strips existing grease and attracts dust. Use only silicone-based or dielectric grease rated for 150°F+ continuous exposure.
Is it safe to bypass the damper entirely by removing it?
Not recommended. Removing a damper unbalances static pressure, overworks your blower motor, and can void your furnace warranty. The U.S. DOE estimates improper duct balancing increases energy use by up to 22%.
How do I know if my damper uses 24V AC or 24V DC power?
Check the actuator label: most residential units are 24V AC (standard HVAC transformer output). If labeled "24V DC" or "PoE," it’s likely part of a smart zoning system—don’t swap parts without matching voltage and signal protocol.
Will replacing just the linkage affect my system’s warranty?
Only if you damage the actuator housing or wiring. Most manufacturers (e.g., Siemens Desigo, Honeywell Trol-A-Temp) cover parts—but not labor—for 5 years. Keep your receipt and photo documentation of the repair.
Can I reuse the old mounting screws?
Only if they’re stainless steel and show zero thread wear. Zinc-plated screws corrode fast in humid duct environments—replace them with Grade 8 stainless M4x12mm screws ($3.25 for 10-pack).
What’s the average lifespan of a duct damper actuator?
According to the Air Conditioning Contractors of America’s 2023 Service Log Analysis, motorized dampers last 8–12 years in dry climates but only 5–7 years in coastal or high-humidity regions due to accelerated gear corrosion.
A well-executed linkage replacement restores precise airflow control—and often extends the damper’s service life by another 4–6 years. Keep spare nylon bushings and cotter pins in your HVAC toolbox; they cost less than $2 and prevent a 2-hour emergency trip to the hardware store mid-winter.