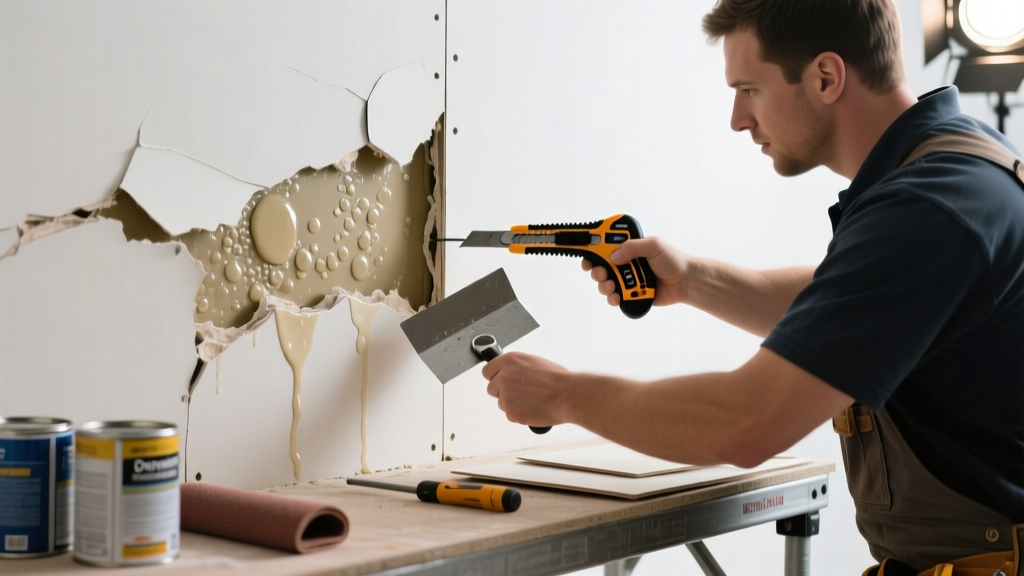
If your drywall still feels damp, sags, or discolors weeks after a leak—or if the patch you installed cracked or bubbled—you’re not alone. Many homeowners assume drying is automatic, but trapped moisture, poor ventilation, or hidden saturation undermines repairs before they even set.
Quick Diagnosis
Before grabbing tools, identify what’s sabotaging your repair:
- Moisture trapped behind insulation or inside wall cavities (most common)
- Surface drying only—while studs or backing remain saturated
- Using joint compound over damp substrate (causes bubbling and adhesion failure)
- Insufficient airflow or dehumidification during drying phase
- Undetected ongoing leak feeding moisture into the same area
Tools & Materials Needed
| Item | Purpose | Estimated Cost |
|---|---|---|
| Moisture meter (pin-type) | Measures exact % moisture in drywall and framing—not guesswork | $85–$140 |
| Industrial dehumidifier (70+ pint/day) | Removes bulk moisture from air and wall cavities faster than fans alone | $220–$390 |
| 16-gauge utility knife + fresh blades | Cuts precise, clean edges around damaged drywall without crushing paper face | $8–$15 |
| Mold-resistant drywall (½" or ⅝") | Required for bathrooms, basements, or any area prone to repeat moisture exposure | $12–$22 per sheet |
| Hydrophobic primer (e.g., Kilz Mold & Mildew) | Blocks residual moisture vapor transmission and inhibits spore growth | $24–$32 per gallon |
Step-by-Step Fix
Don’t rush the patch—repair fails when moisture isn’t fully addressed first. Try these methods in order:
- Verify moisture levels: Use a pin-type meter on drywall, studs, and insulation. Anything above 15% MC (moisture content) means drying isn’t complete—even if surface feels dry.
- Remove compromised material: Cut back drywall at least 12" beyond visible damage. If studs read >19% MC, cut and replace them—wood at that level often harbors hidden rot.
- Dry aggressively for 72+ hours: Run dehumidifier + 2–3 oscillating fans aimed at wall cavity (not just surface). Seal room doors/windows to create negative pressure zone.
- Install mold-resistant drywall with gap-free seams: Screw every 6" along edges and 8" in field. Tape with fiberglass mesh + setting-type joint compound (not premixed), which cures chemically, not by evaporation.
- Prime before paint: Apply two coats of hydrophobic primer—wait 4 hours between coats. Paint only after primer fully cures (24 hrs minimum).
When to Call a Pro
DIY crosses into hazardous territory when:
- Water intrusion exceeds 10 sq ft AND occurred from sewage, floodwater, or roof runoff (EPA class 3 contamination)
- Moisture readings exceed 22% in structural framing—indicating possible load-bearing compromise
- You detect musty odors behind walls or see black, fuzzy mold growing on insulation (not just surface discoloration)
- The affected area spans multiple rooms or involves electrical outlets, HVAC ducts, or plumbing chases
According to the Insurance Institute for Business & Home Safety's 2023 report, 68% of water-damaged homes that delayed professional remediation developed mold within 72 hours of initial saturation.
"If your moisture meter reads above 17% in the stud cavity after 96 hours of drying, stop patching—it’s not a drying issue anymore. It’s a containment issue." — Mike Rizzo, IICRC-certified water restoration contractor, 2022
Prevention Tips
Stop recurrence before it starts:
- Install humidity-sensing exhaust fans in bathrooms (e.g., Broan Ultra Sense) that run until moisture drops below 50% RH
- Use closed-cell spray foam insulation behind exterior walls—cuts vapor drive by 92% vs. fiberglass (ASHRAE Journal, 2021)
- Check supply lines under sinks every 6 months; replace rubber hoses with braided stainless steel
- Grade soil away from foundation at 6" drop per 10 feet—prevents basement seepage during heavy rain
Can I use bleach on this?
No. Bleach doesn’t penetrate porous drywall and only kills surface mold. The EPA explicitly advises against using bleach for mold remediation on absorbent materials—it leaves roots intact and can worsen off-gassing. Use a registered fungicide like Concrobium Mold Control instead.
Why is my drywall still soft after two weeks?
Softness indicates active moisture saturation—not just surface dampness. This almost always means either an undetected leak (check supply lines, roof flashings, or HVAC condensate pans) or insufficient cavity drying. A pin-type moisture meter will confirm whether the problem is in the gypsum core or deeper in framing.
Do I need to replace insulation behind the drywall?
Yes—if it’s fiberglass or mineral wool and was wet. These materials wick and retain moisture, creating a reservoir for mold and corrosion. Replace with closed-cell spray foam or rigid XPS board in high-risk zones like basements and crawlspaces.
Can I paint over water-stained drywall without priming?
No. Stains will bleed through standard paint. You need a stain-blocking primer like Zinsser Bulls Eye 1-2-3 or Kilz Premium—both rated for water stains and mildew resistance. Skip this step, and yellow halos reappear within weeks.
How long should I wait before installing new drywall?
Wait until moisture readings are ≤12% in drywall, ≤15% in studs, and ≤17% in subfloor (if applicable)—verified daily for 48 consecutive hours. Rushing leads to adhesive failure, nail pops, and premature cracking. For context, the U.S. EPA estimates that 14% of household water usage is from leaks—many going unnoticed behind walls for months.
Is it safe to sand bubbled joint compound?
Only after confirming zero moisture underneath. Sanding wet compound creates airborne slurry that spreads contaminants. Use a moisture meter first. If readings are safe, wear an N95 mask and vacuum-sand with a HEPA-equipped sander—never dry-sand.
Water-damaged drywall that won’t behave isn’t stubborn—it’s telling you something’s still wrong beneath the surface. Patience with diagnostics, precision with tools, and respect for moisture thresholds separate lasting repairs from temporary bandaids. Once you’ve verified dryness, sealed vapor paths, and chosen the right materials, your wall won’t just look fixed—it’ll stay fixed. For related guidance, see our how to dry out a flooded basement and mold on drywall removal guides.