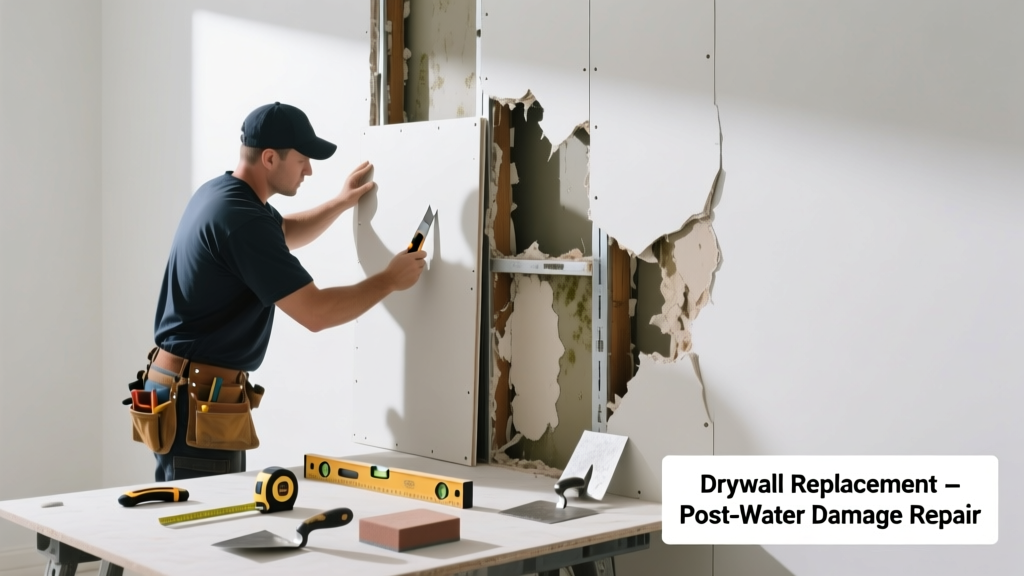
Water-damaged drywall isn’t just ugly—it’s a health hazard and structural liability. If the gypsum core is soft, crumbly, or discolored beyond a 2-inch perimeter, replacement—not patching—is the only safe option. Delaying this fix invites mold growth and compromises wall integrity.
Quick Diagnosis
Before cutting, confirm the damage source and extent. Most water-damaged drywall replacements stem from:
- Leaking supply lines behind bathroom vanities or kitchen sinks
- Roof leaks that travel down framing before surfacing on ceilings
- Clogged AC condensate drains saturating ceiling drywall
- Frozen pipe bursts in exterior walls during winter
- Overflowed tubs or showers with inadequate waterproofing at seams
Tools & Materials Needed
| Item | Purpose | Estimated Cost |
|---|---|---|
| Drywall saw or keyhole saw | Cuts precise openings without damaging adjacent studs | $12–$25 |
| 1/2-inch moisture-resistant drywall (green board) | Required for bathrooms; standard for non-wet areas | $14–$18 per 4×8 sheet |
| Galvanized drywall screws (1-1/4") | Prevents rust where humidity lingers | $6–$9 per box of 250 |
| Joint compound (all-purpose) | Fills seams and screw dimples; dries slower than lightweight for better sanding | $10–$15 per 5-gallon pail |
| Mesh drywall tape | Self-adhesive backing speeds taping; ideal for beginners | $4–$7 per roll |
Step-by-Step Fix
- Shut off power and water sources: Turn off circuit breakers for affected walls/ceilings. Shut valves for nearby plumbing—especially if leak is active.
- Cut out damaged section: Use a straightedge and drywall saw to cut back to the nearest full stud or joist (never leave floating edges). Cut square or rectangular sections—no jagged shapes.
- Inspect framing and insulation: Remove wet insulation (it must be replaced—R-value plummets when damp). Check studs for warping or rot; replace any compromised framing before installing new drywall.
- Install and fasten new drywall: Screw panels every 6–8 inches along studs, keeping screws 3/8" from edges. Slight dimpling is fine—but no breaking paper surface.
- Tape, mud, and sand: Apply three thin coats of joint compound over seams and screws, letting each dry fully (24 hrs minimum for first coat). Sand lightly between coats with 120-grit paper.
When to Call a Pro
DIY replacement crosses into dangerous territory when:
- The affected area exceeds 10 sq ft on a load-bearing wall or ceiling
- You find black mold covering more than 10 sq ft (EPA guidelines require certified remediation)
- Electrical boxes or wiring are submerged or corroded—do not touch live circuits
- The leak source remains unidentified after 24 hours of monitoring
- Structural framing shows >1/4" bowing or visible fungal decay
Prevention Tips
Stop repeat damage before it starts:
- Install water leak detectors near water heaters, under sinks, and behind toilets (how to install water leak detectors)
- Use moisture-resistant drywall in all bathrooms—even outside shower zones
- Seal all drywall seams and corners with silicone caulk before tiling or painting
- Check roof flashing and gutter downspouts twice yearly—divert runoff away from foundations
- Run bathroom exhaust fans for 20+ minutes post-shower to reduce ambient humidity (fix noisy or weak exhaust fans)
Can I use bleach on this?
No. Bleach only kills surface mold and doesn’t penetrate porous drywall. Worse, it leaves behind moisture that feeds regrowth. The U.S. EPA recommends discarding moldy drywall entirely—never cleaning it (mold removal best practices).
"Once drywall is saturated, its paper facing becomes a nutrient source for mold spores—even after drying. Replacement is the only code-compliant solution." — National Association of Home Builders, Remodeling Handbook 2022
How long does drywall need to dry before replacement?
It shouldn’t dry at all. If the core feels spongy or sounds hollow when tapped, it’s already compromised. According to the Insurance Institute for Business & Home Safety's 2023 report, drywall loses over 70% of its tensile strength after just 48 hours of saturation—making drying irrelevant for structural safety.
Do I need a vapor barrier behind new drywall?
Only in specific climates: Class A (hot-humid) or Class B (mixed-humid) per ASHRAE 160. In most interior walls, a vapor retarder (kraft-faced insulation or paint-grade primer) suffices. Overdoing barriers traps moisture inside walls—causing worse failures later.
Can I patch instead of replacing?
Only if damage is superficial—like a small brown stain with zero softness or swelling. Any sagging, crumbling, or bulging means the gypsum core is degraded. Patching over compromised substrate leads to cracking, bubbling, and future failure within months.
What type of drywall should I use in a basement?
Use mold-resistant drywall (often purple or blue board), not green board. Green board resists moisture but isn’t mold-inhibiting; purple board contains fiberglass mesh and antimicrobial additives. Pair it with closed-cell spray foam insulation to control dew point in below-grade walls.
How soon can I paint after repair?
Wait until all joint compound is fully cured—not just dry to the touch. That takes 72 hours minimum in normal conditions (60–70°F, <50% RH). Use a moisture meter: readings must stay below 12% for 48 consecutive hours before priming. Skipping this step causes blistering and peeling paint.
Replacing water-damaged drywall isn’t glamorous work—but it’s one of the highest-impact repairs you can do for indoor air quality and home value. Get it right the first time, and you’ll dodge mold inspections, insurance disputes, and repeat callbacks. Keep your tools sharp, your studs level, and your compound mixed smooth—and you’ll walk away with walls that look factory-fresh, not flood-repaired.