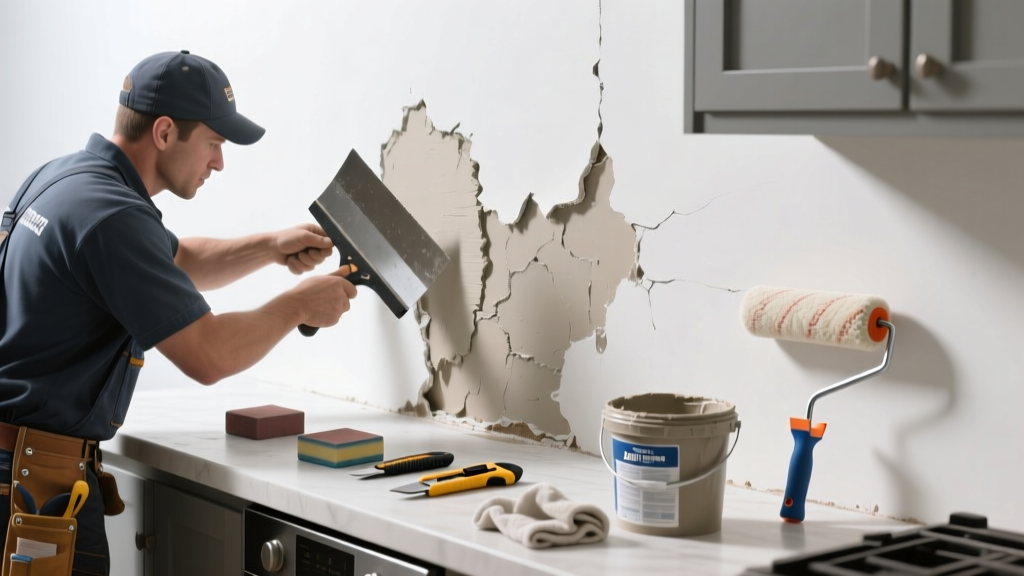
Kitchen drywall water damage rarely waits for convenience—it shows up as sagging ceiling panels, bubbling paint near the sink, or a musty odor behind upper cabinets. Unlike bathroom leaks, kitchen water events often combine high heat, grease, and hidden plumbing lines, making diagnosis and repair trickier than it first appears.
Quick Diagnosis
Before cutting into drywall, confirm the source. Most kitchen water damage stems from one of these culprits:
- Leaking supply lines under the sink (especially braided stainless steel hoses older than 5 years)
- Dripping refrigerator icemaker or water dispenser lines
- Clogged or cracked dishwasher discharge hose
- Roof or upper-floor plumbing leaks bleeding through soffits or cabinet backs
- Condensation buildup behind range hoods with poor venting
Tools & Materials Needed
| Item | Purpose | Estimated Cost |
|---|---|---|
| Moisture meter (pin-type) | Measures exact moisture content in drywall; critical before patching | $45–$85 |
| Utility knife with snap-off blades | Cuts out damaged drywall cleanly without cracking adjacent panels | $8–$15 |
| Mold-resistant drywall (1/2") | Required for wet areas—standard drywall reabsorbs moisture and fails faster | $12–$18 per sheet |
| Greenboard or cement board (for backsplash zones) | Non-porous backing for tile or areas prone to splash exposure | $14–$22 per sheet |
| Hydrophobic joint compound | Water-resistant mud that won’t soften if residual moisture remains | $16–$24 per 5-gallon pail |
Step-by-Step Fix
Follow this sequence only if moisture readings are below 15% MC *and* no active leak remains:
- Shut off water and power: Turn off supply valves under sink and at main shutoff; cut circuit breaker for any outlets or lights near the damaged zone.
- Cut and remove damaged drywall: Use a straightedge and utility knife to score a square or rectangle around all discolored or soft areas—extend 2 inches beyond visible damage into sound drywall.
- Inspect framing and insulation: Check studs for rot (press screwdriver tip into wood—if it sinks >1/4", replace stud); remove wet fiberglass or cellulose insulation (it holds mold spores even after drying).
- Install mold-resistant drywall: Screw new 1/2" Type X or greenboard directly to studs using corrosion-resistant drywall screws spaced 7 inches apart on edges, 12 inches in field.
- Finish with water-resistant joint treatment: Apply hydrophobic joint compound over tape, then two skim coats; sand lightly and prime with Zinsser Mold Killing Primer before painting.
When to Call a Pro
Don’t risk structural compromise or health hazards—call a licensed contractor or water restoration specialist if:
- Moisture readings exceed 20% MC across more than 10 sq ft (per ASTM D7953-21 testing standards)
- The damage extends behind cabinets requiring removal of built-in appliances (e.g., integrated dishwasher or wall oven)
- You find black, fuzzy mold growth on insulation or framing—not just surface discoloration
- The leak originates from a roof penetration, chimney chase, or shared wall with a neighbor’s unit
Prevention Tips
Kitchen drywall stays intact longer when you interrupt the water pathway early:
- Replace braided stainless steel supply lines every 5 years—even if they look fine (the U.S. Consumer Product Safety Commission reported 62% of under-sink floods involved aged hoses in 2022)
- Install a smart water leak detector like Moen Flo or Phyn under the sink—these shut off water automatically and send alerts to your phone
- Seal gaps behind upper cabinets with silicone caulk where walls meet soffits to block lateral moisture migration
- Run your range hood for 10 minutes after cooking—especially boiling or steaming—to reduce condensation buildup behind drywall
Can I use bleach on this?
No. Bleach does not penetrate porous drywall to kill mold roots and can corrode metal fasteners. The EPA explicitly advises against bleach for mold remediation on drywall (EPA Mold Remediation in Schools and Commercial Buildings, 2021). Instead, use an EPA-registered fungicidal sealant like Kilz Restoration after removal.
How long does drywall take to dry after a small leak?
If caught within 24 hours and the area is well-ventilated, surface-damp drywall may air-dry in 48–72 hours—but never rely on air-drying alone. According to the Institute of Inspection, Cleaning and Restoration Certification (IICRC S500, 2023), drywall with moisture above 15% MC must be removed, not dried. Moisture meters don’t lie.
Do I need to replace insulation behind the drywall?
Yes—if it’s fiberglass or cellulose and has been wet for more than 48 hours. Wet insulation loses R-value, traps mold spores, and wicks moisture back into new drywall. Only closed-cell spray foam can remain if undamaged and fully sealed—but that’s rare in retrofits.
Can I patch just the bubbled section?
Not safely. Bubbling indicates delamination between paper and gypsum core—a sign of irreversible structural failure. Even if it looks minor, the compromised panel will crumble during sanding or fail under humidity swings. Always cut to solid substrate.
What kind of primer should I use after repair?
Use a mold-inhibiting, water-based primer like Zinsser Mold Killing Primer or Kilz Premium. Avoid oil-based primers—they trap moisture and cause blistering. These specialty primers contain EPA-registered antimicrobial agents proven to suppress Aspergillus and Penicillium species for up to 5 years (per product data sheets, 2023).
Is kitchen drywall different from bathroom drywall?
Technically, no—both require moisture-resistant material. But kitchens face unique stressors: thermal cycling from ovens, grease-laden steam, and frequent cleaning chemicals. That’s why Type X fire-rated drywall with mold-resistant additives (e.g., USG Sheetrock Brand Mold Tough) is preferred over basic greenboard in high-risk zones like behind ranges or dishwashers.
"In kitchens, water damage isn’t about how much leaked—it’s about how fast you catch it. A 15-minute drip under the sink can saturate 3 feet of stud cavity before you hear a drip." — Carlos Mendez, IICRC-certified water restorer with 18 years in residential kitchens
A repaired kitchen wall shouldn’t feel like a compromise—it should hold up to daily steam, splashes, and the occasional dropped saucepan. Replace with the right materials, verify dryness with a meter, and seal the path of future leaks before they start. For persistent issues, check our guide on kitchen leak detection tools or explore mold-resistant drywall installation best practices. If your cabinets are warped or your flooring buckles nearby, refer to our water damage under kitchen floor troubleshooting checklist.