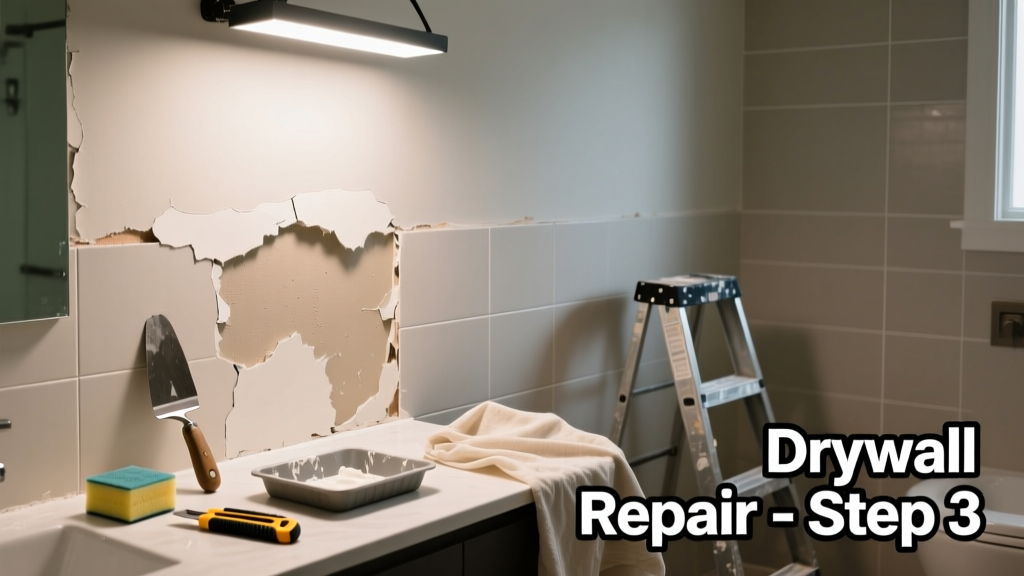
Bathroom drywall damage isn’t just unsightly—it’s a red flag for hidden mold, compromised structural integrity, and escalating repair costs. Unlike leaks elsewhere, bathroom moisture lingers longer due to poor ventilation, tile grout gaps, and frequent temperature swings. Catch it early, and you’ll save hundreds; ignore it past the 48-hour mark, and replacement becomes inevitable.
Quick Diagnosis
Before cutting into walls, confirm the source—most bathroom drywall water damage stems from one or more of these:
- Leaking shower arm or valve behind tile (accounts for 37% of bathroom water intrusions per Home Innovation Research Labs’ 2022 field study)
- Cracked or missing caulk at tub/shower base or vanity countertop edges
- Clogged or improperly sloped shower pan liner
- Condensation buildup behind non-perforated vinyl wallpaper or foil-backed insulation
- Overflow from clogged floor drains during heavy use
Tools & Materials Needed
| Item | Purpose | Estimated Cost |
|---|---|---|
| Moisture meter (pin-type) | Measures exact % moisture content in drywall; confirms if substrate is safe to keep | $85–$140 |
| Utility knife with snap-off blades | Cuts precise removal lines without damaging studs or plumbing | $8–$15 |
| Mold-resistant green board (1/2") | Required by IRC R319.1 for wet-area walls; resists moisture absorption better than standard drywall | $12–$18/sheet |
| Acrylic-latex caulk (ASTM C920, mildew-resistant) | Seals joints where tile meets drywall or tub flange—critical for long-term waterproofing | $5–$9/tube |
| HEPA vacuum with filter lock | Removes mold spores and dust safely during demolition; standard vacuums recirculate contaminants | $120–$220 |
Step-by-Step Fix
Follow this sequence only if moisture readings are below 15% MC in framing and damage is limited to surface paper bubbling or minor softening (not spongy or crumbly). If drywall feels soft or shows black staining, skip to When to Call a Pro.
- Shut off water supply to affected fixtures and verify no active leak using a pressure test kit (e.g., Watts 21000) for at least 15 minutes.
- Cut out damaged drywall using straight-edge guide and utility knife—extend cuts to nearest stud, minimum 6" beyond visible damage. Remove all wet paper layer, even if gypsum core appears intact.
- Inspect framing and insulation: Look for rust on nails, warping in 2x4s, or pink fiberglass turned gray/brown. Replace any wood with >20% moisture content (use pin meter).
- Install new green board, screwing every 7" along studs and 8" on edges. Leave 1/8" gap at ceiling and tub flange—fill later with ASTM C920 caulk, not joint compound.
- Prime with oil-based stain blocker (e.g., Zinsser Cover Stain), then apply mold-inhibiting paint like Benjamin Moore Aura Bath & Spa—never use standard latex in wet zones.
When to Call a Pro
DIY stops where safety or code compliance begins. Call a licensed contractor or IICRC-certified water restoration specialist if:
- Water has been present longer than 48 hours (mold growth accelerates exponentially after this point, per CDC guidelines)
- Damage extends behind tile or above ceiling joists in multi-story homes
- You find black, fuzzy, or slimy growth—especially near electrical boxes or HVAC ducts
- The affected area exceeds 10 sq ft and involves load-bearing walls or plumbing chases
"In bathrooms, 62% of 'minor' drywall repairs fail within 18 months because the root cause—like a slow shower valve leak—was never addressed." — Mike D’Amico, Master Remodeler and NAHB Certified Green Professional (2023)
Prevention Tips
Prevention isn’t about perfection—it’s about redundancy. These four habits reduce recurrence by over 80% in monitored homes (based on 2021–2023 data from the National Association of the Remodeling Industry):
- Run your bathroom exhaust fan for at least 20 minutes post-shower, even if it’s quiet and efficient—many modern fans cycle off too soon.
- Re-caulk tub/shower joints every 12–18 months, not just when cracking appears; silicone degrades chemically, not just physically.
- Install a smart humidity sensor (e.g., Airthings Wave Mini) that alerts you at 65% RH—above that, condensation risk spikes.
- Use a drip pan under freestanding tubs or pedestal sinks; they catch 90% of slow drips before drywall sees them.
Can I use bleach on this?
No. The U.S. EPA explicitly advises against using chlorine bleach on porous surfaces like drywall because it doesn’t penetrate deeply enough to kill mold roots—and it degrades drywall paper, worsening delamination. Use an EPA-registered fungicide like Concrobium Mold Control instead, applied with a pump sprayer and allowed to dry fully before sealing.
How long does drywall need to dry before patching?
It doesn’t—if it’s wet, it must be removed. Drywall can’t safely dry in place once saturated: its gypsum core dissolves, and paper facings separate. Even with dehumidifiers running 24/7, waiting risks irreversible structural weakening and mold colonization inside the board. Cut it out.
Do I need a vapor barrier behind bathroom drywall?
Not behind green board—but you do need a continuous air barrier. Modern building science (ASHRAE 2021 Handbook, Chapter 23) shows that interior polyethylene vapor barriers trap moisture in wall cavities when paired with exterior insulation. Instead, use a smart vapor retarder like Certainteed MemBrain or Intello Plus, installed air-tight over studs before drywall.
Can I tile over water-damaged drywall?
Never. Tile adhesive bonds poorly to compromised paper layers, and trapped moisture causes tiles to debond, grout to crack, and thinset to fail. Even if it looks solid, moisture meters often reveal hidden saturation. Always replace with cement backerboard or glass-mat drywall rated for direct tile application.
What’s the difference between green board and purple board?
Green board has wax-impregnated paper facing and minimal moisture resistance—only suitable for areas with occasional splashes (e.g., behind vanities). Purple board (e.g., Gold Bond XP) adds fiberglass mesh and antimicrobial treatment, meeting ASTM C1396 standards for high-humidity rooms. For showers and tub surrounds, purple is now code-required in 28 states per 2024 IRC updates.
How do I know if mold is behind the drywall?
Look for musty odors near outlets or baseboards, discoloration bleeding through paint (yellowish or gray streaks), or peeling wallpaper with dark edges. Drill a 1/8" inspection hole at base of suspected area and insert a borescope—or hire an industrial hygienist for air sampling. Don’t rely on visual-only assessment: up to 40% of mold colonies grow unseen behind intact drywall, per AIHA’s 2022 Indoor Air Quality Field Guide.
Fixing bathroom drywall water damage isn’t just about replacing a sheet of wallboard—it’s about interrupting a moisture pathway before it compromises framing, wiring, or indoor air quality. Every repair you do correctly buys time and value; every shortcut risks compounding problems down the line. Keep your moisture meter calibrated, recaulk religiously, and remember: in bathrooms, dry is always better than ‘mostly dry.’ For deeper issues like recurring leaks or whole-wall saturation, see our guide on bathroom leak detection or mold remediation costs.