Water-damaged drywall isn’t just ugly—it’s a ticking clock for mold growth and structural weakening. Even a small leak behind a bathroom wall can compromise studs and insulation within 48 hours. Catching it early saves money, health, and your home’s integrity.
Quick Diagnosis
Before grabbing tools, identify the source. Most drywall water damage stems from:
- Roof leaks (especially around chimneys or skylights)
- Clogged or damaged gutters directing runoff into exterior walls
- Burst or corroded supply lines under sinks or behind toilets
- Condensation buildup in poorly insulated exterior walls during winter
- Leaking HVAC drain pans or disconnected condensate lines
Tools & Materials Needed
| Item | Purpose | Estimated Cost |
|---|---|---|
| Moisture meter | Detects hidden moisture in studs and backing—critical before patching | $45–$120 |
| Utility knife & fresh blades | Cuts out saturated drywall cleanly without crumbling edges | $8–$15 |
| 1/2" gypsum board (greenboard) | Moisture-resistant drywall for bathrooms or high-humidity zones | $12–$18 per sheet |
| Rotary tool with drywall bit | Removes nails/screws from wet framing without twisting studs | $65–$95 |
| Mold-inhibiting joint compound | Prevents microbial growth in seams and corners during finishing | $14–$22 per bucket |
Step-by-Step Fix
Follow this sequence only if the affected area is under 10 sq ft, shows no sagging, and has been fully dried for at least 72 hours:
- Shut off power to any outlets or switches in the affected zone—verify with a non-contact voltage tester.
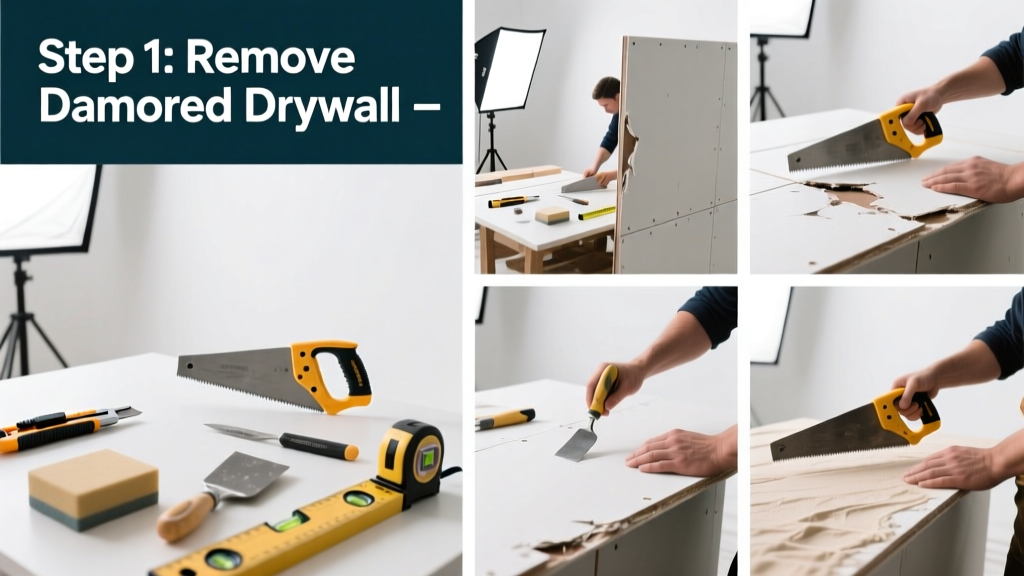
- Cut out damaged drywall using straight edges and a utility knife; extend cuts 6 inches beyond visible staining to ensure all compromised material is removed.
- Inspect framing and insulation: If studs feel spongy or insulation smells musty, replace both—don’t risk hidden rot.
- Install new drywall, screwing every 6–8 inches into studs (not just edges), and stagger joints away from original seams.
- Apply mold-resistant joint compound in three thin coats, sanding lightly between each, then prime with oil-based primer before painting.
When to Call a Pro
DIY becomes unsafe or ineffective when:
- The water source is unknown or inaccessible (e.g., slab leak beneath flooring)
- Damage exceeds 10 sq ft or spans multiple studs or ceiling joists
- You find black, fuzzy mold colonies larger than 3 sq ft (EPA recommends professional remediation above this threshold)
- Electrical boxes, junctions, or wiring are wet—even if power is off, corrosion may have already compromised safety
- Structural framing feels soft, warped, or discolored beyond surface staining
"Mold can begin growing on damp drywall within 24–48 hours. If you see discoloration or smell earthy/musty odors, assume active growth—even if it's not visible." — U.S. EPA Mold Remediation Guidelines, 2022
Prevention Tips
Stop recurrence before it starts:
- Install a smart water leak detector (like Moen Flo or Phyn) under sinks and near water heaters—these shut off supply automatically at first sign of drip
- Clean gutters twice yearly and extend downspouts at least 5 feet from foundations
- Use exhaust fans rated for CFM appropriate to room size (e.g., 50 CFM for a 50-sq-ft bathroom) and run them 20 minutes post-shower
- Check supply line hoses behind washing machines every 6 months—replace rubber lines with braided stainless steel
Can I paint over water-stained drywall?
No—unless you’ve fully dried, treated for mold, and sealed with oil-based primer like Kilz Original. Water stains bleed through latex paint within weeks. Stain alone doesn’t mean it’s safe; test moisture levels first with a meter.
How long does drywall take to dry after a leak?
Surface drying takes 2–3 days with fans and dehumidifiers, but embedded moisture in paper backing or stud cavities can linger 5–10 days. Always verify with a pin-type moisture meter reading below 15% before repair.
Is wet drywall always ruined?
Not always—but it’s rarely salvageable. Drywall loses up to 70% of its tensile strength when saturated (ASTM C1396, 2023). If it’s buckled, soft, or crumbles under light pressure, replacement is the only safe option.
Do I need to remove insulation behind wet drywall?
Yes—if it’s fiberglass batts or cellulose. These materials trap moisture and foster mold. Replace with mold-resistant mineral wool (e.g., Roxul ComfortBoard) if humidity is chronic.
Can I reuse drywall screws from the old panel?
No. Corrosion begins immediately when screws contact wet drywall paper. Use new coarse-thread drywall screws—1-1/4" for 1/2" board, 1-5/8" for thicker applications—and space them 12 inches apart in the field.
What’s the fastest way to dry a wet wall?
Air movement + low humidity. Place two 20-inch box fans angled across the wall surface (not directly at it) and run a desiccant dehumidifier (not refrigerant) set to 30–40% RH. Avoid heat guns—they bake moisture deeper into framing.
Fixing water-damaged drywall isn’t about speed—it’s about thoroughness. Rushing the dry-out phase or skipping moisture testing invites mold regrowth and callbacks. Take the time to inspect, measure, and verify at every stage. For more on related repairs, see our guides on water leak detection and mold removal basics.