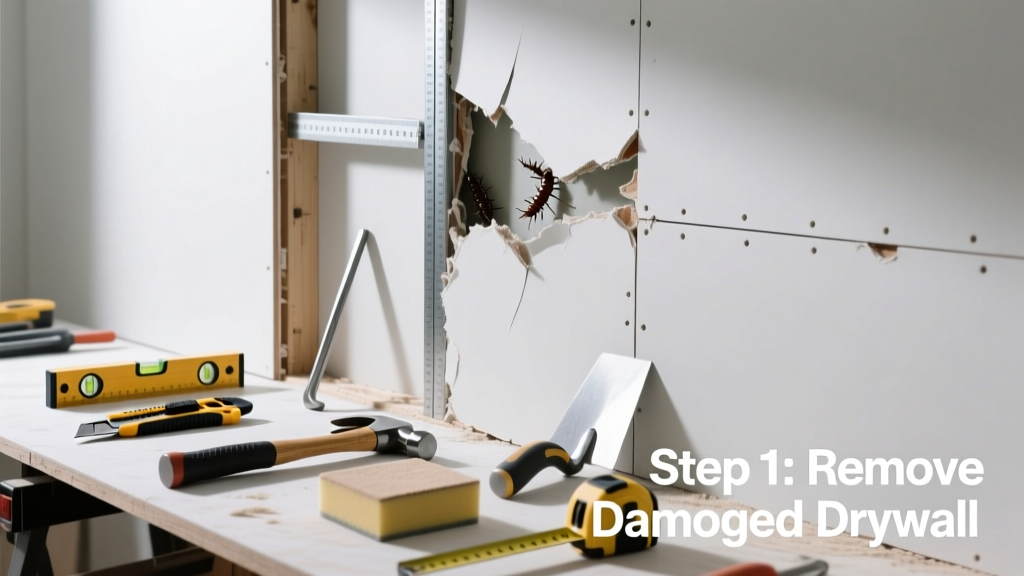
Termites don’t just chew wood—they hollow out the paper facing and gypsum core of drywall, leaving brittle, sagging, or crumbling patches that can’t be patched. If you tap a section and hear a hollow thud or see bulging, blistering, or fine mud tubes along seams, it’s time for targeted replacement—not spackle. Ignoring it invites further infestation and compromises fire-rated wall integrity.
Quick Diagnosis
Before cutting, confirm termites are the culprit—not moisture rot or impact damage. Look for these telltale signs:
- Fine, winding mud tubes (¼-inch wide) tracing along baseboards or corner joints
- Small exit holes (1–2 mm) in drywall surface, often near studs
- Grayish-brown frass (termite droppings) near wall bases or outlets
- Soft, spongy drywall that crumbles under light pressure from a screwdriver
- Visible termite swarmers or discarded wings near windowsills or light fixtures
Tools & Materials Needed
| Item | Purpose | Estimated Cost |
|---|---|---|
| Drywall saw or oscillating tool | Cuts precise rectangles around damaged area without damaging adjacent studs | $25–$65 |
| 1/2-inch fire-rated drywall (4' × 8') | Meets code for walls; termite-resistant gypsum core resists future feeding | $12–$18 |
| Construction adhesive (termite-inhibiting) | Bonds patch to studs and blocks entry points; contains borate or sodium borate | $8–$14 |
| Self-tapping drywall screws (1¼") | Secures patch without splitting edges; coated to resist corrosion | $4–$7 |
| Joint compound + fiberglass mesh tape | Seals seams and prevents cracking; mesh adds tensile strength over vulnerable joints | $10–$15 |
Step-by-Step Fix
Work only after confirming active termites are gone—call an exterminator first if live insects or fresh frass remain. Then follow these steps:
- Mark and cut: Use a level and pencil to outline a rectangle extending 2 inches beyond visible damage on all sides. Score lightly with utility knife, then cut cleanly using a drywall saw—stop before hitting studs unless you’re replacing backing.
- Remove and inspect: Pry out the damaged panel. Check adjacent studs for hollow spots or tunnels using an awl. Drill 1/8" holes into suspect areas and inject borate solution (borate treatment for wood) if needed.
- Install new patch: Apply construction adhesive to stud faces inside the opening. Press in the new drywall piece, flush with surrounding surface. Secure with screws every 6–8 inches along edges and center stud.
- Finish seam: Embed fiberglass mesh tape over all joints. Apply three thin coats of joint compound, sanding lightly between coats. Prime before painting—use a stain-blocking primer to seal any residual tannin or frass residue.
When to Call a Pro
DIY replacement fails when structural or safety issues go beyond surface repair. Call a licensed contractor or pest control specialist immediately if:
- The damaged area exceeds 4 square feet or spans two or more studs
- You find termite galleries inside wall cavities or behind electrical boxes
- Adjacent flooring is soft or squeaking—indicating subfloor or joist involvement
- The wall is load-bearing or part of a fire-rated assembly (e.g., garage separation wall)
- You discover live termites during removal—especially soldier or worker castes
"Over 60% of homes with termite-damaged drywall also have hidden structural wood damage—visible drywall failure is usually the tip of the iceberg." — National Pest Management Association, 2022 Termite Damage Assessment Report
Prevention Tips
Replacement alone won’t stop recurrence. Integrate these long-term defenses:
- Install 1/4-inch metal termite shields over top plates during future renovations
- Maintain soil-to-wood clearance of at least 6 inches around foundations
- Use borate-treated drywall (e.g., Gold Bond Fire-Shield® with Boric Acid) in high-risk zones like basements and crawlspaces
- Schedule annual termite inspections—even if no damage is visible
- Fix leaks within 48 hours; termites thrive where humidity exceeds 50% RH
Can I just patch instead of replacing?
No—termite-damaged drywall has lost structural integrity and may conceal active colonies behind it. Patching over compromised paper facing leads to bubbling, cracking, and rapid re-damage. The U.S. Department of Housing and Urban Development requires full-section replacement for any drywall showing >10% surface degradation due to insect activity.
Do I need to treat the studs before installing new drywall?
Yes—if probing reveals softness, powder, or galleries, treat with a borate-based liquid (e.g., Bora-Care®) applied via brush or low-pressure sprayer. Let dry 48 hours before drywall installation. Untreated studs invite reinfestation within months.
Is fire-rated drywall required for interior walls?
It depends on location. Fire-rated (Type X) drywall is mandatory for garage walls, basement ceilings, and townhouse party walls per the 2021 IRC R302. Fire ratings aren’t needed for standard bedroom or living room walls—but using it adds termite resistance and improves sound blocking.
How long does the entire repair take?
A single 2' × 3' section takes 4–6 hours for an experienced DIYer—including prep, cutting, hanging, taping, and first coat. Allow 2–3 days for drying and sanding before priming. Rushing compound drying causes cracking and poor adhesion.
Can I paint over repaired drywall right away?
No. Wait until all joint compound is fully cured (minimum 24 hours per coat) and sanded smooth. Then apply a premium acrylic primer like Zinsser Bulls Eye 1-2-3 to seal pores and prevent flashing. Skipping primer leads to uneven sheen and visible seams after paint.
What’s the best way to dispose of termite-damaged drywall?
Double-bag in heavy-duty plastic, seal tightly, and haul to a landfill that accepts construction debris. Do not compost, burn, or leave on-site—live termites or eggs may survive in gypsum dust. Many municipalities require disclosure of termite-infested material upon disposal.
Replacing termite-compromised drywall isn’t just about aesthetics—it’s about restoring a critical barrier against pests, fire, and sound. Done right, your repair holds up for decades and buys time for ongoing monitoring. Pair it with a termite inspection checklist and sealing gaps around pipes, and you’ll significantly lower the odds of a repeat visit from these silent destroyers.