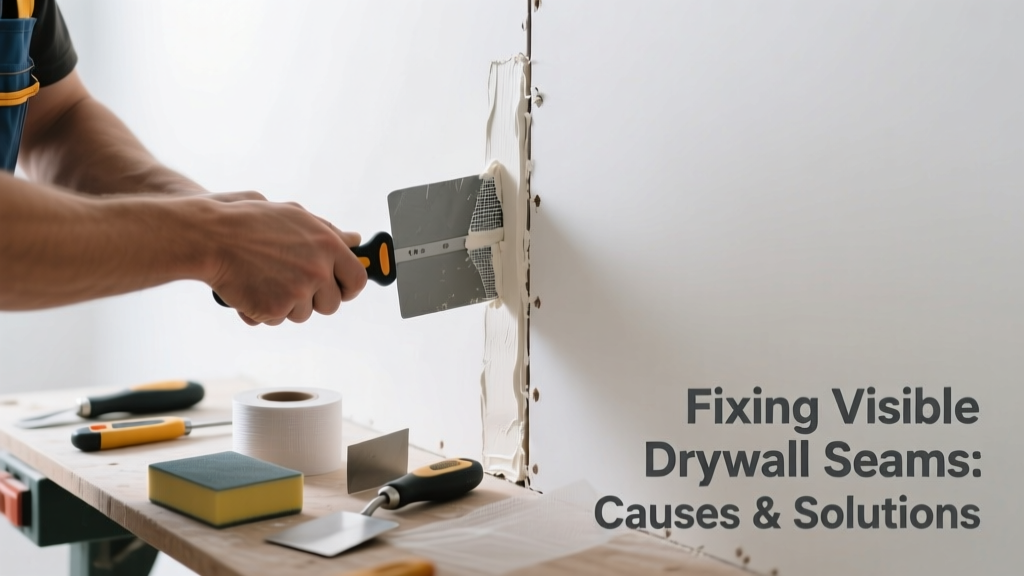
That faint ridge or shadow running across your wall isn’t just an eyesore—it’s a sign the drywall seam wasn’t finished correctly. Even after painting, visible seams mean underlying flaws in taping, joint compound application, or drying conditions. Most are fixable in a weekend, but skipping key steps guarantees recurrence.
Quick Diagnosis
Before grabbing tools, identify the root cause. A visible seam rarely stems from one mistake—it’s usually a combo of issues:
- Insufficient layers of joint compound (less than three coats)
- Paper or mesh tape lifting at edges due to poor adhesion or moisture exposure
- Uneven feathering—compound not tapered smoothly into surrounding drywall
- Shrinkage cracks from applying compound too thickly or in cold/damp conditions
- Paint sheen exaggerating subtle texture differences (especially with satin or semi-gloss)
Tools & Materials Needed
| Item | Purpose | Estimated Cost |
|---|---|---|
| 6-inch and 10-inch drywall knives | Apply and feather joint compound smoothly; smaller knife for detail, larger for blending | $8–$22 |
| Setting-type joint compound (e.g., Durabond 45) | First coat—sets chemically, resists cracking and shrinking better than premixed | $12–$18 per 25-lb bag |
| Premixed all-purpose joint compound | Second and third coats—easier sanding and better finish | $9–$14 per 5-gal bucket |
| Medium-grit drywall sanding sponge (120–150 grit) | Sanding without gouging; contours to seam shape better than sandpaper | $4–$7 |
| Utility knife with fresh blades | Cutting away loose tape or damaged compound without scoring drywall paper | $3–$6 |
Step-by-Step Fix
Choose the method based on severity. Start conservative—don’t over-sand or re-tape unless necessary.
- Light Sand & Re-Coat (for minor ridges): Lightly sand the seam area with a 150-grit sponge until smooth—not shiny, not bare. Wipe dust, then apply a thin, wide coat of premixed compound using a 10-inch knife. Feather aggressively 12 inches each side.
- Re-Tape (for lifted or bubbled tape): Cut away loose tape with a utility knife. Clean dust and debris. Apply a 1/8" bed of setting-type compound, embed new fiberglass mesh tape, then cover with a second thin layer. Let set fully (45 min for Durabond 45) before next step.
- Full Rebuild (for deep cracks or severe telegraphing): Remove all compound and tape down to bare drywall. Prime the seam with drywall primer-sealer first—this prevents uneven absorption. Then apply three progressive coats: setting-type base, all-purpose middle, ultra-fine topping compound for final coat.
When to Call a Pro
Some seam issues point to deeper structural or environmental problems you shouldn’t tackle alone:
- Seams opening wider than 1/8 inch repeatedly—even after proper repair
- Visible seams accompanied by diagonal cracks near corners or windows (sign of foundation movement)
- Moisture stains or musty odor near the seam (indicates hidden water intrusion behind drywall)
- Seams that bulge outward or feel spongy when pressed (possible compromised framing or insulation failure)
According to the National Association of Home Builders’ 2022 Drywall Installation Standards, seams wider than 1/8" require engineered backing or structural evaluation—not just more mud.
Prevention Tips
Proper installation prevents 90% of visible seams. These habits matter most:
- Use tapered-edge drywall only (never butt-edge panels) for field seams
- Stagger joints between rows—and never let four corners meet at one point
- Apply joint compound at room temperature (65–85°F) and low humidity (<60%) to prevent shrinkage
- Always prime before painting—use a PVA or drywall-specific primer, not flat latex
- For high-traffic or vibration-prone walls (e.g., near doors), use triple-layer taping: paper tape + mesh + paper
Can I just paint over a visible seam?
No—paint hides nothing. It often makes seams more obvious, especially with higher-sheen finishes. The U.S. Department of Housing and Urban Development’s 2021 Residential Construction Defect Report lists improper drywall finishing as the #3 cause of post-occupancy wall complaints—most traced to paint applied over uncorrected seams.
Why does my seam show up only after the second coat of paint?
Because the first coat seals the surface unevenly. Thin areas absorb more paint, making ridges look darker; thicker compound areas reflect more light, creating a subtle highlight. That contrast becomes stark under second-coat lighting—especially under LED or daylight bulbs.
Is fiberglass mesh tape better than paper tape for hiding seams?
Not inherently—but it’s more forgiving for DIYers. Paper tape bonds stronger to compound but requires precise embedding. Mesh is easier to apply, but if over-mudded, its weave telegraphs through paint. For critical seams (ceilings, long walls), pros still prefer paper tape with setting-type compound—drywall taping best practices confirm this holds up longer.
How long should I wait between coats of joint compound?
Setting-type compound (e.g., Durabond) dries in 45–90 minutes—no waiting overnight. Premixed all-purpose needs 24 hours minimum between coats in standard conditions. In humid basements or garages, extend to 48 hours. Rushing causes delamination and micro-cracking.
Can humidity cause visible seams months after installation?
Absolutely. The U.S. EPA estimates indoor humidity above 60% swells drywall paper and softens cured compound, causing subtle movement at seams. This is why visible seams often appear in late summer or after bathroom remodels without proper exhaust fans—bathroom ventilation checklist helps prevent this.
Do I need to sand between every coat?
Yes—but lightly. After each coat dries, knock down ridges and bumps with a 150-grit sponge. Don’t aim for glass-smooth yet; focus on removing tool marks and feather edge buildup. Over-sanding the first two coats risks exposing tape or creating depressions.
Fixing a visible drywall seam isn’t about covering it up—it’s about rebuilding the transition so light flows evenly across the surface. Take time with feathering, respect drying times, and don’t skip the primer. Most repairs hold for a decade or more when done right—and save you from repainting or re-texturing later. If you’re tackling multiple seams, consider reading our guide on drywall texturing techniques to mask minor inconsistencies while adding character to walls.