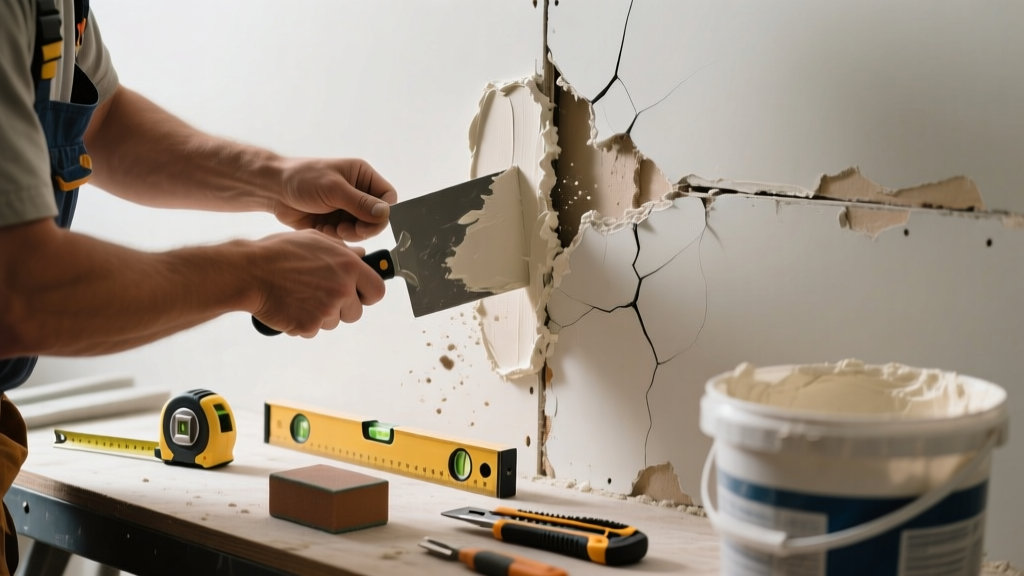
A visible drywall seam isn’t just unsightly—it’s a sign that something’s wrong beneath the surface: cracked tape, shrinking compound, moisture damage, or poor initial installation. Ignoring it invites further cracking, paint failure, and even mold in humid climates. The good news? In most cases, you only need to replace the affected section—not the entire wall.
Quick Diagnosis
Before cutting into your wall, confirm the root cause. A visible seam often points to one (or more) of these issues:
- Tape lifting or bubbling due to insufficient adhesive or joint compound coverage
- Shrinkage cracks from fast-drying or improperly mixed joint compound
- Structural movement—especially near doors, windows, or load-bearing walls
- Moisture exposure behind the drywall causing tape delamination
- Poor taping technique during original install (e.g., bare seams, air pockets)
Tools & Materials Needed
| Item | Purpose | Estimated Cost |
|---|---|---|
| Utility knife with fresh blades | Cuts clean edges around damaged seam area without tearing adjacent paper | $5–$12 |
| Drywall saw or oscillating tool | Removes damaged drywall backing cleanly; essential for precise cutouts | $25–$80 |
| Self-adhesive fiberglass mesh tape | More forgiving than paper tape for repairs; bridges gaps and resists cracking | $8–$15 |
| Setting-type joint compound (90-minute) | Stronger bond and less shrinkage than premixed; critical for base coats | $12–$22 |
| 4-inch and 10-inch drywall knives | Apply and feather compound smoothly across seams and repairs | $10–$25 |
| Sanding sponge (150-grit) | Smooths dried compound without gouging paper face or creating dust clouds | $4–$9 |
Step-by-Step Fix
Replace only the compromised portion—typically 6–12 inches on either side of the visible seam—to ensure structural continuity and proper feathering. Follow this sequence:
- Cut out the damaged zone: Use a utility knife to score a rectangular outline centered on the visible seam, extending at least 6" beyond each end of the flaw. Score deep enough to cut through paper and gypsum, then use a drywall saw to remove the section cleanly.
- Install backing support: Cut two 1x3 furring strips slightly longer than the opening. Screw them horizontally to the studs behind the hole, spaced to span the gap and provide nailing surface for new drywall.
- Mount replacement drywall patch: Cut a new piece to fit snugly inside the opening. Secure with drywall screws every 6–8", sinking heads just below the surface without breaking paper.
- Tape and coat: Apply setting-type compound over seams, embed self-adhesive mesh tape, then add two more thin coats with increasing knife width (4" → 6" → 10") to feather edges smoothly.
- Sand and prime: Lightly sand with a damp sponge once fully cured (24+ hours for setting-type). Wipe dust, then apply drywall primer before repainting.
When to Call a Pro
Some seam visibility signals deeper trouble that demands licensed expertise:
- Cracks wider than 1/8" that reopen within weeks of repair
- Seams that run diagonally across corners or stairwells—often tied to foundation settlement
- Visible water stains, musty odors, or soft drywall near the seam (indicates active moisture intrusion)
- Multiple seams failing simultaneously in different rooms (points to structural or environmental issues)
- Repairs needed on ceilings over 8 feet tall or above stairs—safety and access become high-risk
According to the Insurance Institute for Business & Home Safety's 2023 report, 62% of drywall seam failures linked to structural movement worsen by 30% or more within six months if not assessed by a qualified contractor.
Prevention Tips
Long-term seam integrity starts with smart habits and material choices:
- Use setting-type joint compound for all bedding coats—its chemical cure reduces shrinkage by up to 70% versus premixed (Gypsum Association Technical Bulletin GA-216, 2022)
- Always embed tape in wet compound—not pressed into dry mud—and avoid overlapping tape ends
- Allow full cure time between coats (minimum 24 hours for setting-type; 48+ for premixed in humid spaces)
- Install drywall perpendicular to studs when possible—reduces seam stress at joints
- In basements or bathrooms, use moisture-resistant drywall and seal seams with mold-inhibiting primer
Can I just cover the visible seam with extra joint compound?
No—applying thick layers of compound over a failing seam masks the problem but guarantees future cracking. Without removing the compromised tape and substrate, the new layer has nothing stable to adhere to. You’ll likely see hairline cracks reappear within weeks, especially in temperature-variable rooms like garages or sunrooms.
Do I need to replace the entire sheet if the seam is visible?
Rarely. Unless the drywall itself is bowed, water-damaged, or crumbled along the seam, localized replacement is sufficient and far less disruptive. Full-sheet replacement adds unnecessary labor, cost, and risk of mismatched texture or paint sheen. Focus on isolating and repairing only the structurally compromised zone.
Is fiberglass mesh tape better than paper tape for repairs?
Yes—for repairs. Fiberglass mesh is self-adhesive, easier to embed evenly, and more flexible under minor substrate movement. Paper tape requires perfect mud consistency and technique to avoid bubbles or wrinkles. The U.S. Department of Housing and Urban Development’s 2021 Renovation Standards specifically recommend mesh for patch applications where existing substrate adhesion is uncertain.
How long should I wait before painting after the repair?
Wait at least 48 hours after the final coat of joint compound is applied—and only if humidity stays below 60%. In basements or coastal homes, extend to 72 hours. Always prime first: unprimed drywall compound absorbs paint unevenly, making seams visible again. Use a high-build drywall primer like USG Sheetrock Brand Primer for best results.
Why does my repaired seam still show after painting?
Most often, it’s a lighting issue—not a technique failure. Raking light (light angled parallel to the wall) exaggerates even minor texture differences. If the seam is smooth to the touch and shows no cracks, try switching from flat to eggshell paint: its slight sheen diffuses shadows. Also check if adjacent wall sections were previously painted with different batches—color variation can mimic seam visibility. For persistent cases, consider a light skim coat over the whole wall section using a 12-inch knife and lightweight topping compound.
Can humidity cause visible drywall seams?
Absolutely. High humidity causes drywall paper to swell and joint compound to soften, weakening the tape bond. The U.S. EPA estimates that indoor relative humidity above 60% contributes to 35% of premature drywall seam failures in retrofit homes. Run a dehumidifier during repairs, and monitor levels with a hygrometer—aim for 30–50% year-round.
A well-executed seam repair shouldn’t be noticeable—even under bright light—once painted. The key is respecting the layers: solid backing, secure tape, properly cured compound, and consistent finishing. If you catch the issue early and follow these steps, you’ll restore both function and finish without tearing down half the wall. And remember: when in doubt about structural movement or moisture, skip the patch and call a licensed drywall contractor or home inspector—they’ll spot what your utility knife can’t.