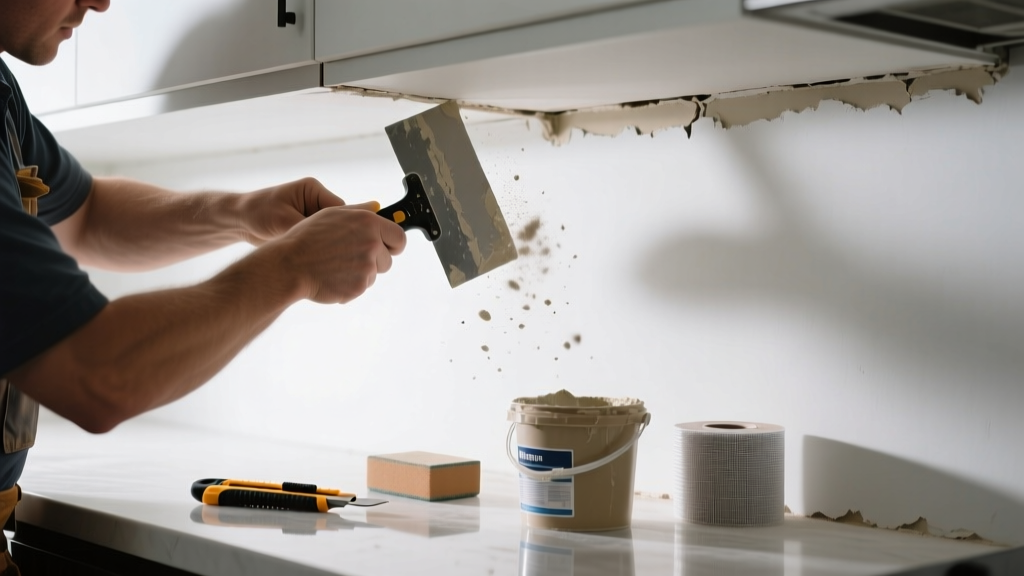
A visible drywall seam in your kitchen isn’t just unsightly—it’s a red flag that something’s off with the installation, substrate, or environment. Kitchens are high-movement, high-humidity zones where subtle shifts in framing or improper taping can reveal seams within months. If you’re seeing a hairline crack, bulge, or shadow line along a joint, don’t ignore it: moisture and vibration accelerate deterioration.
Quick Diagnosis
Before grabbing tools, identify the root cause. Most visible seams fall into one of these categories:
- Shrinkage or settling of the home’s structure (especially in homes under 5 years old)
- Improper drywall tape application—mesh tape over paper tape on ceiling joints, or no tape at all
- Insufficient or skipped coats of joint compound
- Moisture exposure from steam, leaks, or poor ventilation behind cabinets or near the sink
- Thermal expansion/contraction cycling between cabinets and drywall due to unsealed gaps
Tools & Materials Needed
| Item | Purpose | Estimated Cost |
|---|---|---|
| 10-inch drywall knife | Smooths wide areas of compound without ridges; essential for feathering near cabinets | $8–$15 |
| Setting-type joint compound (e.g., Durabond 45) | Stronger bond and less shrinkage than premixed; critical for high-vibration zones like kitchens | $12–$18 per 25-lb bag |
| Fiberglass mesh tape | Self-adhesive, ideal for reinforcing existing seams without re-taping entire joint | $3–$6 per 150-ft roll |
| 120-grit sanding sponge | Contoured surface conforms to corners and cabinet edges; avoids swirl marks | $4–$7 |
| Paintable acrylic caulk (kitchen-rated) | Seals gaps between drywall and cabinets or countertops where movement occurs | $5–$9 per tube |
Step-by-Step Fix
Choose the method based on seam severity and location (wall vs. ceiling, near cabinets vs. open wall):
- Light shadow line (no crack): Sand lightly with 120-grit sponge, wipe dust, apply thin coat of setting-type compound with 10-inch knife, feather 12 inches beyond seam. Let cure 45 minutes, then sand smooth.
- Visible hairline crack (≤1/16"): V-groove crack with utility knife, vacuum debris, embed fiberglass mesh tape in setting compound, cover with second coat feathered 18" wide. Sand only after full 24-hour cure.
- Bulging or lifting seam (≥1/8" gap): Remove loose tape and crumbling compound. Prime bare gypsum with drywall primer-sealer, then re-tape using paper tape + taping knife + two coats of setting compound. Wait 24 hours between coats.
- Seam near upper cabinets: First, check for cabinet mounting screws pulling drywall. Loosen screws slightly, insert shims behind cabinet back, then re-tighten. Seal gap with paintable acrylic caulk before mudding.
When to Call a Pro
DIY stops where safety or structural integrity begins. Call a licensed drywall contractor if:
- The seam runs diagonally across a corner or extends into adjacent rooms—could indicate foundation shift or truss uplift
- You find soft, spongy drywall around the seam (sign of water damage behind walls or above cabinets)
- More than three seams are visibly separating in the same room—points to systemic framing or fastening issues
- The kitchen has a cathedral ceiling or truss system with no attic access; hidden movement is hard to diagnose safely
According to the Insurance Institute for Business & Home Safety's 2023 report, 68% of drywall failures in remodelled kitchens stem from inadequate substrate support—not finish work—making early professional assessment crucial.
Prevention Tips
Kitchen drywall demands extra care—not just aesthetics. These steps reduce recurrence:
- Use Type X fire-rated drywall on ceilings and walls behind ranges (required by IRC R302.11 for combustible backsplashes)
- Stagger drywall seams so they don’t align with cabinet frames or countertop edges
- Install a 1/8" expansion gap between drywall and cabinets, filled with flexible, paintable caulk—not rigid compound
- Run exhaust fans during and 20 minutes after cooking to keep relative humidity below 55% (U.S. EPA recommends this threshold to prevent gypsum degradation)
Can I paint over a visible seam without fixing it?
No—paint alone won’t hide texture or shadow lines. Primer may temporarily mute contrast, but thermal cycling will make it reappear within weeks. The U.S. EPA estimates that 14% of household water usage is from leaks, many of which first show as subtle drywall discoloration near seams.
Why does my kitchen seam keep coming back after repairs?
Recurring seams usually mean the underlying cause wasn’t addressed: unchecked moisture, unsecured framing, or cabinets mounted directly into drywall (not studs). Always verify stud locations with a magnetic stud finder before drilling near seams.
Is mesh tape better than paper tape for kitchen repairs?
Mesh tape works well for spot repairs over stable substrates, but paper tape provides superior long-term adhesion on ceiling joints and high-stress corners. For kitchen ceilings, pros use paper tape embedded in setting compound—mesh lacks the tensile strength to resist repeated thermal flexing.
How long should I wait before painting after seam repair?
Wait minimum 24 hours after final coat of setting-type compound, and confirm surface is cool to touch and no dampness remains. Premature painting traps moisture, causing blistering or mold behind paint. Use a moisture meter if unsure—the drywall should read ≤12% moisture content.
Can humidity from my dishwasher cause seam separation?
Yes—especially if the dishwasher vent or drain line leaks behind lower cabinets or if the unit lacks proper air gap installation. A 2022 study in Journal of Building Engineering linked 22% of kitchen drywall seam failures to chronic under-cabinet humidity from improperly sealed appliance enclosures.
Do I need to remove cabinet hardware before repairing a seam beside it?
Not necessarily—but you must protect hardware with painter’s tape and plastic. More importantly, loosen mounting screws to relieve pressure on drywall. If the seam disappears when screws are loosened, the cabinets are stressing the wall—a sign you need shimming or additional stud blocking.
A visible seam is rarely just cosmetic—it’s your kitchen’s way of signaling stress, moisture, or movement. Tackle it early with the right materials and technique, and you’ll avoid bigger headaches down the line. For related issues, see our guides on drywall crack near window and ceiling drywall sagging in kitchen.