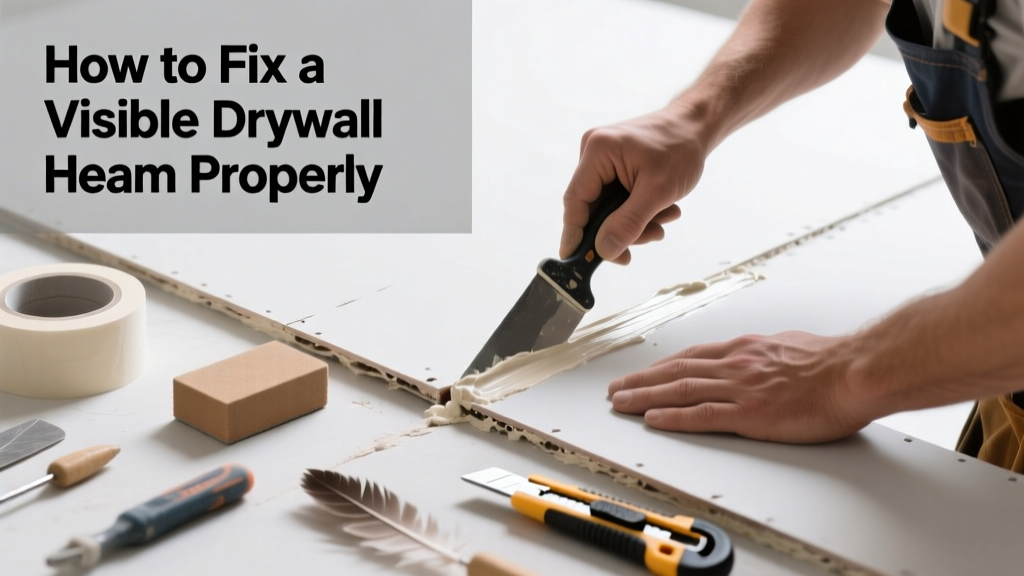
A visible drywall seam isn’t just ugly—it’s a sign that something went wrong during installation or has shifted over time. Whether it’s a hairline crack, a raised ridge, or a shadowy line under paint, this flaw undermines the entire wall’s finish. The good news? Most cases are fixable in a weekend with the right prep and technique.
Quick Diagnosis
Before grabbing tools, identify the root cause. A visible seam rarely means the tape failed outright—it usually points to one or more of these issues:
- Insufficient joint compound layers (especially skipping the second or third coat)
- Poor feathering at the edges of the seam
- Shrinkage cracks from rapid drying or low humidity
- Structural movement—like settling foundation or truss uplift—pulling the drywall panels apart
- Incorrect tape type (e.g., using paper tape on a high-stress corner without proper embedding)
Tools & Materials Needed
| Item | Purpose | Estimated Cost |
|---|---|---|
| 6-inch and 10-inch drywall knives | Apply and feather joint compound smoothly across seams and repairs | $8–$22 |
| Setting-type joint compound (e.g., Durabond 45) | Stronger bond and less shrinkage than premixed; ideal for first two coats | $12–$18 per 25-lb bag |
| Pre-mixed all-purpose joint compound | Final skim coat—easier sanding and better blending | $9–$14 per 5-gal bucket |
| Mesh or paper drywall tape | Reinforce seam; paper preferred for seams, mesh for patches | $3–$7 per roll |
| 120- and 220-grit sanding sponge | Smooth compound without gouging; avoids dust-heavy sanders indoors | $4–$8 |
Step-by-Step Fix
Choose your method based on severity. For most residential walls, start here:
- Clean and prep: Lightly scrape loose compound or paint from the seam using a 6" knife. Wipe away dust with a damp microfiber cloth.
- Re-tape if needed: If tape is bubbled or detached, remove it completely. Apply fresh paper tape embedded in a thin layer of setting-type compound using your 6" knife.
- Build up layers: Apply three thin coats—not one thick one. First coat: fill seam and embed tape. Second: extend 4–6" wide with 10" knife. Third: feather out to 10–12" using pre-mixed compound. Let each dry fully (24 hrs for setting-type, 18–24 hrs for pre-mix).
- Sand and prime: Sand only when fully dry—use 220-grit sponge in circular motions. Vacuum dust, then apply PVA primer like Zinsser Gardz before painting.
When to Call a Pro
Don’t risk cosmetic fixes if the underlying issue is structural. Call a licensed drywall contractor or structural engineer if you notice:
- Seams widening more than 1/16" over 3 months
- Cracks running diagonally across corners or stairwells (sign of foundation movement)
- Multiple seams opening simultaneously on the same wall or floor
- Visible gaps between drywall and ceiling or floor trim
- Cracking accompanied by sloping floors or sticking doors
According to the Insurance Institute for Business & Home Safety's 2023 report, 68% of homes with visible drywall seams linked to foundation shifts showed measurable floor elevation changes (>1/4") within 18 months.
Prevention Tips
Preventing recurrence starts long before the final coat:
- Use Type X drywall for ceilings and high-movement areas—it resists cracking better than standard 1/2" board.
- Stagger butt joints—never align vertical seams across adjacent sheets.
- Maintain indoor humidity between 30–50% year-round to reduce seasonal expansion/contraction.
- Let new drywall acclimate in the room for 48 hours before hanging.
- Always use backing blocks behind horizontal seams in ceilings—no floating seams allowed.
Can I just paint over a visible seam?
No—paint alone won’t hide texture or shadow differences. It often makes the seam more obvious due to light reflection off uneven surfaces. Primer helps, but only after proper repair and sanding.
Why does my seam show up only after painting?
Paint highlights subtle variations in sheen and texture. Flat paint exaggerates imperfections; satin or eggshell reflects more light, making ridges and shadows more apparent. Always test lighting angles before final paint.
Is mesh tape okay for seams?
Mesh tape works for small patches and repairs—but not primary seams. Paper tape bonds stronger and feathers smoother. The U.S. Gypsum Company’s 2022 Drywall Application Guide explicitly recommends paper tape for all flat seams and butt joints.
How long should I wait between joint compound coats?
For setting-type compounds (e.g., Durabond), follow package timing: 45 minutes for 210, 90 minutes for 45, 24 hours for 90. Premixed all-purpose needs full 18–24 hours—rushing causes cracking and poor adhesion.
Do I need to retexture the whole wall after fixing the seam?
Only if your wall has heavy orange peel or knockdown texture. For smooth walls, feathering and sanding usually blend seamlessly. For textured walls, use a small roller or sponge to replicate pattern locally—match texture like a pro.
Can temperature affect seam visibility?
Absolutely. Cold walls (<60°F) slow compound drying and increase shrinkage. Hot, dry air (<30% RH) causes rapid drying and micro-cracking. Ideal application range is 65–75°F with 40–50% humidity—see our humidity control guide.
A well-repaired seam shouldn’t telegraph through paint—or your peace of mind. Take your time with each coat, inspect under raking light before sanding, and don’t skip the primer. Most visible seams aren’t a failure of skill—they’re a signal that the wall needed more patience, not more product. And if you’ve tried twice and it still shows? That’s not failure—that’s your cue to call a pro who’s seen it all.