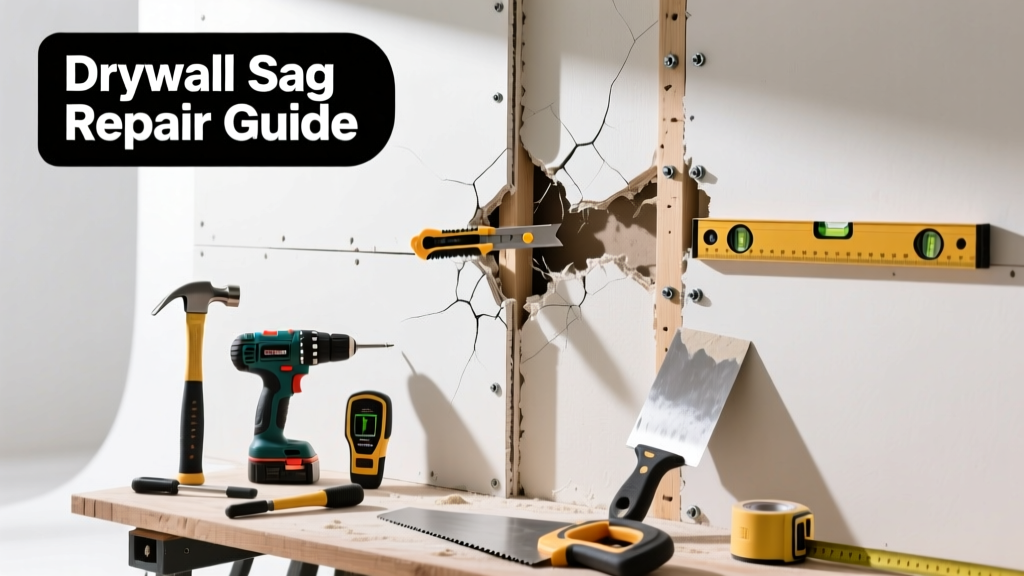
If your ceiling or wall drywall is dipping, bulging, or feels spongy when pressed, it’s not just unsightly—it’s a warning sign. Sagging often starts small but can lead to cracks, moisture traps, or even sudden collapse if ignored. Don’t wait for plaster dust to rain down before acting.
Quick Diagnosis
Sagging drywall rarely happens without cause. Pinpointing the root issue saves time and prevents repeat repairs. Most cases trace back to one (or more) of these culprits:
- Water damage from roof leaks, plumbing failures, or condensation buildup
- Insufficient or spaced-too-far-apart framing (e.g., joists or studs over 24" on center with 1/2" drywall)
- Poor fastener placement—too few screws, missing screws near edges, or screws driven too deep
- Structural movement: foundation settling, truss uplift, or overloaded attic storage
- Old or degraded adhesive used during installation (especially in older homes with glue-only attachment)
Tools & Materials Needed
| Item | Purpose | Estimated Cost |
|---|---|---|
| Stud finder with deep-scan mode | Locates framing behind sagging area to assess spacing and integrity | $25–$60 |
| 12-gauge drywall screws (1-1/4" and 1-5/8") | Secures loose drywall to framing; longer screws for thicker substrates or deeper joists | $8–$12 |
| Drill with clutch and Phillips bit | Prevents screw stripping and over-driving that crushes gypsum core | $40–$110 |
| Utility knife & straightedge | Cuts access panels or removes damaged sections cleanly | $5–$15 |
| 3/8" plywood or 2x4 blocking | Reinforces weak framing or adds support between joists/studs | $12–$28 |
Step-by-Step Fix
Choose the method based on severity and cause. Start with non-invasive solutions first:
- Re-Screw Loose Areas: Mark all existing screw locations with a pencil. Add new screws every 6–8 inches along joist/stud lines—especially within 12" of sagging edges. Stop when the drywall feels firm and no dimples remain.
- Add Blocking Between Framing: If joists are 24" on center and you’re using 1/2" drywall, install 3/8" plywood or 2x4 blocking perpendicular between them every 16". Secure with construction adhesive and 3" screws.
- Replace Damaged Sections: Cut out water-damaged or crumbling drywall with a utility knife. Frame in backing with furring strips, hang new 5/8" Type X drywall, and tape/mud per drywall taping guide.
- Install Ceiling Support Brackets: For large, persistent sags, use L-shaped steel brackets screwed into joists and drywall. These redistribute load and stabilize bowing areas—ideal for older homes with truss uplift issues.
When to Call a Pro
Some sagging isn’t just cosmetic—it’s structural. Call a licensed contractor or structural engineer if:
- The sag exceeds 1/2 inch over a 4-foot span (per ASTM C840 standards)
- You hear creaking, popping, or see new cracks radiating from corners or along seams
- Moisture readings exceed 18% on a pin-type meter in multiple spots (per mold inspection checklist)
- The drywall feels wet, smells musty, or shows black spotting—indicating active mold growth
- You suspect roof framing failure, especially after snow load or wind events
"Over 60% of premature drywall failures stem from improper fastening—not material defects." — Gypsum Association Technical Bulletin GA-216, 2022
Prevention Tips
Once repaired, keep drywall tight and trouble-free with these habits:
- Maintain indoor humidity between 30–50% year-round using a dehumidifier or HVAC system
- Inspect attic ventilation annually—blocked soffit vents cause condensation buildup on cold joists
- Use 5/8" Type X drywall for ceilings in all new builds and major renovations (required by IRC R702.3.2)
- Always space screws 7 inches apart on ceilings and 12 inches on walls, with edge screws no closer than 3/8" from board edges
- Never store heavy items directly above drywall ceilings—attic weight limits are often under 10 lbs/sq ft
Can sagging drywall be fixed without replacing it?
Yes—if the gypsum core is intact and moisture content is below 15%. Re-screwing combined with strategic blocking usually restores rigidity. But if the paper face is separating or the board crumbles under light pressure, replacement is safer and more durable.
How long does a drywall sag repair last?
A properly executed re-screw and blocking repair lasts 15–20 years—assuming no new water intrusion or structural movement. Repairs over compromised framing or unaddressed leaks typically fail within 6–12 months.
Is drywall sagging dangerous?
It can be. A sag exceeding 3/4 inch may indicate compromised framing or hidden rot. According to the Insurance Institute for Business & Home Safety's 2023 report, 22% of ceiling collapses begin with undiagnosed drywall sag. If you feel vibration when walking nearby or notice light shining through cracks, evacuate and call a structural inspector immediately.
Why does drywall sag only in winter?
Truss uplift is the usual culprit. Cold attic air shrinks bottom chords while warm living spaces expand top chords—lifting drywall at interior walls. This seasonal flexing loosens screws over time. Install L-brackets at perimeter walls or use truss clips to decouple drywall from chord movement.
Can I use construction adhesive instead of screws?
No—adhesive alone violates IRC R702.3.1 and voids most drywall warranties. It’s only approved as a supplement to mechanical fasteners. Screws provide immediate tensile strength; adhesive takes 72+ hours to cure and offers zero resistance to shear forces.
Do I need to repaint after fixing sagging drywall?
Yes—even minor re-screwing creates dimples and stresses the joint compound layer. Sand, prime, and repaint the entire panel or ceiling section. Skipping this step leads to visible ‘flashing’ where repaired areas reflect light differently. Use a high-hiding primer like Benjamin Moore Ultra Spec for seamless coverage.
Fixing sagging drywall isn’t about brute force—it’s about understanding why the system failed and reinforcing it intelligently. Most repairs take under a day, cost less than $75 in materials, and restore both safety and aesthetics. But never ignore the message the drywall is sending: it’s not just bending—it’s asking for help.