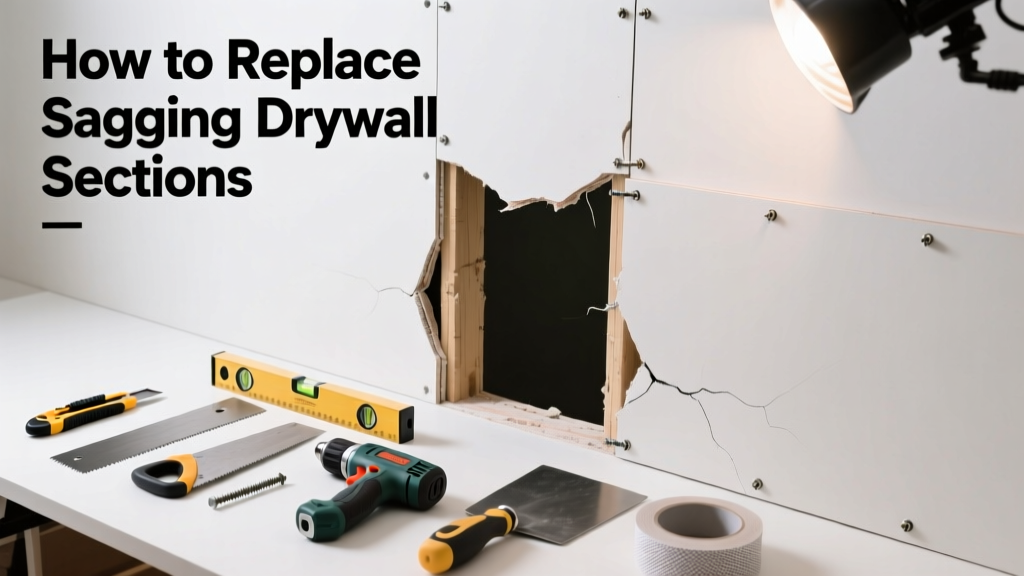
Sagging drywall isn’t just unsightly—it’s a red flag for moisture intrusion, poor framing, or aging fasteners. If the drywall feels soft, dips more than 1/4 inch, or shows visible bulges, patching won’t cut it: you need targeted replacement. Ignoring it risks mold growth, compromised fire ratings, and eventual ceiling collapse.
Quick Diagnosis
Before grabbing tools, confirm why your drywall is sagging. Most cases trace back to one or more of these root causes:
- Water damage from roof leaks, plumbing failures, or condensation buildup
- Insufficient or corroded fasteners (especially screws spaced >16" apart)
- Rotted or undersized ceiling joists (common in older homes with 2×4 joists)
- Overloaded ceiling fixtures or improperly supported HVAC ducts
- Poor drywall installation—thin 1/2" board used where 5/8" fire-rated is required
Tools & Materials Needed
| Item | Purpose | Estimated Cost |
|---|---|---|
| Drywall saw or oscillating tool | Cuts clean, controlled edges around damaged area without damaging adjacent framing | $25–$85 |
| 1/2" or 5/8" gypsum board (matching existing) | Replacement panel—thickness must match for proper screw depth and fire rating | $12–$22 per sheet |
| Coarse-thread drywall screws (1-1/4" or 1-5/8") | Secure new board to framing; coarse thread grips wood better than fine thread | $5–$10 per box |
| Utility knife & T-square | Score and snap clean straight edges on new drywall before installation | $3–$15 |
| Joint compound, mesh tape, sanding sponge | Seam finishing—mesh tape bridges gaps better than paper for ceiling repairs | $18–$30 total |
Step-by-Step Fix
Replace only the damaged portion—not the whole ceiling—unless framing is compromised. Follow these steps in order:
- Turn off power to any ceiling lights or fans in the work zone and verify with a non-contact voltage tester.
- Cut out the sagging section using a drywall saw, staying 1/2" inside the nearest joists on all sides—this gives full nailing edge support.
- Inspect joists: Look for rot, insect damage, or bowing. Reinforce weak joists with sistered 2×4 or 2×6 lumber if needed (how to sister joists).
- Measure and cut new drywall to fit snugly between joists. Use a scrap piece to test fit before screwing.
- Secure the patch with screws every 6–8" along joist edges and 12" in the field—don’t overdrive; leave screw heads just below surface.
When to Call a Pro
Some sagging situations go beyond DIY scope—and safety should always come first. Call a licensed contractor if:
- The sag covers more than 4 sq ft and spans multiple joists
- You find black mold colonies larger than 10 sq in or detect musty odors behind drywall
- Joists are visibly warped, cracked, or show active termite frass or exit holes
- The sag occurs above a bathroom, kitchen, or laundry room with no accessible attic access for inspection
- Your home was built before 1980 and may contain asbestos-containing joint compound (testing required before disturbance)
Prevention Tips
Stop future sagging before it starts. These habits extend drywall life by years:
- Maintain indoor humidity between 30–50% year-round using a dehumidifier or HVAC system with humidistat control
- Inspect roof flashings, vent boots, and gutter downspouts twice yearly for cracks or debris clogs
- Use 5/8" Type X drywall for ceilings in garages, basements, and utility rooms—its added thickness resists creep under load
- Install insulation baffles in attics to keep soffit vents clear and prevent warm, moist air from condensing on cold roof sheathing
Can I just screw the sagging drywall back up?
No—re-screwing a water-damaged or structurally compromised panel often fails within weeks. The gypsum core loses integrity when wet, and compression fractures form beneath the surface. According to the U.S. EPA, 14% of household water usage is from leaks that go undetected for over 30 days—by then, drywall strength drops by up to 60% (EPA WaterSense Report, 2022).
Do I need to replace the insulation behind the sagging drywall?
Yes—if the insulation is wet, compressed, or discolored. Fiberglass batts lose R-value when damp and can harbor mold spores. Remove and discard any insulation contacting wet drywall. Replace with unfaced fiberglass or mineral wool batts rated for ceiling use (insulation replacement guide).
What’s the fastest way to match texture after repair?
For orange peel or knockdown textures, rent a texture sprayer ($35/day) and practice on scrap drywall first. For popcorn ceilings, avoid DIY removal unless tested for asbestos—hire a certified abatement pro if pre-1980. Texture matching kits from brands like Homax cost $12–$20 and include rollers, brushes, and sample guides.
Can I use drywall mud instead of replacing the sagging part?
Only for minor dents or shallow depressions less than 1/8" deep. Mud adds weight and won’t restore lost structural support. Over-mudding sagging areas often leads to cracking at seams and delamination within months—especially on ceilings where gravity works against adhesion.
How long does the full repair take from start to paint-ready?
A 2' × 3' patch takes most homeowners 6–8 hours across two days: Day 1 for demo, framing check, hanging, and first coat of mud; Day 2 for sanding, second coat, and final sanding. Allow 24 hours drying time between coats in normal humidity—add 12+ hours if RH exceeds 60%.
Should I prime before applying joint compound?
No—priming first creates a barrier that prevents joint compound from bonding properly. Apply mud directly to bare drywall paper. Prime only after all mud is sanded smooth and dust-free. Skipping this step causes bubbling, poor coverage, and visible seams under paint.
"Ceiling drywall failures almost always begin at the fastener line—either due to insufficient screws or corrosion from high humidity. Never rely on adhesive alone for ceiling patches." — Mike R., Master Drywaller & Instructor, NW Wall & Ceiling Contractors Association (2023)
Replacing a sagging drywall section isn’t glamorous, but doing it right protects your home’s structure, air quality, and resale value. Take time to inspect framing, choose the correct board thickness, and finish seams with care—your future self will thank you when the ceiling stays flat for another decade. If you’re also dealing with cracks near corners or light fixtures, those often signal separate framing movement issues worth diagnosing next.