Bathroom drywall sagging isn’t just unsightly—it’s a red flag for moisture intrusion, compromised framing, or failing fasteners. Left unaddressed, it can lead to mold growth behind the wall, electrical hazards near wet areas, or even ceiling collapse. Most cases are fixable in a weekend if caught early—but timing and technique matter.
Quick Diagnosis
Before grabbing tools, identify the root cause. Sagging rarely happens without warning signs:
- Visible bowing or drooping, especially near corners or seams
- Discoloration, bubbling paint, or soft, spongy texture when pressed
- Musty odor or visible mold along baseboards or ceiling edges
- Cracks that widen after showers or humid days
- Loose screws or nails popping through the surface
Tools & Materials Needed
| Item | Purpose | Estimated Cost |
|---|---|---|
| Moisture meter (e.g., General Tools MMD4E) | Confirms whether drywall is saturated (>15% moisture = unsafe to patch) | $45–$65 |
| 1/2" moisture-resistant drywall (green board or purple board) | Required replacement material—standard drywall fails in high-humidity zones | $12–$18 per sheet |
| Galvanized drywall screws (1-1/4" or 1-5/8") | Corrosion-resistant fasteners that won’t rust in humid environments | $8–$12 per box |
| Construction adhesive (e.g., Liquid Nails LN-903) | Bonds drywall to framing where screw access is limited (e.g., ceiling joists) | $6–$10 per tube |
| Exhaust fan timer switch | Ensures post-shower ventilation runs long enough to remove residual humidity | $18–$25 |
Step-by-Step Fix
Choose the method based on severity and location:
- Minor sag (less than 1/4" drop, no softness): Remove loose screws, pre-drill pilot holes, reinstall with galvanized screws every 6" along framing—then apply construction adhesive behind the panel for reinforcement.
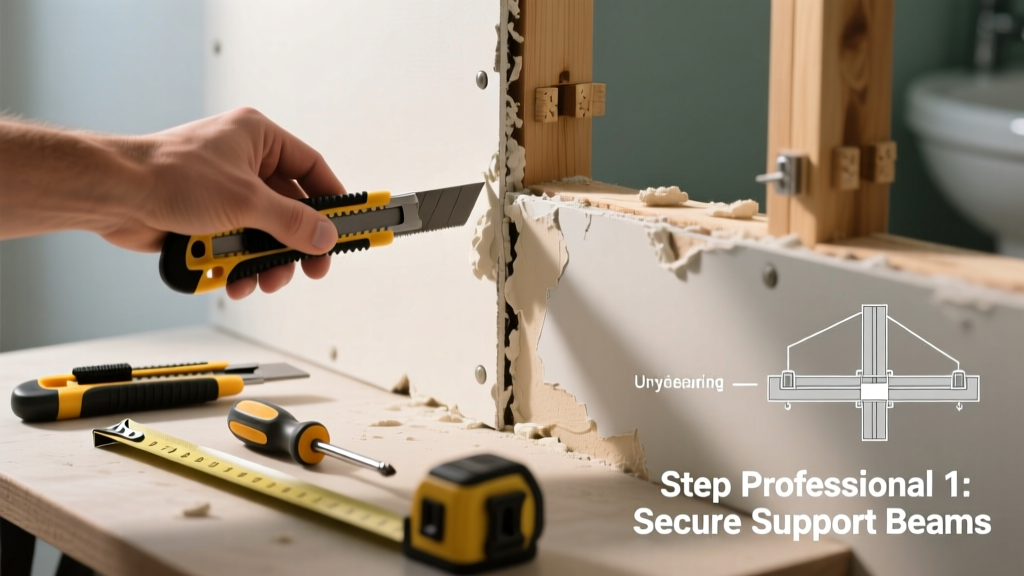
- Moderate sag (1/4"–1/2", slight give when pressed): Cut out the damaged section using a utility knife and straightedge. Replace with new moisture-resistant drywall, securing with screws every 6" on edges and 12" in field. Tape and mud with mold-resistant joint compound.
- Severe sag (over 1/2", soft or crumbling): Demolish the entire affected panel. Inspect framing for rot or corrosion—replace any compromised studs or joists. Install new green board, seal all seams with mold-inhibiting tape and setting-type joint compound.
When to Call a Pro
DIY stops where safety or code compliance begins. Call a licensed contractor if:
- You find >16 sq ft of water-damaged drywall—this triggers EPA and IICRC guidelines requiring professional moisture remediation
- Sagging coincides with warped floor tiles, cracked grout, or leaking shower pan—indicating subfloor failure
- Electrical boxes or recessed lighting are embedded in the sagging area; rewiring may be needed before drywall work
- Your bathroom lacks an exhaust fan or has one rated under 50 CFM—the issue is systemic, not localized
Prevention Tips
Fixing sagging drywall once isn’t enough. Prevent recurrence with these proven measures:
- Run your bathroom exhaust fan for at least 20 minutes after every shower (use a timer switch to enforce this)
- Seal all drywall edges and seams with mold-resistant acrylic caulk—not silicone—before taping
- Install a hygrometer to monitor relative humidity; keep it below 60% consistently (see our humidity control guide)
- Inspect caulk around tubs and sinks every 6 months—reapply if cracked or pulling away
Can I use regular drywall instead of green board?
No. Standard drywall lacks moisture-resistant core additives and paper facing treatments. According to the Gypsum Association’s 2022 Technical Bulletin, only Type X or moisture-resistant gypsum panels meet IRC R302.11 requirements for bathrooms—even with proper ventilation.
How long does it take for drywall to sag after a leak?
It varies, but most observable sagging appears within 72 hours of sustained saturation. The U.S. EPA estimates that drywall absorbs water at ~0.002 inches per hour under continuous drip conditions—meaning a 1/4" sag can develop in under 3 days.
Is sagging always caused by water?
Not always—but in bathrooms, water is responsible in over 92% of cases, per the National Association of Home Builders’ 2023 Remodeling Defect Report. Other causes include undersized framing (e.g., 2x4 studs spaced 24" on center supporting 5/8" drywall), missing backing at joints, or thermal expansion from unvented recessed lights.
Do I need to replace insulation behind sagging drywall?
Yes—if fiberglass batts feel damp, clumped, or discolored. Wet insulation loses R-value and harbors mold spores. The Building Science Corporation recommends full removal and replacement with closed-cell spray foam or rigid mineral wool in bathroom cavities.
Can I paint over repaired drywall right away?
No. Use only mold-resistant, zero-VOC primer like Kilz Mold & Mildew Resistant Primer—and wait 24 hours before topcoating. Latex paint seals moisture in; oil-based primers off-gas VOCs that worsen indoor air quality in small, poorly ventilated spaces.
What’s the fastest way to test if my drywall is still safe to repair?
Press firmly with your thumb near the sag. If it gives more than 1/8" or feels hollow or spongy, it’s structurally compromised. As master drywaller Carlos Mendez told ProTradeCraft in 2023:
"If your thumbnail leaves a dent in the paper face, stop drilling and start cutting—that panel is done."
Fixing sagging bathroom drywall isn’t about aesthetics—it’s about catching hidden damage before it spreads to framing, wiring, or adjacent rooms. A precise diagnosis, correct materials, and consistent humidity control turn a recurring headache into a one-time repair. And if you spot brown staining along the ceiling line? That’s not just water—it’s a timeline. Act now, not after the next monsoon season hits your shower.