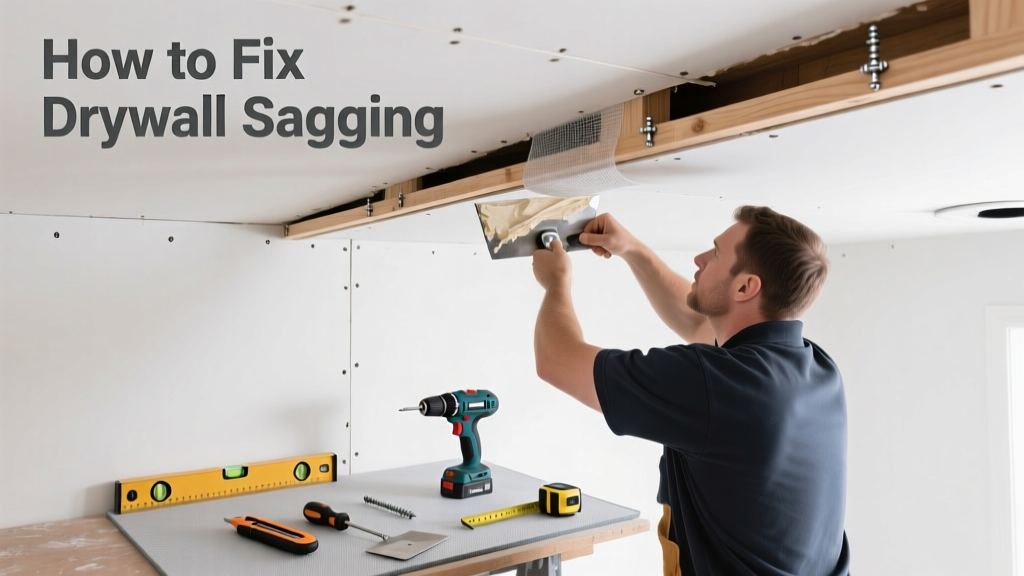
That subtle dip in your ceiling or bulge near a corner trim? It’s not just cosmetic—it’s drywall sagging, often the first sign of moisture intrusion, poor installation, or structural stress. Left unaddressed, it can lead to cracks, mold, or even collapse. The good news: many cases are fixable in a weekend with basic tools and careful assessment.
Quick Diagnosis
Drywall sags for specific, identifiable reasons—not all are equal in urgency or repair complexity. Pinpointing the cause determines whether you’re tightening screws or calling in reinforcements.
- Moisture exposure (leaky roof, plumbing leak, high humidity)
- Insufficient fastener spacing (more than 12" apart on ceilings, 16" on walls)
- Undersized or warped framing (e.g., 2×4 joists spaced 24" on center for 5/8" drywall)
- Over-torqued or missing screws near seams or edges
- Age-related adhesive failure in older glue-assisted installations
Tools & Materials Needed
| Item | Purpose | Estimated Cost |
|---|---|---|
| Stud finder with deep-scan mode | Locates framing behind sagging area to assess support integrity | $25–$60 |
| 1-1/4" drywall screws (coarse thread) | Secures loose drywall to framing without over-penetration | $8–$12 |
| Drill/driver with clutch setting | Prevents screw popping or paper tear; essential for consistent depth | $40–$120 |
| Utility knife & straightedge | Cuts access holes or removes damaged sections cleanly | $5–$15 |
| Joint compound & mesh tape | Finishes repairs and reinforces seams after re-securing | $12–$22 |
Step-by-Step Fix
Most sagging falls into three categories—loose attachment, moisture-damaged board, or compromised framing. Choose the method that matches your diagnosis:
- Re-Screw Loose Drywall: Mark every 6" along sagging edges and centerline using a stud finder. Drill pilot holes if framing is dense. Drive screws until the drywall surface is flush—no dimpling. Stop when the screw head breaks paper or the board lifts visibly.
- Replace Moisture-Damaged Sections: Cut out sagged area with a utility knife, staying within full stud/joist boundaries. Measure and cut replacement drywall. Secure with screws every 6" at edges and 12" in field. Tape and mud per drywall mudding best practices.
- Add Blocking or Sister Joists: For sagging ceilings with undersized framing, install 2×4 blocking between joists perpendicular to span, then screw drywall to new blocking. Requires attic access and carpentry confidence—see ceiling repair basics for layout diagrams.
When to Call a Pro
Some sagging isn’t about drywall—it’s about what’s holding it up. Don’t risk injury or worsening damage by ignoring these red flags:
- Sag exceeds 1/2" over a 4-ft span (per ASTM C840 standards for acceptable flatness)
- Water stains, musty odor, or visible mold accompany the sag
- Cracks radiate from corners or run diagonally across walls or ceilings
- Multiple rooms show identical sag patterns—suggests foundation or truss movement
- You cannot locate solid framing behind the sag with a reliable stud finder
"Over 70% of ceiling collapses linked to drywall sagging involved undetected water leaks behind the membrane for more than 90 days." — National Association of Home Builders Repair Guidelines, 2022
Prevention Tips
Preventing recurrence means addressing root causes—not just patching symptoms. Focus on environment, installation quality, and maintenance:
- Maintain indoor relative humidity between 30–50% year-round using a hygrometer and dehumidifier if needed
- Inspect roof flashings, bathroom exhaust ducts, and HVAC drip pans quarterly for leaks
- Use 5/8" Type X drywall for ceilings and ensure joists are spaced no more than 16" on center
- Specify screws—not nails—for all drywall fastening; use 1-1/4" for walls, 1-5/8" for ceilings
Can I just push the sag back up and screw it?
No—forcing drywall upward risks cracking the paper face or snapping gypsum core. Always drill pilot holes and drive screws gradually while checking for resistance. If the board feels spongy or crumbles under light pressure, it’s water-damaged and must be replaced.
Will spackle hold the sag in place?
Never. Spackle is a finish coat—not structural reinforcement. Applying it over unsupported drywall creates a brittle shell that will crack or delaminate within weeks. Fasteners must engage framing directly.
How long does a proper repair take?
A simple re-screw job takes 2–3 hours, including drying time for joint compound. Full section replacement adds 6–10 hours across two days (cutting/day one, taping/mudding/day two). Allow 24 hours between mud coats and 72 hours before painting.
Do I need to remove paint before re-screwing?
No—modern drywall screws penetrate painted surfaces easily. However, if paint is peeling or blistered, test for moisture first. Paint removal is only necessary if you’re replacing the sheet or sanding for texture matching.
Is drywall sagging always a sign of water damage?
No—though it’s the most common cause. According to the Insurance Institute for Business & Home Safety's 2023 report, 58% of sagging cases stem from improper installation (e.g., missed studs, overdriven screws), while 32% link to moisture. The remaining 10% involve structural settling or seismic shifts.
Can I fix sagging drywall on a vaulted ceiling?
Yes—but access and safety become critical. Use a sturdy scaffolding system (not ladders) and confirm joist orientation with a stud finder before drilling. Vaulted ceilings often have inconsistent framing depth; consider hiring a pro if you can’t verify solid backing within 1" of the drywall surface.
Fixing drywall sagging isn’t about hiding a flaw—it’s about restoring integrity where wall and structure meet. Whether you tighten a few screws or replace an entire panel, each repair protects your home’s safety, value, and comfort. And if the sag returns within six months? That’s not a failed fix—it’s a signal something deeper needs attention, like a hidden leak or shifting foundation. Stay observant, act early, and don’t hesitate to bring in expertise when the stakes rise above drywall.