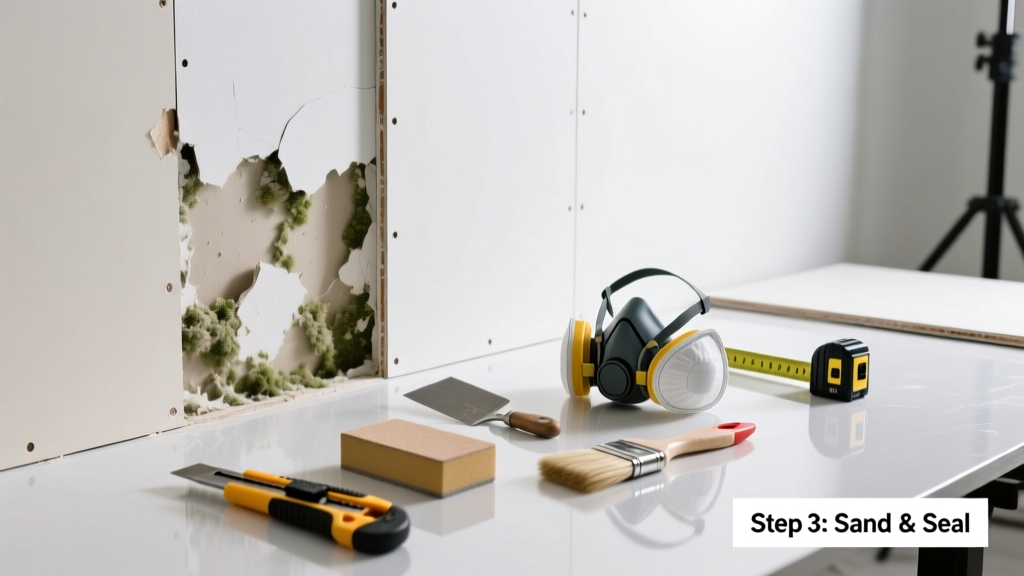
If you’ve spotted discoloration, musty odors, or soft spots behind baseboards, outlet covers, or ceiling fixtures, mold may be growing on the backside of your drywall — a hidden problem that compromises air quality and structural integrity. Ignoring it invites health risks and spreads spores into HVAC systems. This guide walks you through targeted replacement—not full-room demolition—so you fix only what’s necessary.
Quick Diagnosis
Mold behind drywall rarely appears without warning signs. Check for these root causes first:
- Leaking pipes or supply lines running inside wall cavities
- Poorly sealed windows or exterior penetrations allowing rain infiltration
- Condensation buildup from unvented bathroom exhaust fans or insufficient insulation
- Roof leaks tracking down framing before reaching visible surfaces
- High indoor humidity (above 60% RH) sustained for >48 hours
Tools & Materials Needed
| Item | Purpose | Estimated Cost |
|---|---|---|
| N95 respirator + goggles + nitrile gloves | Protects against airborne spores during removal | $12–$25 |
| Utility knife with fresh blades | Cuts clean, controlled edges through drywall without crumbling | $8–$15 |
| 12-in. drywall saw (keyhole saw) | Accesses tight spaces behind outlets or trim without damaging studs | $10–$22 |
| Mold-resistant drywall (1/2" or 5/8") | Prevents recurrence; contains fiberglass instead of paper facing | $14–$28 per sheet |
| HEPA vacuum with filter lock | Removes spores from dust and debris—standard vacuums recirculate mold | $120–$250 |
Step-by-Step Fix
Work in this order to contain spores, remove contaminated material safely, and reinstall correctly:
- Isolate the area: Seal off the room with plastic sheeting taped to doorways and vents; turn off HVAC to prevent airborne spread.
- Locate and mark boundaries: Use a moisture meter to find the outer edge of dampness (≥15% MC), then extend 12 inches beyond in all directions—mold often travels unseen along framing.
- Cut and remove: Score drywall with utility knife, then use drywall saw to cut cleanly along stud centers. Remove in one piece if possible; double-bag in 6-mil poly and seal with duct tape.
- Inspect framing and insulation: If wood studs show black staining or softness, sand surface mold with HEPA vacuum attachment and treat with EPA-registered fungicide like Concrobium Mold Control (2023 EPA List N).
- Install new drywall: Use mold-resistant board, screw every 6–8 inches into studs, and finish joints with mold-inhibiting joint compound like USG Sheetrock Brand Mold Tough.
When to Call a Pro
DIY isn’t safe or effective when:
- Mold covers more than 10 square feet (EPA recommends professional remediation for areas larger than this)
- You suspect HVAC contamination—ductwork requires specialized containment and negative air scrubbing
- The affected area includes load-bearing walls or fire-rated assemblies (e.g., garage ceilings or stairwells)
- You discover active water intrusion during removal—plumbers or roofers must address the source first
"Mold behind drywall is never just a surface issue—it's always a symptom of moisture failure. Fixing the drywall without fixing the water path guarantees recurrence within 6–12 months." — Dr. Linda K. Stetzenbach, University of Nevada Reno, Indoor Air Quality Lab, 2022
Prevention Tips
Stop future growth before it starts:
- Install exhaust fans rated ≥50 CFM in bathrooms and kitchens, vented directly outdoors—not into attics
- Use a hygrometer to monitor indoor humidity; aim for 30–50% RH year-round
- Seal all wall penetrations (outlets, pipes, wires) with acrylic-latex caulk or fire-rated putty pads
- Insulate cold-water pipes in exterior walls to reduce condensation risk
- Check attic ventilation annually—blocked soffits or missing ridge vents trap warm, moist air
Can I use bleach on this?
No. The U.S. EPA explicitly advises against using bleach for mold remediation on porous surfaces like drywall. Bleach cannot penetrate paper backing or gypsum core, leaving roots intact—and its high pH encourages regrowth. Instead, use an EPA-registered fungicide labeled for porous substrates, applied after physical removal.
Do I need to replace insulation too?
Yes—if fiberglass batts are wet, compressed, or visibly stained, they’re compromised and must be removed. Mold spores embed deeply in insulation fibers, and drying alone won’t eliminate them. Replace with unfaced, mold-resistant batts or closed-cell spray foam where appropriate.
How long does the whole process take?
A single 4'×4' section takes 6–8 hours for an experienced DIYer—including containment, removal, cleanup, and patching. Add 24–48 hours for joint compound drying and sanding before priming. Rushing leads to poor adhesion and visible seams.
What type of primer should I use?
Use a stain-blocking, mold-inhibiting primer like Zinsser Bulls Eye 1-2-3 Plus or Kilz Mold & Mildew Resistant Primer. These seal spores and block tannin bleed-through. Avoid standard latex primers—they lack biocidal agents and won’t prevent future growth at the interface.
Can I paint over moldy drywall to save time?
Never. Painting over active mold traps moisture and accelerates substrate decay. It also masks the problem until spores breach the paint film—often during seasonal humidity spikes. Removal is non-negotiable for health and structural safety.
Is mold behind drywall always toxic?
Not all molds produce mycotoxins, but Stachybotrys chartarum, Aspergillus, and Penicillium species commonly grow in damp drywall environments and are linked to respiratory irritation. According to the CDC, no mold should be considered 'safe' for prolonged exposure—especially for children, seniors, or immunocompromised individuals.
Replacing mold-damaged drywall isn’t about perfection—it’s about precision. Focus on moisture control first, containment second, and materials third. When done right, this repair lasts years, not months. For related help, see our guides on how to find hidden leaks and choosing mold-resistant drywall. If you’re unsure about framing damage or recurring moisture, consult a certified home inspector before finishing.