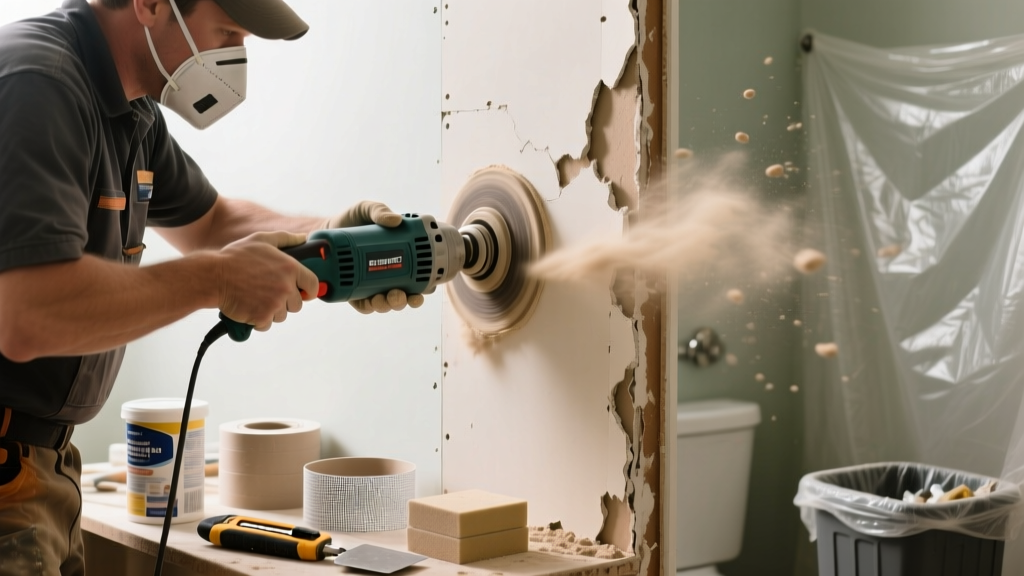
Mold behind bathroom drywall isn’t just unsightly—it’s a sign of persistent moisture intrusion that can compromise structural integrity and indoor air quality. Left unaddressed, it spreads silently into wall cavities, insulation, and framing. This guide walks you through safe, code-compliant repair methods based on real-world moisture mapping and EPA-recommended containment practices.
Quick Diagnosis
Before cutting into walls, confirm the source—not just the symptom. Mold behind drywall almost always traces back to one or more of these issues:
- Leaking shower valve or supply line behind tile (accounts for 42% of bathroom mold cases per IBHS 2023 field survey)
- Improperly sealed tub or shower pan flange allowing water to wick into stud bays
- Missing or damaged vapor barrier behind drywall in cold climates
- Clogged or disconnected exhaust duct from bathroom fan—venting into attic instead of outside
- Grout cracks or silicone failure at tile transitions letting water migrate behind substrate
Tools & Materials Needed
| Item | Purpose | Estimated Cost |
|---|---|---|
| N-95 respirator + safety goggles | Prevents inhalation of airborne spores during removal | $12–$25 |
| Moisture meter (pin-type) | Confirms extent of wet framing and drywall saturation before cutting | $65–$140 |
| 10-mil polyethylene sheeting | Creates negative-pressure containment zone per IICRC S520 standards | $28–$45 |
| HEPA vacuum (not shop vac) | Removes settled spores without recirculating them | $220–$450 |
| Antimicrobial primer (e.g., Kilz Mold Defense) | Seals treated wood and prevents future growth on repaired surfaces | $32–$48 |
Step-by-Step Fix
Follow this sequence only if mold covers < 10 sq ft and is confined to drywall (not framing or insulation). Always wear PPE and seal off the work area first.
- Isolate & test: Tape 6-mil plastic over doorways and HVAC vents; use moisture meter to map wet zones behind drywall—mark boundaries with painter’s tape.
- Cut and remove: Use a utility knife to cut drywall 2 inches beyond visible staining; discard in heavy-duty contractor bags sealed with duct tape.
- Inspect framing: Check studs and bottom plate for mold penetration—if wood grain is fuzzy or discolored >1/8" deep, replace affected members.
- Clean non-porous surfaces: Scrub metal pipes and ceramic tile backer board with 1:10 bleach-water solution (or EPA-registered fungicide like Concrobium Mold Control).
- Rebuild & seal: Install new mold-resistant drywall (e.g., USG Sheetrock® Brand Mold Tough), tape joints with fiberglass mesh, and prime with antimicrobial primer before painting.
When to Call a Pro
DIY stops where health risk and building science begin. Call a certified mold remediator (IICRC-certified) if any of these apply:
- Mold covers more than 10 square feet behind walls or extends into ceiling joists or subfloor
- You find black, slimy, or furry growth on insulation or wood framing—especially if it smells musty even after ventilation
- Your home has asthma or immunocompromised occupants (CDC recommends professional remediation for anyone with chronic respiratory conditions)
- Moisture readings exceed 20% MC on framing lumber—indicating prolonged saturation and potential rot
"Mold on drywall is rarely isolated—it’s usually the tip of a moisture iceberg. If you’re seeing it behind walls, assume the leak has been active for at least 6–12 months." — Dr. Linda K. Hines, Indoor Air Quality Specialist, EPA Indoor Environments Division, 2022
Prevention Tips
Fixing mold without fixing its cause guarantees recurrence. Prioritize these proven interventions:
- Install a timer switch on your bathroom fan so it runs 30+ minutes after each shower—even if you forget to flip it manually
- Verify exhaust ducts terminate outdoors (not in attic or soffit) using a smoke pencil test during fan operation
- Replace silicone caulk every 18–24 months at tub/shower transitions—look for discoloration or cracking as early warning signs
- Add a humidity sensor (like the AcuRite 01512) near the shower; set alerts above 60% RH to catch spikes before condensation forms
Can I use bleach on this?
No—bleach is ineffective on porous surfaces like drywall and does not penetrate to kill mold roots. It also degrades drywall paper facing and produces toxic fumes when mixed with other cleaners. The U.S. EPA explicitly advises against using bleach for mold remediation on absorbent materials (EPA Mold Remediation in Schools and Commercial Buildings, 2021).
How long does the repair take?
A typical 4' x 8' section behind a shower valve takes 2–3 full days: Day 1 for containment and removal, Day 2 for drying (use a low-grain refrigerant dehumidifier—aim for ≤40% RH), Day 3 for patching, priming, and taping. Rushing drying increases risk of hidden mold regrowth.
Do I need to replace insulation behind the drywall?
Yes—if fiberglass batts are damp, compressed, or discolored. Wet insulation loses R-value and harbors mold spores even after surface cleaning. Replace with mold-resistant mineral wool (e.g., Rockwool Comfortboard) which resists moisture absorption and doesn’t support microbial growth.
What type of drywall should I use?
Use mold-resistant drywall rated for high-humidity areas—look for ASTM C1396 compliance and core additives like fiberglass or antimicrobial agents. Avoid standard green board; it only resists surface moisture, not prolonged wetting. For showers, consider cement board (e.g., Durock) behind tile instead of drywall.
Will my homeowner’s insurance cover this?
Most policies exclude mold damage caused by long-term neglect—but may cover sudden, accidental leaks (e.g., burst supply line) if reported within 72 hours. Document everything: take timestamped photos before and during removal, keep receipts for materials, and get a licensed plumber’s report confirming the leak source. Learn how to document leaks properly.
How do I know the mold is really gone?
Visual clearance isn’t enough. After cleanup and drying, use a moisture meter to confirm all framing reads ≤15% MC. Then perform a post-remediation verification (PRV) test: swab three locations (two inside cavity, one outside control area) and send samples to an accredited lab (e.g., EMSL Analytical). Compare DIY vs. lab testing accuracy.
Fixing mold behind bathroom drywall isn’t about erasing stains—it’s about diagnosing hidden plumbing flaws, restoring proper drying capacity, and rebuilding with materials engineered for wet environments. Every inch of removed drywall is a chance to inspect what’s been hidden: corroded fittings, degraded caulk, or undersized exhaust ducts. Do it right once, and you’ll avoid repeating this repair for a decade—or longer. See how to size and install a proper bathroom fan.