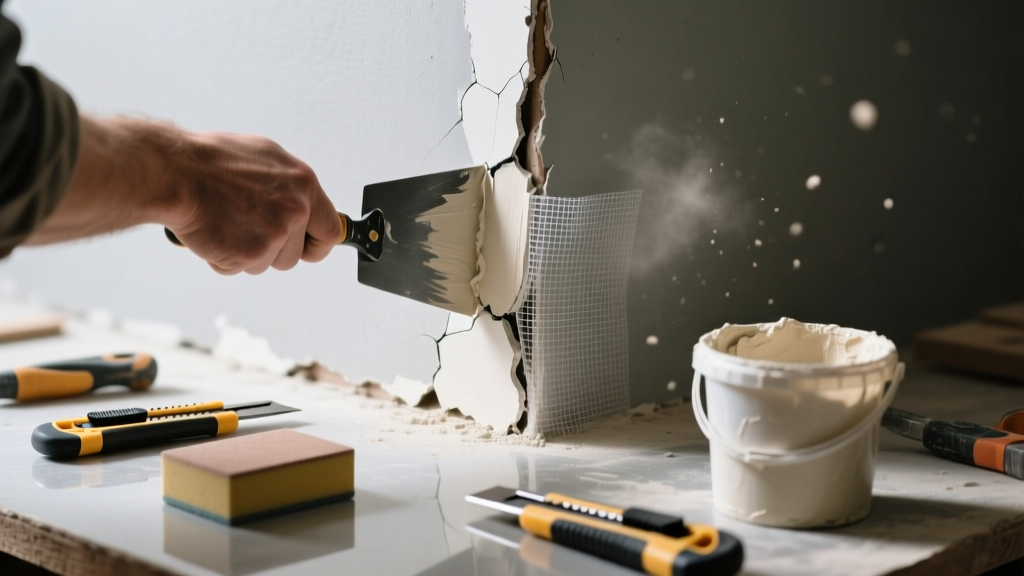
You patched that drywall corner crack six months ago—now it’s back, wider and angrier than before. It’s not just cosmetic; it’s a sign something deeper is wrong with your wall structure or repair technique. Most DIYers miss one critical step that guarantees recurrence.
Quick Diagnosis
Before grabbing mud and tape, rule out these five root causes:
- Structural movement (foundation settling or framing stress)
- Improper corner bead installation—loose, bent, or missing fasteners
- Using paper tape instead of metal-reinforced corner bead on outside corners
- Applying joint compound too thickly or without proper drying between coats
- Painting over uncured compound or skipping primer
Tools & Materials Needed
| Item | Purpose | Estimated Cost |
|---|---|---|
| 100-grit sanding sponge | Removes failed compound and feathered edges without gouging | $4–$7 |
| HardieBacker 2.5" metal corner bead | Replaces damaged or undersized bead; resists flex and impact | $8–$12 per 10-ft strip |
| Setting-type joint compound (90-minute) | Bonds chemically—not just drying—so it won’t shrink or crack under stress | $14–$18 per 25-lb bag |
| Corner trowel (4" and 6") | Ensures even, tight coverage over metal bead without air pockets | $10–$15 |
| Construction adhesive (polyurethane-based) | Secures corner bead to framing where screws can’t reach or hold | $6–$9 per tube |
Step-by-Step Fix
- Remove all failed material: Cut away cracked compound and loose paper tape with a utility knife. Sand down to bare drywall and exposed framing—don’t stop at ‘good enough.’
- Reinstall corner bead properly: Use construction adhesive along the stud edge, then secure with 1¼" drywall screws every 6 inches. Check with a level—any twist or bow will telegraph through finish coats.
- Apply setting compound in thin layers: First coat embeds the bead flange; second coat feathers 3 inches each side; third coat (if needed) only fills minor imperfections. Let each set fully—don’t rush with heat or fans.
- Prime before paint: Use Zinsser Gardz or USG Sheetrock Brand Primer-Sealer. Skipping this step causes differential absorption, making cracks visible again within weeks.
When to Call a Pro
Stop now if you see any of these signs:
- Crack is wider than ⅛" and reopens within 2 weeks of repair
- Adjacent drywall shows diagonal cracking or nail pops in multiple rooms
- The corner moves when you press lightly—indicating framing separation or foundation shift
- You find moisture behind the drywall or rust on fasteners (a sign of chronic humidity or plumbing leak)
According to the Insurance Institute for Business & Home Safety's 2023 report, 68% of recurring drywall cracks in homes older than 15 years stem from undiagnosed structural movement—not poor taping technique.
Prevention Tips
Long-term success depends on controlling what happens *behind* the wall:
- Maintain indoor humidity between 30–50% year-round using a dehumidifier or HVAC humidistat
- Inspect attic and crawl space annually for framing gaps, sagging joists, or soil pulling away from foundation walls
- Use ⅝" drywall on exterior corners in high-traffic areas (hallways, entryways) for added rigidity
- Avoid hanging heavy mirrors or cabinets directly on corner studs—they amplify vibration and stress
Why does my corner crack keep coming back after I use mesh tape?
Mesh tape lacks the rigidity and anchoring power needed for outside corners. Unlike metal corner bead, it doesn’t resist lateral shear forces—and its acrylic adhesive breaks down faster in temperature swings. Switch to a reinforced metal bead with mechanical fastening.
Can I just cover the crack with caulk instead of redoing the whole corner?
No. Caulk is flexible and non-paintable with standard interior paints—it’ll yellow, collect dust, and fail within months. More critically, it masks movement that could worsen framing issues. The U.S. EPA estimates that 14% of household water usage is from leaks—but unseen structural stress wastes far more in long-term repair costs.
How long should I wait between joint compound coats?
With setting-type compound: follow package timing (usually 45–90 minutes). With drying-type (all-purpose) compound: wait until surface is cool to the touch and no longer glossy—typically 24 hours in normal conditions. Rushing leads to delamination and micro-cracking.
Do I need to replace the entire drywall sheet if the corner is crumbling?
Not necessarily. If substrate damage is limited to the top 12 inches and framing is sound, cut out only the damaged section, install a new corner bead, and butt a replacement drywall patch into place using construction adhesive and drywall screws. See our guide on drywall patch damaged corner for exact measurements.
Is there a difference between inside and outside corner repairs?
Yes—fundamentally. Outside corners take impact and lateral stress; they require rigid metal reinforcement and setting compound. Inside corners rely on flexible paper tape and drying-type compound to accommodate subtle expansion. Using the wrong method for either invites failure. For full details, check our inside vs outside drywall corner repair comparison.
Can temperature changes cause corner cracks even in new homes?
Absolutely. Framing lumber shrinks up to 3% as it dries post-construction. In homes built with green lumber (common in tract housing), this shrinkage pulls nails and stresses corners—especially during first winter heating cycles. This is why many builders now specify engineered I-joists and kiln-dried studs. You’ll find more on seasonal movement in our drywall cracks seasonal temperature troubleshooting guide.
A properly repaired drywall corner shouldn’t move, flex, or telegraph under light pressure. If yours still feels spongy or looks uneven after final sanding, go back and check screw spacing on the corner bead—you likely missed a fastener near the midpoint. Patience with curing time and precision in alignment beat speed every time.